

Unboxing and Setting Up My New MacBook Pro M4: A Comprehensive Guide
Join me as I unbox and customize my new MacBook Pro M4! In this blog, I'll share my favorite settings, apps, and tips to help you get the most out of your Mac experience. Whether you're upgrading or just getting started, there's something here for everyone.
Switching from M1 to M4
Transitioning from the M1 to the M4 MacBook Pro is an exciting journey. The M4 chip boasts significant improvements in performance, efficiency, and graphics capabilities.
With the M4, you can expect faster processing speeds, making multitasking smoother. For those who rely on demanding applications like video editing software or coding environments, this upgrade is a game changer.
Additionally, the M4's enhanced battery life means longer work sessions without needing to recharge. This is ideal for anyone constantly on the go or working in various locations.
Why Upgrade?
- Performance Boost: Expect quicker load times and smoother operation.
- Enhanced Graphics: Better visuals for graphic design and video editing.
- Improved Battery Life: Work longer without plugging in.
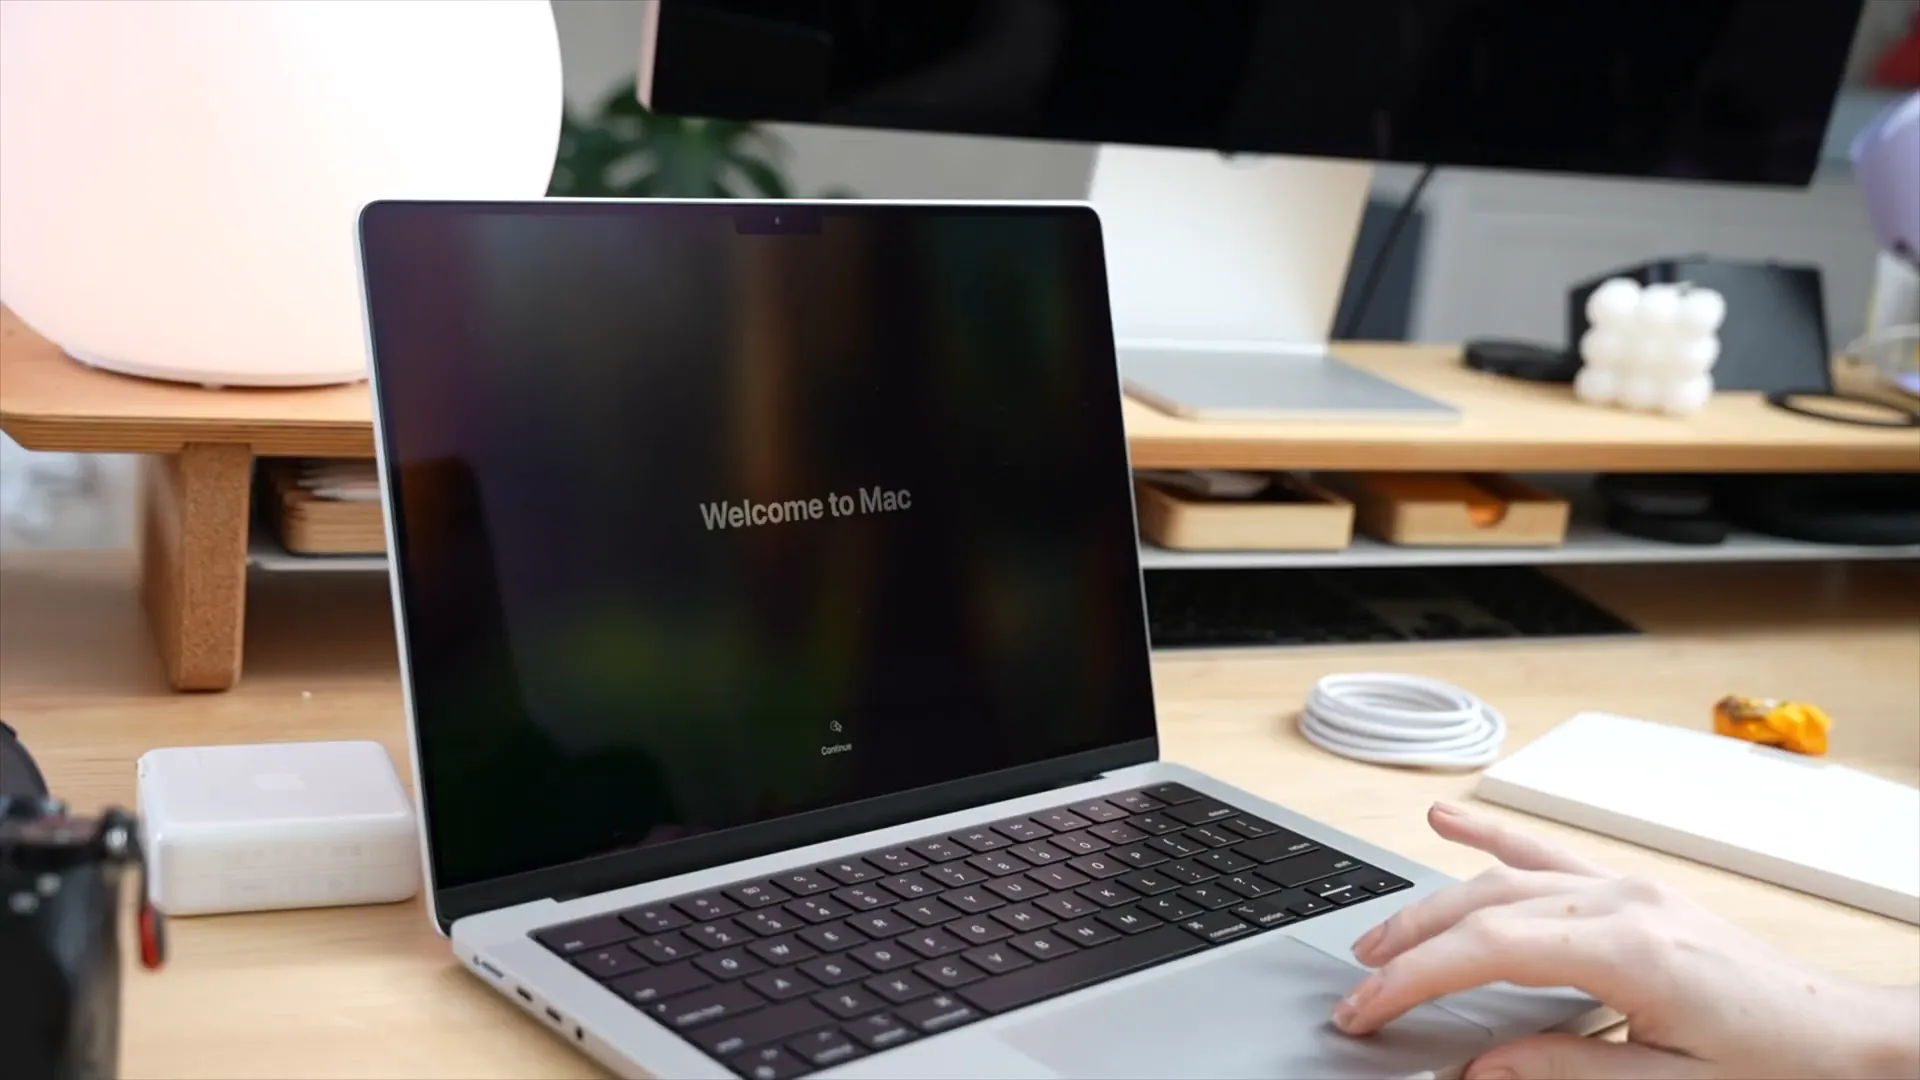
Unboxing + Initial Setup
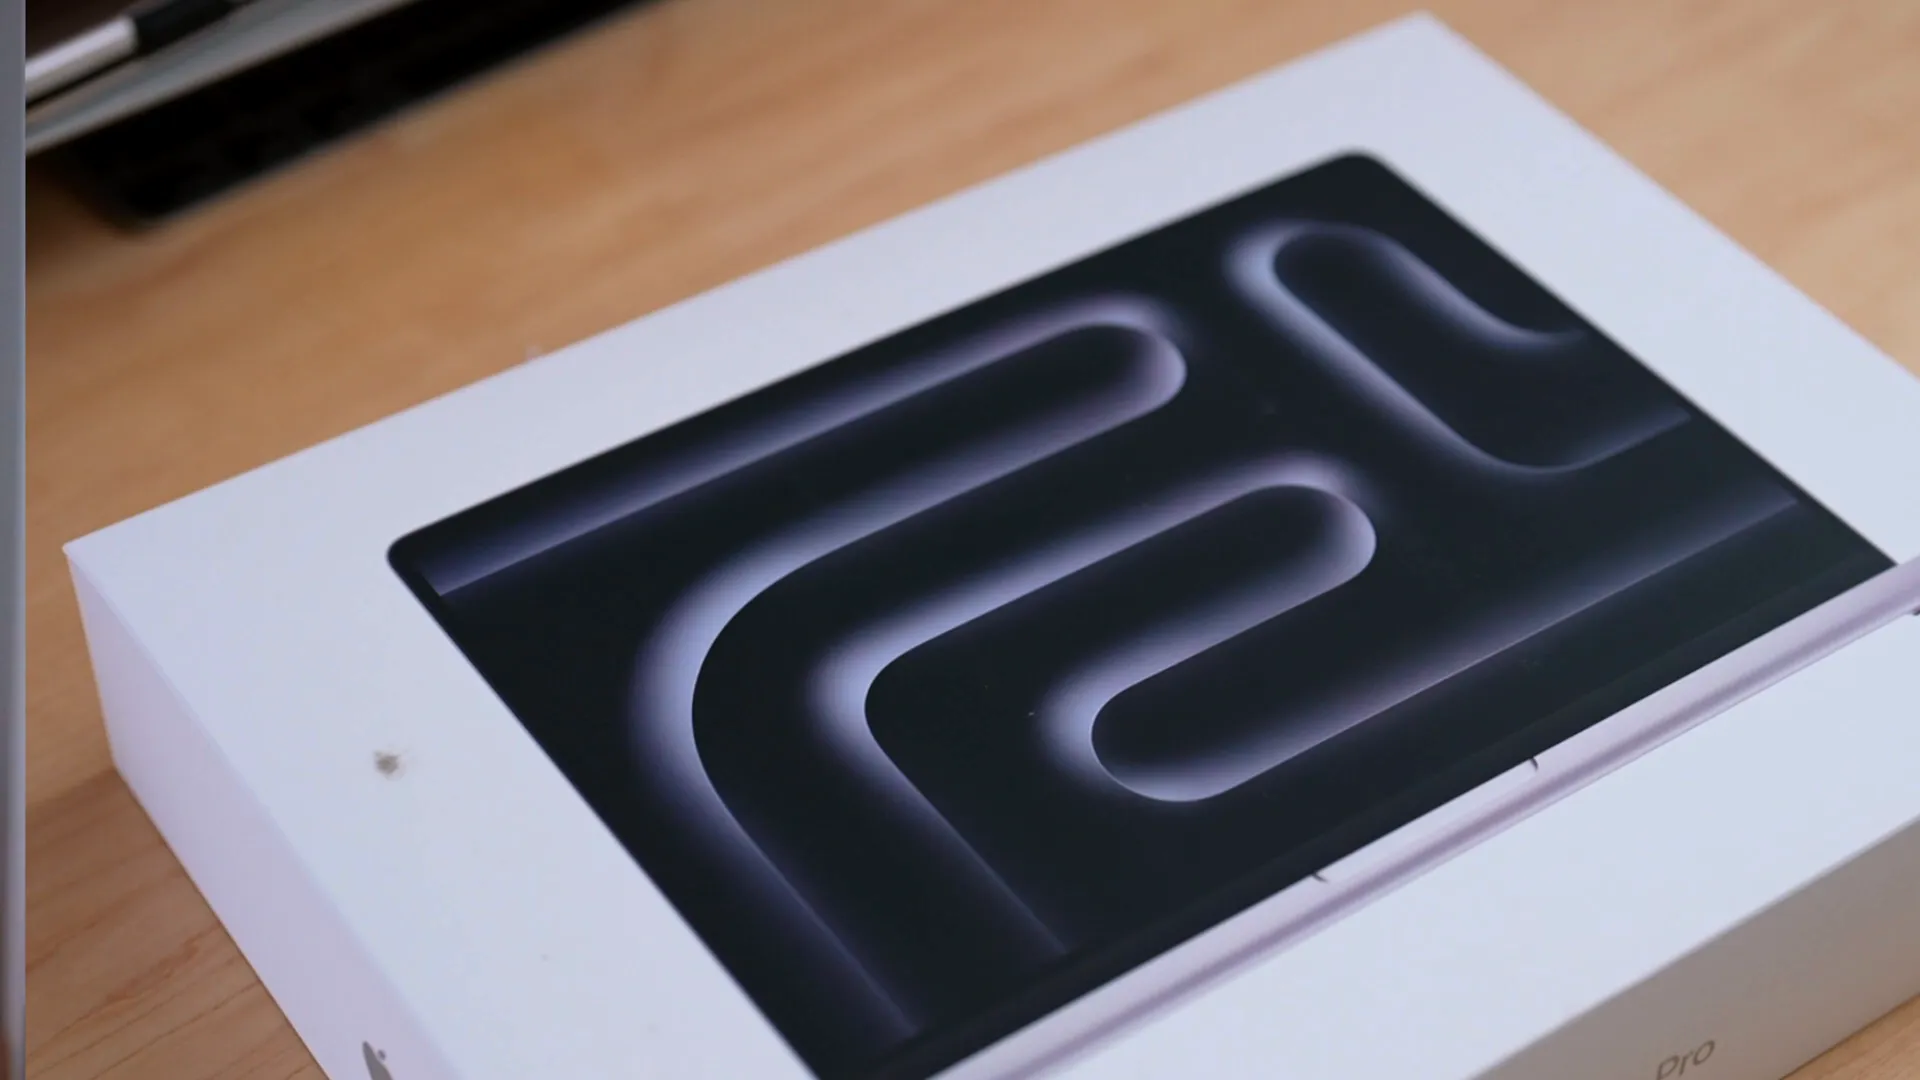
The unboxing experience of the M4 MacBook Pro is delightful. The sleek design and premium materials are immediately noticeable. As you open the box, you’re greeted with the laptop itself, wrapped in protective plastic, alongside a charging cable and documentation.
Setting up the M4 is straightforward. After powering it on, you’ll be guided through the initial configuration. This includes connecting to Wi-Fi, signing into your Apple ID, and setting up your preferences.
Creating Your User Profile
During the setup, you’ll have the opportunity to create a user profile. This step is crucial as it personalizes your experience. Choose a profile picture that represents you, or use an emoji if that fits your style better.
Once your profile is set, you’ll dive into the system settings to tailor the MacBook to your liking.
Changing the Wallpaper
One of the first things I like to do is change the wallpaper. It’s a simple task, but it makes a world of difference in personalizing your workspace.
To change the wallpaper, right-click on the desktop and select 'Change Desktop Background.' Here, you can choose from Apple’s stunning images or upload your own. A fresh wallpaper can transform the look and feel of your MacBook.
Choosing the Right Wallpaper
- Personal Inspiration: Select images that inspire you or evoke positive feelings.
- Color Coordination: Consider how the colors of your wallpaper will match the accent colors you choose for the interface.
- Minimalism vs. Detail: Decide if you prefer a busy background or something more minimalistic that keeps the focus on your work.
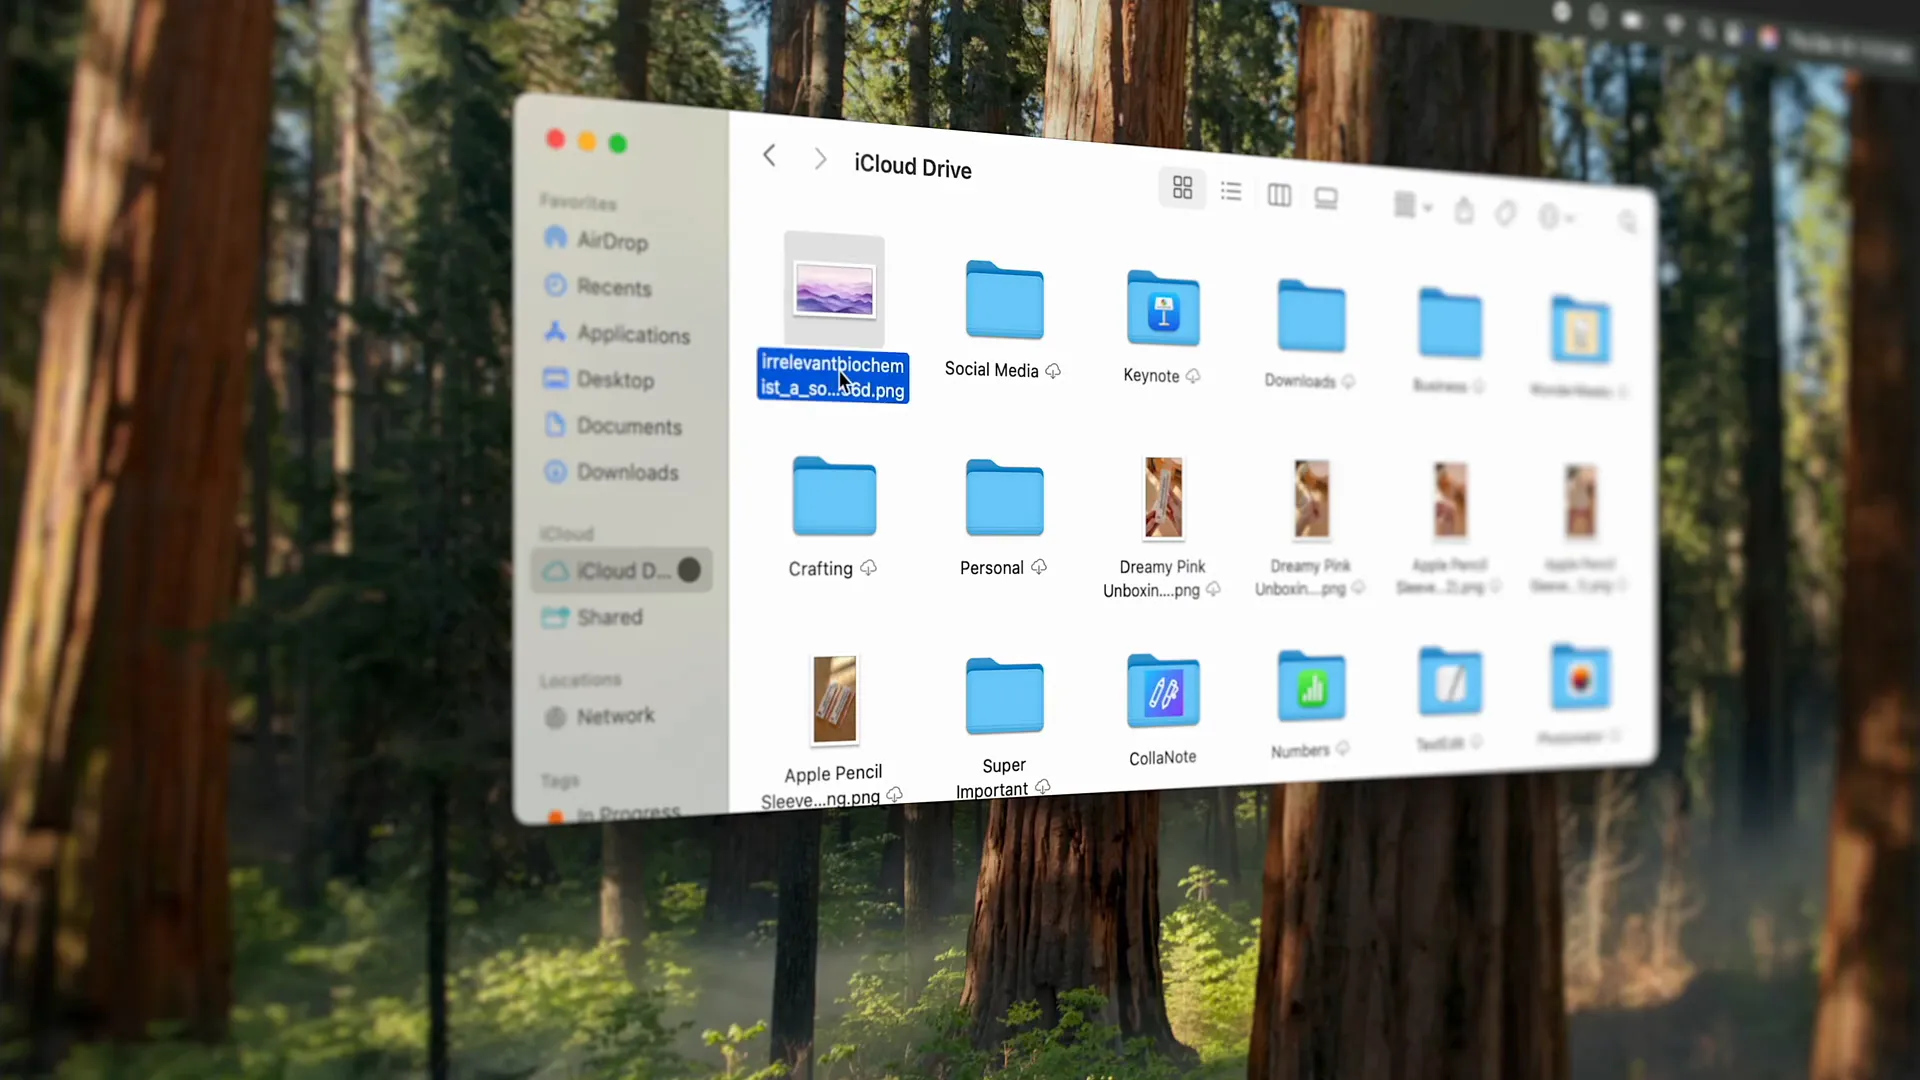
Improving Finder Window Usability
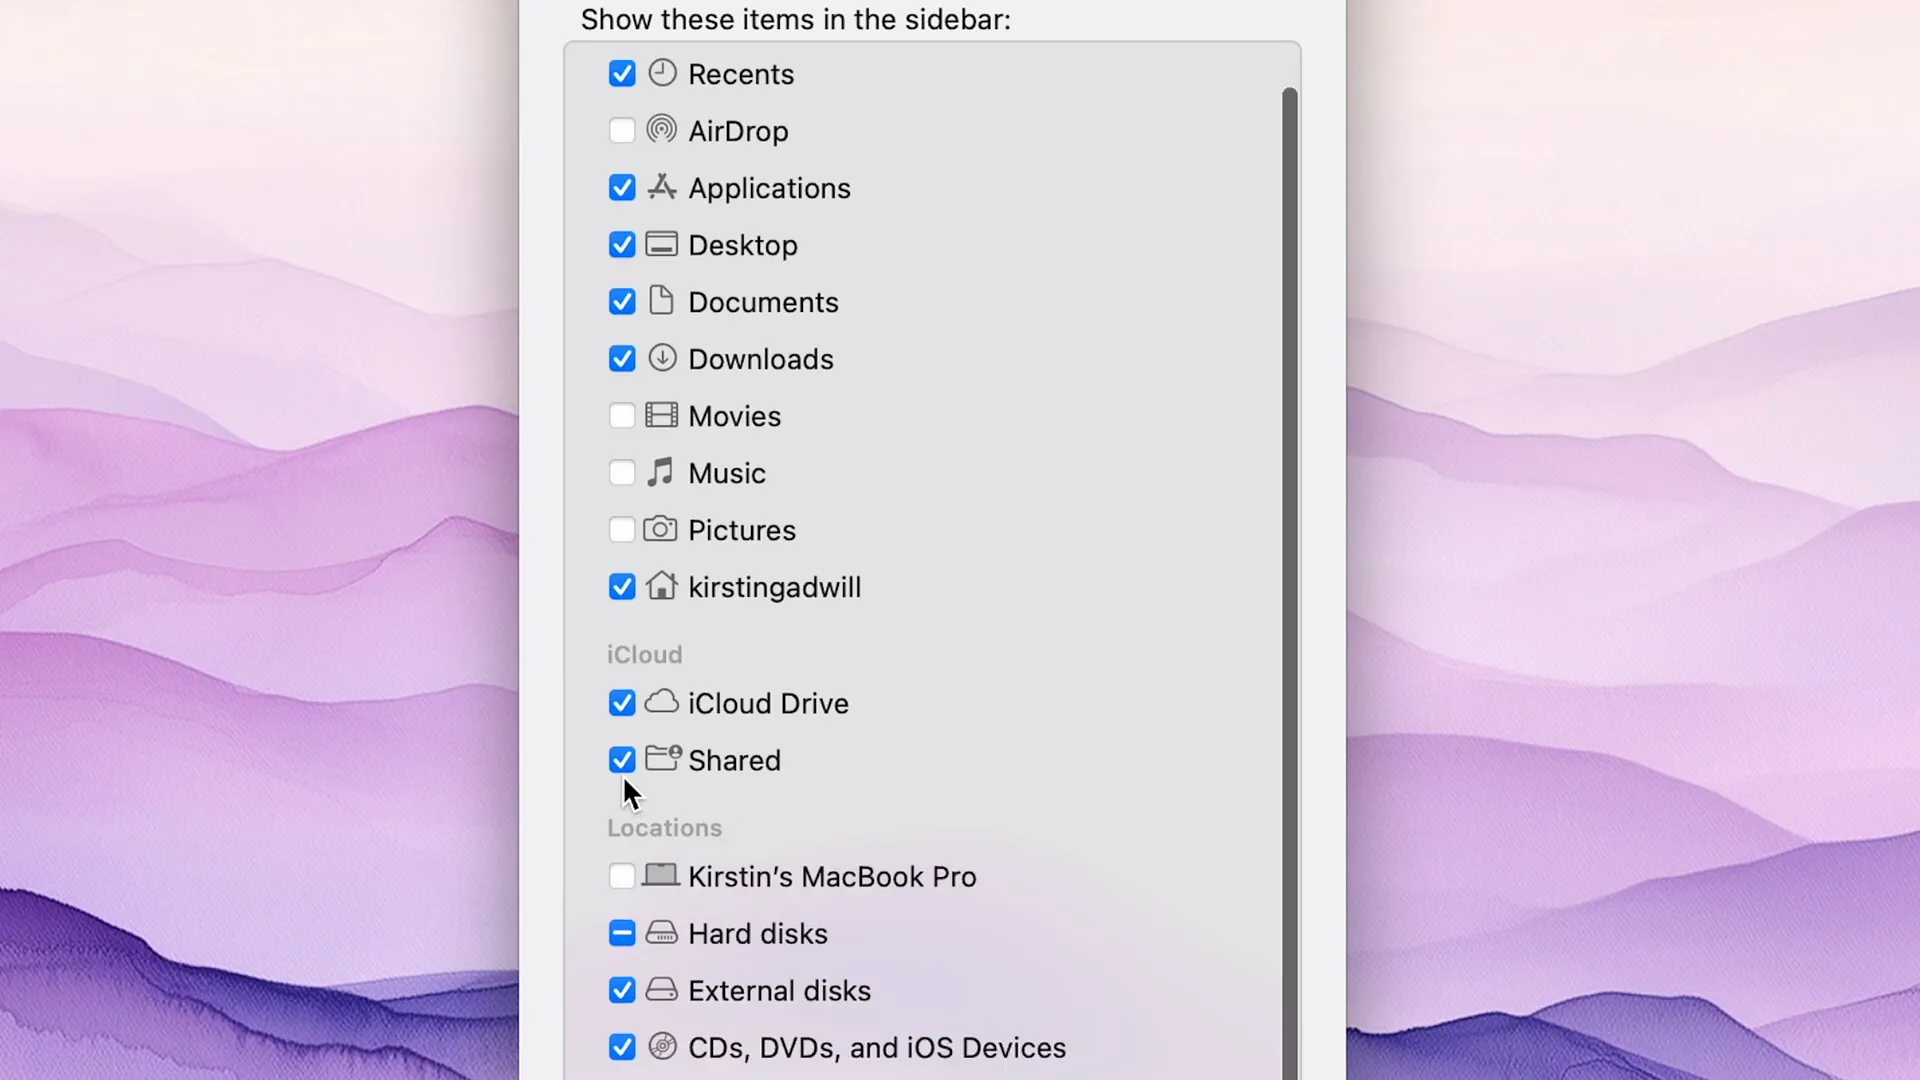
Finder is a crucial part of navigating your Mac, and customizing it can significantly enhance your productivity. Start by adjusting what appears in the sidebar of each Finder window.
For instance, while Airdrop is convenient, you might prefer to access it differently. By removing it from the sidebar, you can streamline your workflow.
Key Finder Customizations
- Show User Folder: Enable visibility for your user folder to access important files quickly.
- Search Settings: Change search preferences to only search within the current folder, avoiding the hassle of sifting through unrelated files.
- Show Path and Status Bar: This feature helps you navigate nested folders with ease, displaying the path and the number of files within each folder.
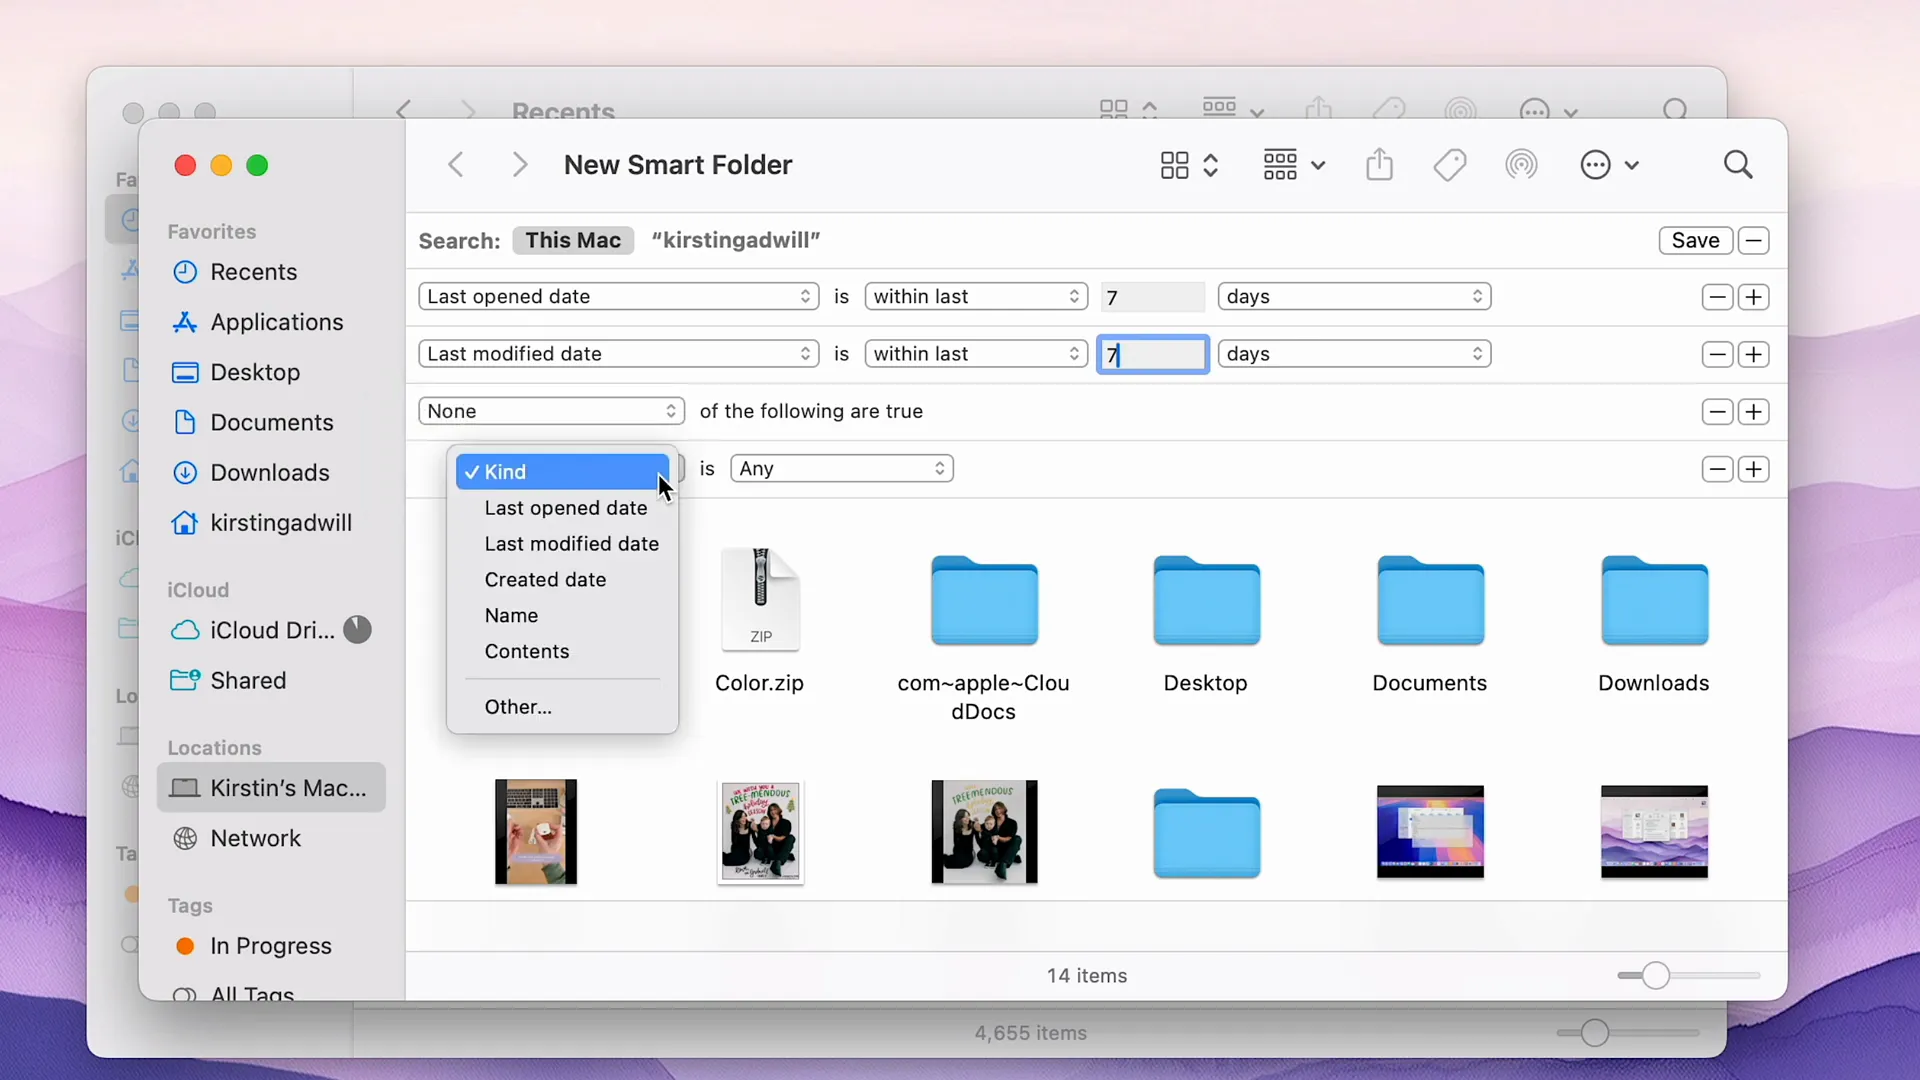
Creating Smart Folders
Another powerful feature is the ability to create Smart Folders. This allows you to filter files based on specific criteria, such as recent access or modification dates. Set parameters to only show files from the last week, for example, to keep your workspace organized.
In my case, I like to set the last opened and last modified date to within the last 7 days, and to show only files I've opened or modified (i.e. not showing apps in this folder). This is a much smarter version of the Recents folder because it shows actually recent files you've opened or used on your computer.
Customizing the Toolbar
Don’t forget to customize the Finder toolbar as well. You can add or remove icons for quick access to frequently used functions. This makes your workflow more efficient and tailored to your needs.
With these adjustments, your Finder experience will be much more streamlined, allowing you to focus on your tasks rather than navigating your computer. I like to add AirDrop to this toolbar versus having it in the sidebar of my Finder windows.
Creating Smart Folders for Better Organization
Smart Folders are an underutilized feature that can dramatically improve your file organization on a Mac. By setting specific criteria, you can automatically gather files that meet certain conditions, making it easier to find what you need without endless searching.
To create a Smart Folder, open Finder and select 'File' from the menu bar, then choose 'New Smart Folder.' From there, you can add criteria based on file types, dates, and more. For example, if you want to see files you’ve accessed in the last week, set the parameters accordingly.
Setting Up Your Smart Folder
- Choose Criteria: Decide on the filters you want to apply, such as 'Last Opened Date' or 'File Type.'
- Name Your Folder: Give your Smart Folder a clear name that reflects its contents, like “Recent Files” or “Project Documents.”
- Add to Sidebar: Once created, drag your Smart Folder to the sidebar for easy access.
This approach not only keeps your workspace tidy but also enhances your productivity by allowing you to focus on the files that matter most in any given moment.
Diving into Mac Settings
Now that your files are organized, let’s dive into the Mac settings to further customize your experience. This is where you can tweak everything from the appearance to functional shortcuts that can make a significant difference in your daily workflow.
Appearance Customizations
Under System Preferences, navigate to 'General' to adjust the overall look of your Mac. Here, you can change the accent color, which I personally prefer to set to purple to match my wallpaper. This small tweak can make your Mac feel more personalized and visually cohesive.
- Accent Color: Choose an accent color that resonates with you.
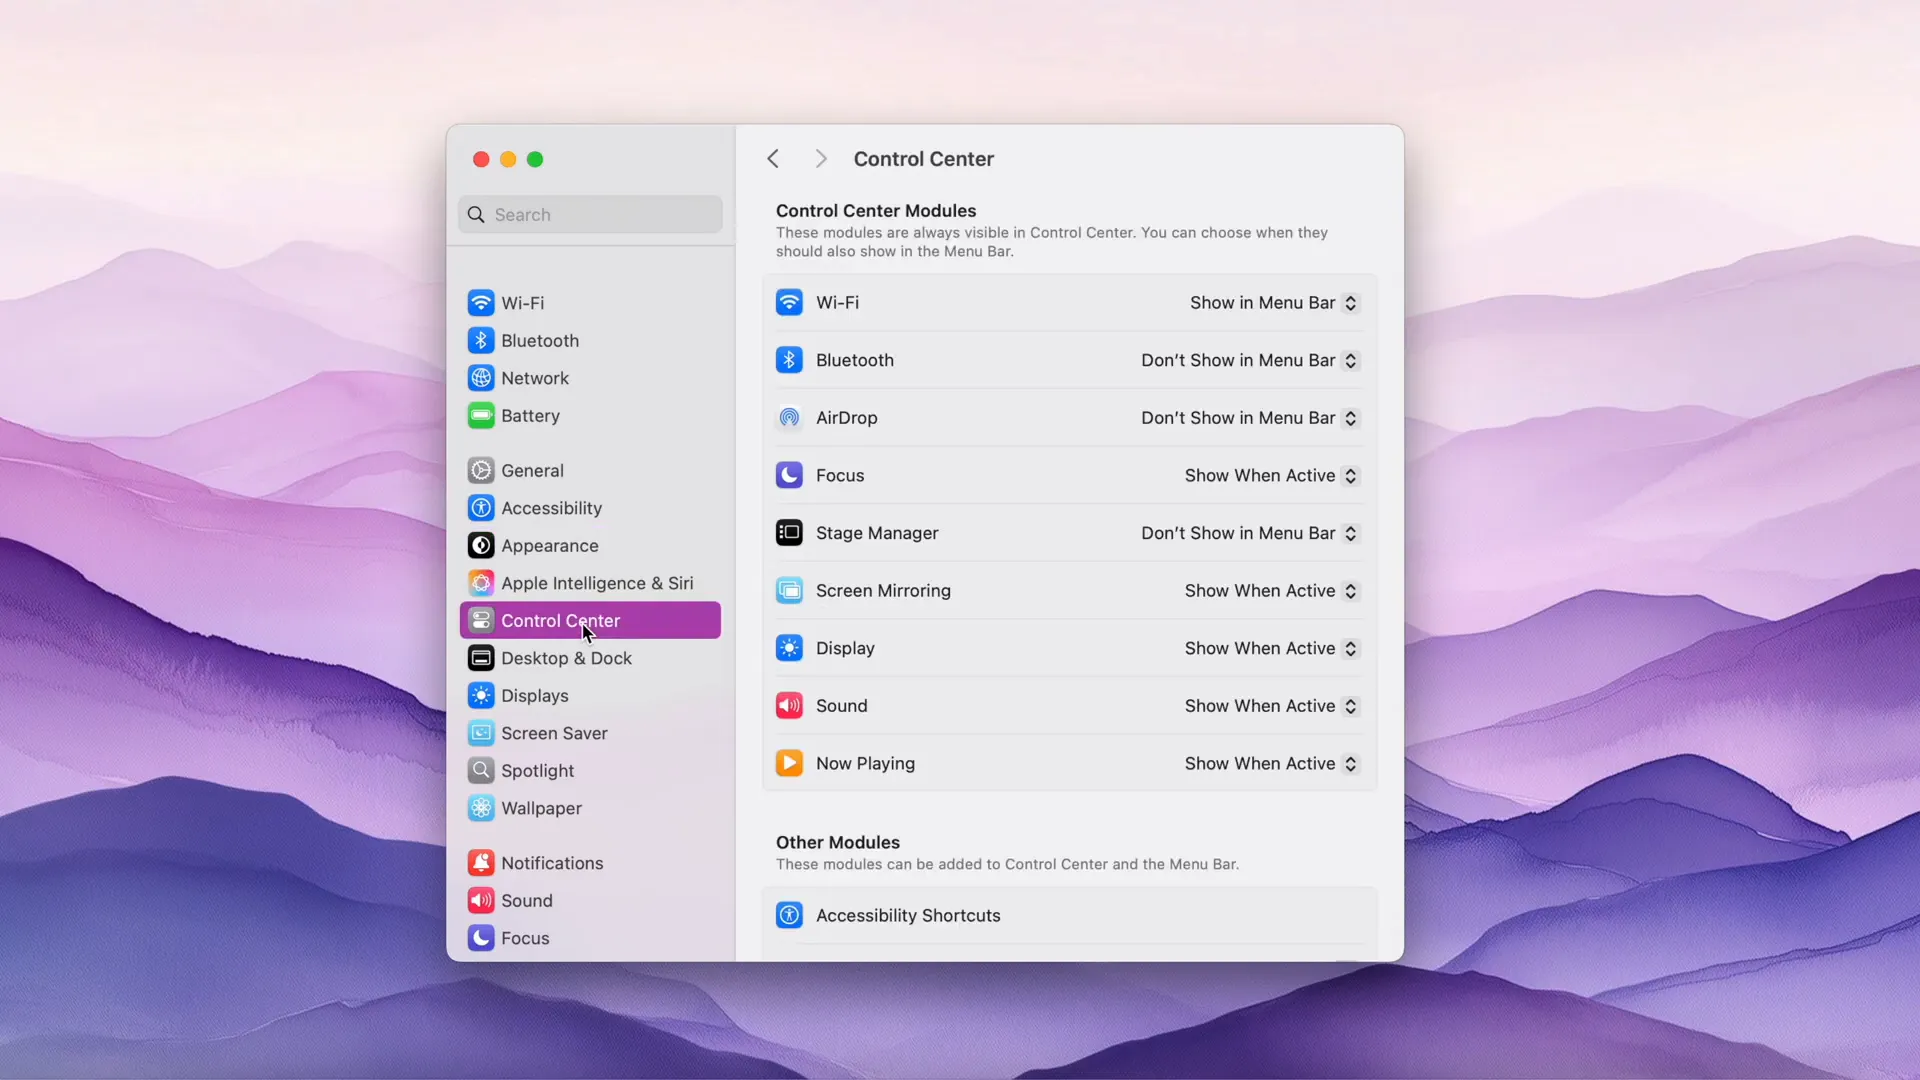
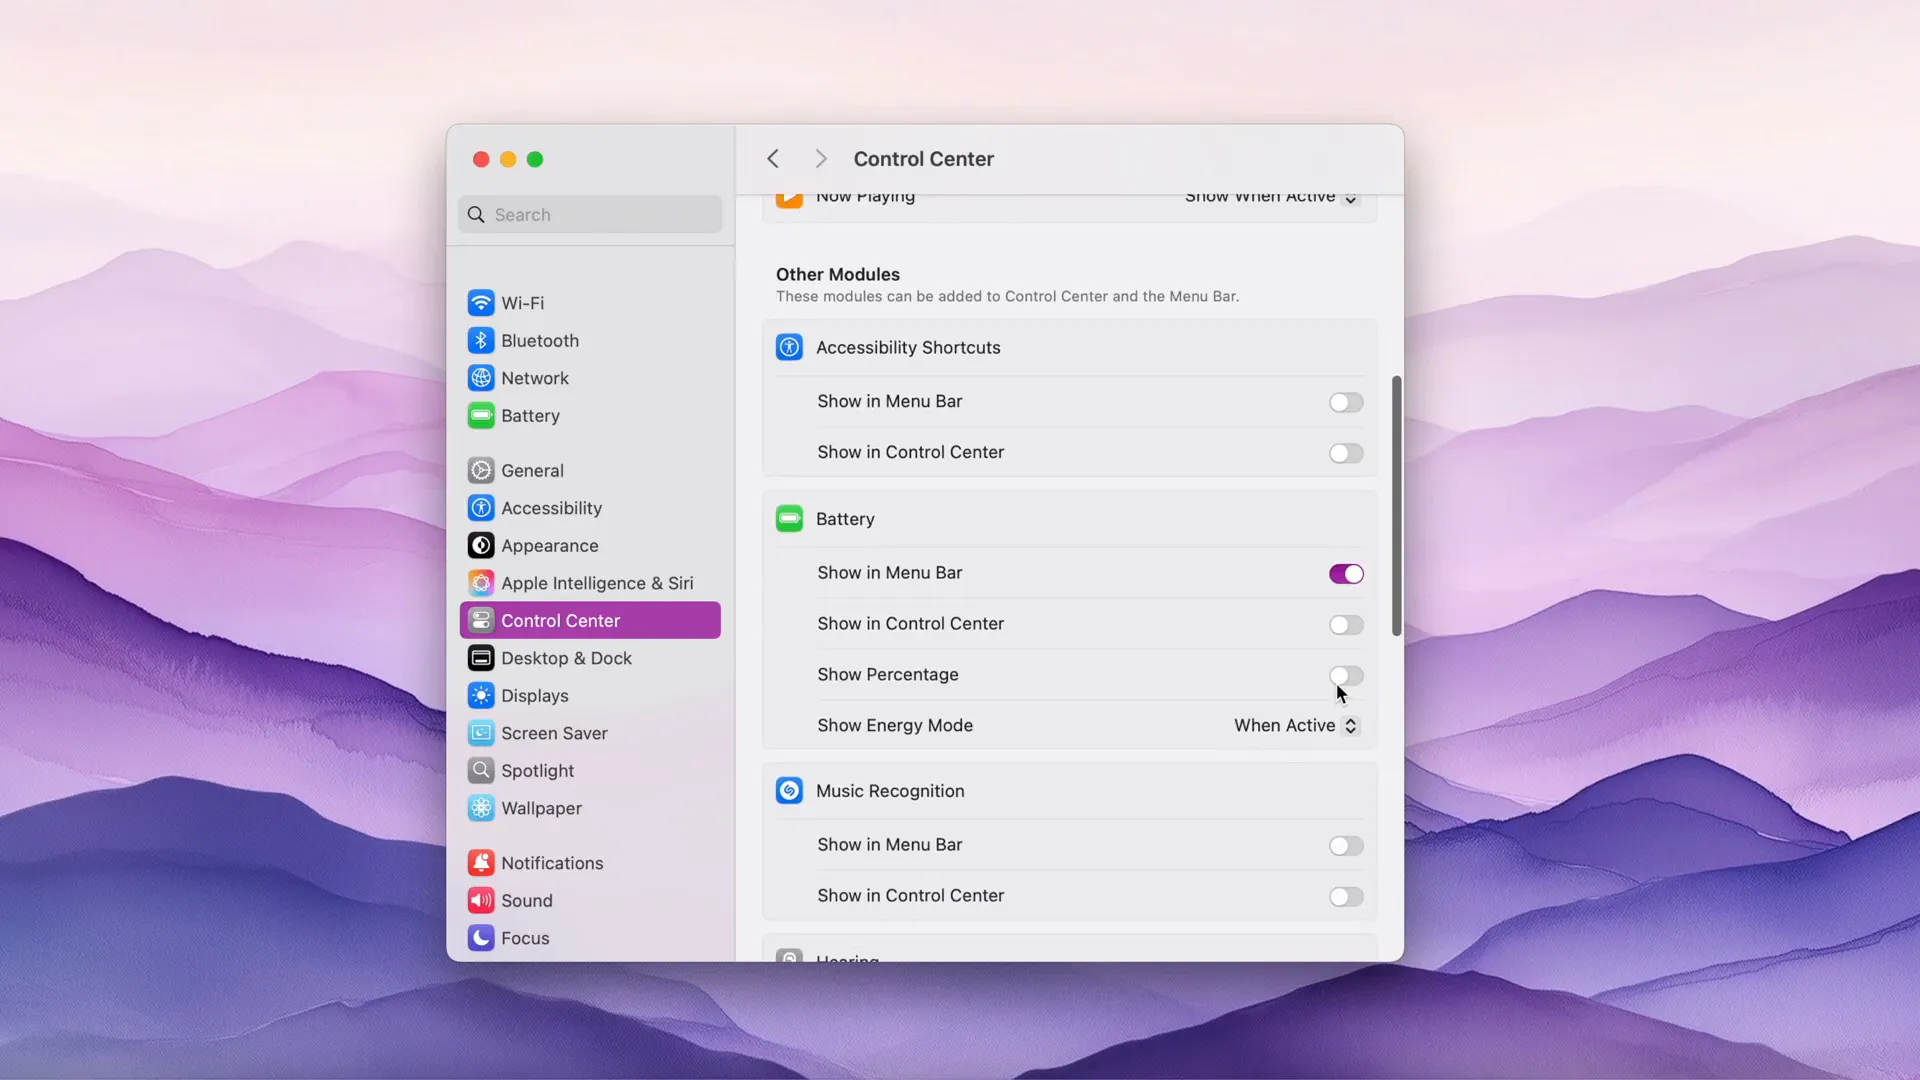
Control Center Tweaks
Don’t forget about the Control Center! It’s essential to have quick access to features like Bluetooth and AirDrop. You can customize this mini bar to display only the tools you frequently use, streamlining your workflow.
Settings I Wouldn't Change
While there are many settings I recommend adjusting, some are best left as is unless you have specific needs. For instance, the default display settings are generally suitable for most users.
One setting I wouldn’t change is the True Tone feature unless you’re working with color-sensitive tasks like photo or video editing. True Tone adjusts the display based on ambient lighting, which can help reduce eye strain.
Automatic Brightness Adjustments
Similar to True Tone, the automatic brightness adjustments can be beneficial. They help maintain optimal visibility based on your surroundings. If you're not heavily involved in editing, keeping these settings enabled can enhance your overall viewing experience.
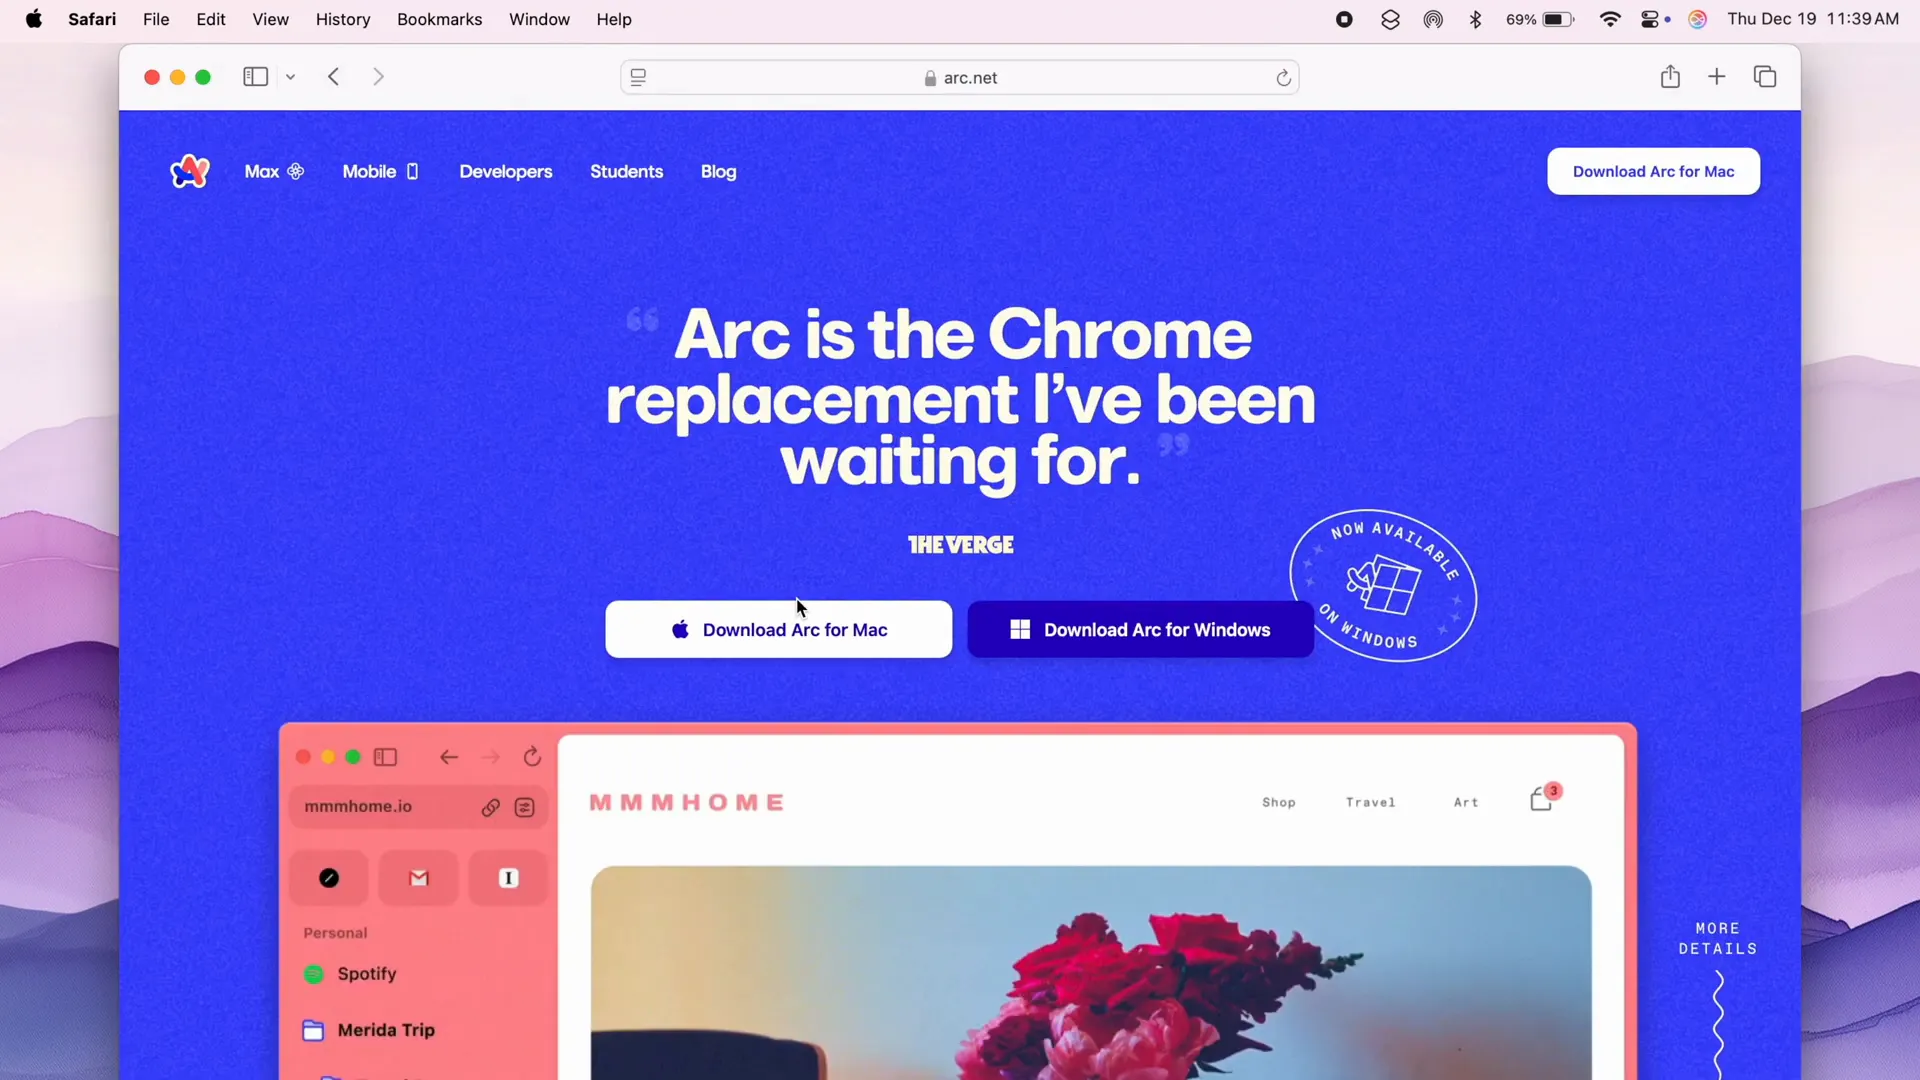
Choosing My Internet Browser and Essential Apps
When it comes to browsing, the default Safari is solid, but I prefer using Arc. It offers a more customizable interface and unique features that enhance my browsing experience.
Essential Apps for Daily Use
After setting up my browser, I focus on downloading essential applications that I use daily. This includes tools for productivity, communication, and creativity. Here are some must-haves:
- Loom: For recording and sharing videos easily.
- Final Cut Pro: My go-to for video editing.
- Edison Mail: A clean and efficient email client.
- Logitech Options: To customize my mouse settings and set shortcuts.
- Adobe Creative Cloud: For all my creative projects.
- Discord: Essential for communication with my community.
Each app plays a crucial role in my workflow, and I take the time to arrange them in a way that makes sense for my daily tasks.
Installing Applications
Installing apps on a Mac is a straightforward process. Simply drag the application into your Applications folder, follow any prompts, and you’re set. Some apps may require additional permissions, so be sure to allow those for full functionality.
With everything installed and organized, I can jump right into my tasks without any hiccups.
Quick Access to Most-Used Folders
One of the best productivity hacks is to have quick access to your most-used folders. This not only saves time but also minimizes the clutter in your Finder sidebar. To accomplish this, simply drag your preferred folders directly into the sidebar. This way, you can access them in a single click, rather than navigating through multiple directories.
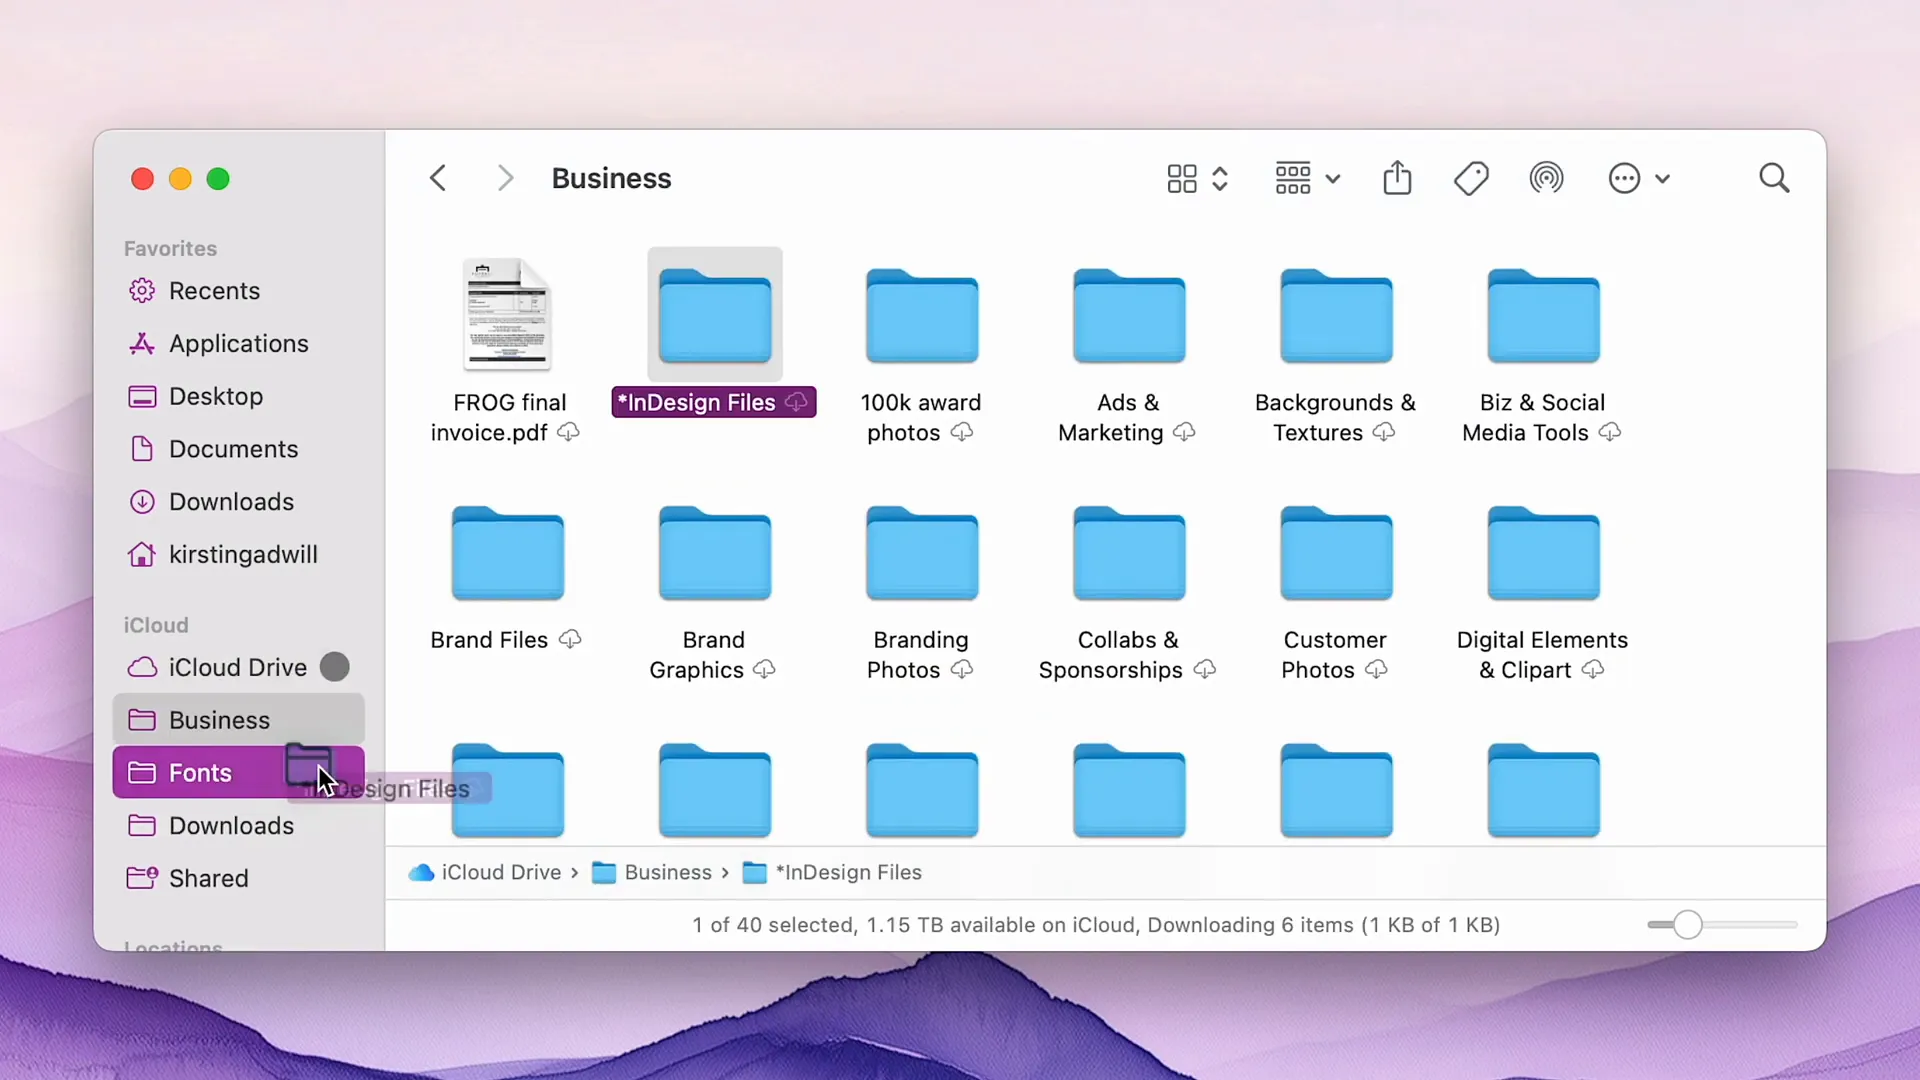
By organizing these folders in your sidebar, you ensure a streamlined workflow and reduce the time spent searching for files.
Initial Impressions of the M4 MacBook Pro
The M4 MacBook Pro has truly exceeded my expectations. Right from the moment I powered it on, the speed and responsiveness were evident. Applications open almost instantaneously, and multitasking feels seamless.

Design and Build Quality
The design of the M4 is sleek and modern. The silver finish not only looks stunning but also feels premium. The weight reduction compared to the 16-inch M1 is noticeable, making it more portable for on-the-go tasks.
Furthermore, the keyboard is a joy to type on. The tactile feedback and key travel are perfect for long typing sessions, whether you're writing code or drafting emails.
Performance Metrics
When it comes to performance, the M4 chip shines. Video exports are significantly faster, and there are fewer application crashes, especially with demanding software like Adobe Creative Suite. This reliability is crucial for anyone in the creative field.
In terms of battery life, I've noticed that I can work longer without needing to plug in. This is a game-changer for those who often find themselves working in coffee shops or during travel.
Final Thoughts and Tips
As I settle into my new M4 MacBook Pro, I've compiled a few final thoughts and tips for anyone considering an upgrade or new setup.
Customization is Key
Don't hesitate to customize your Mac to fit your workflow. From changing the accent color to rearranging the Dock, these small tweaks can have a big impact on your productivity. Take the time to explore the settings; you might discover features that you never knew existed.
Stay Organized
Keeping your files and applications organized is essential. Utilize Smart Folders and the Finder sidebar to maintain a tidy workspace. This will help you locate files quickly and focus on your tasks without distractions.
As with any new device, give yourself time to adjust. The M4 MacBook Pro is a powerful tool that can significantly enhance your productivity and creativity. Dive in, explore its features, and make it your own!
Share:
Creative Ways to Use GoodNotes for Digital Planning
Best iPadOS 26 Features You’ll Wish Came Sooner | Public Beta