


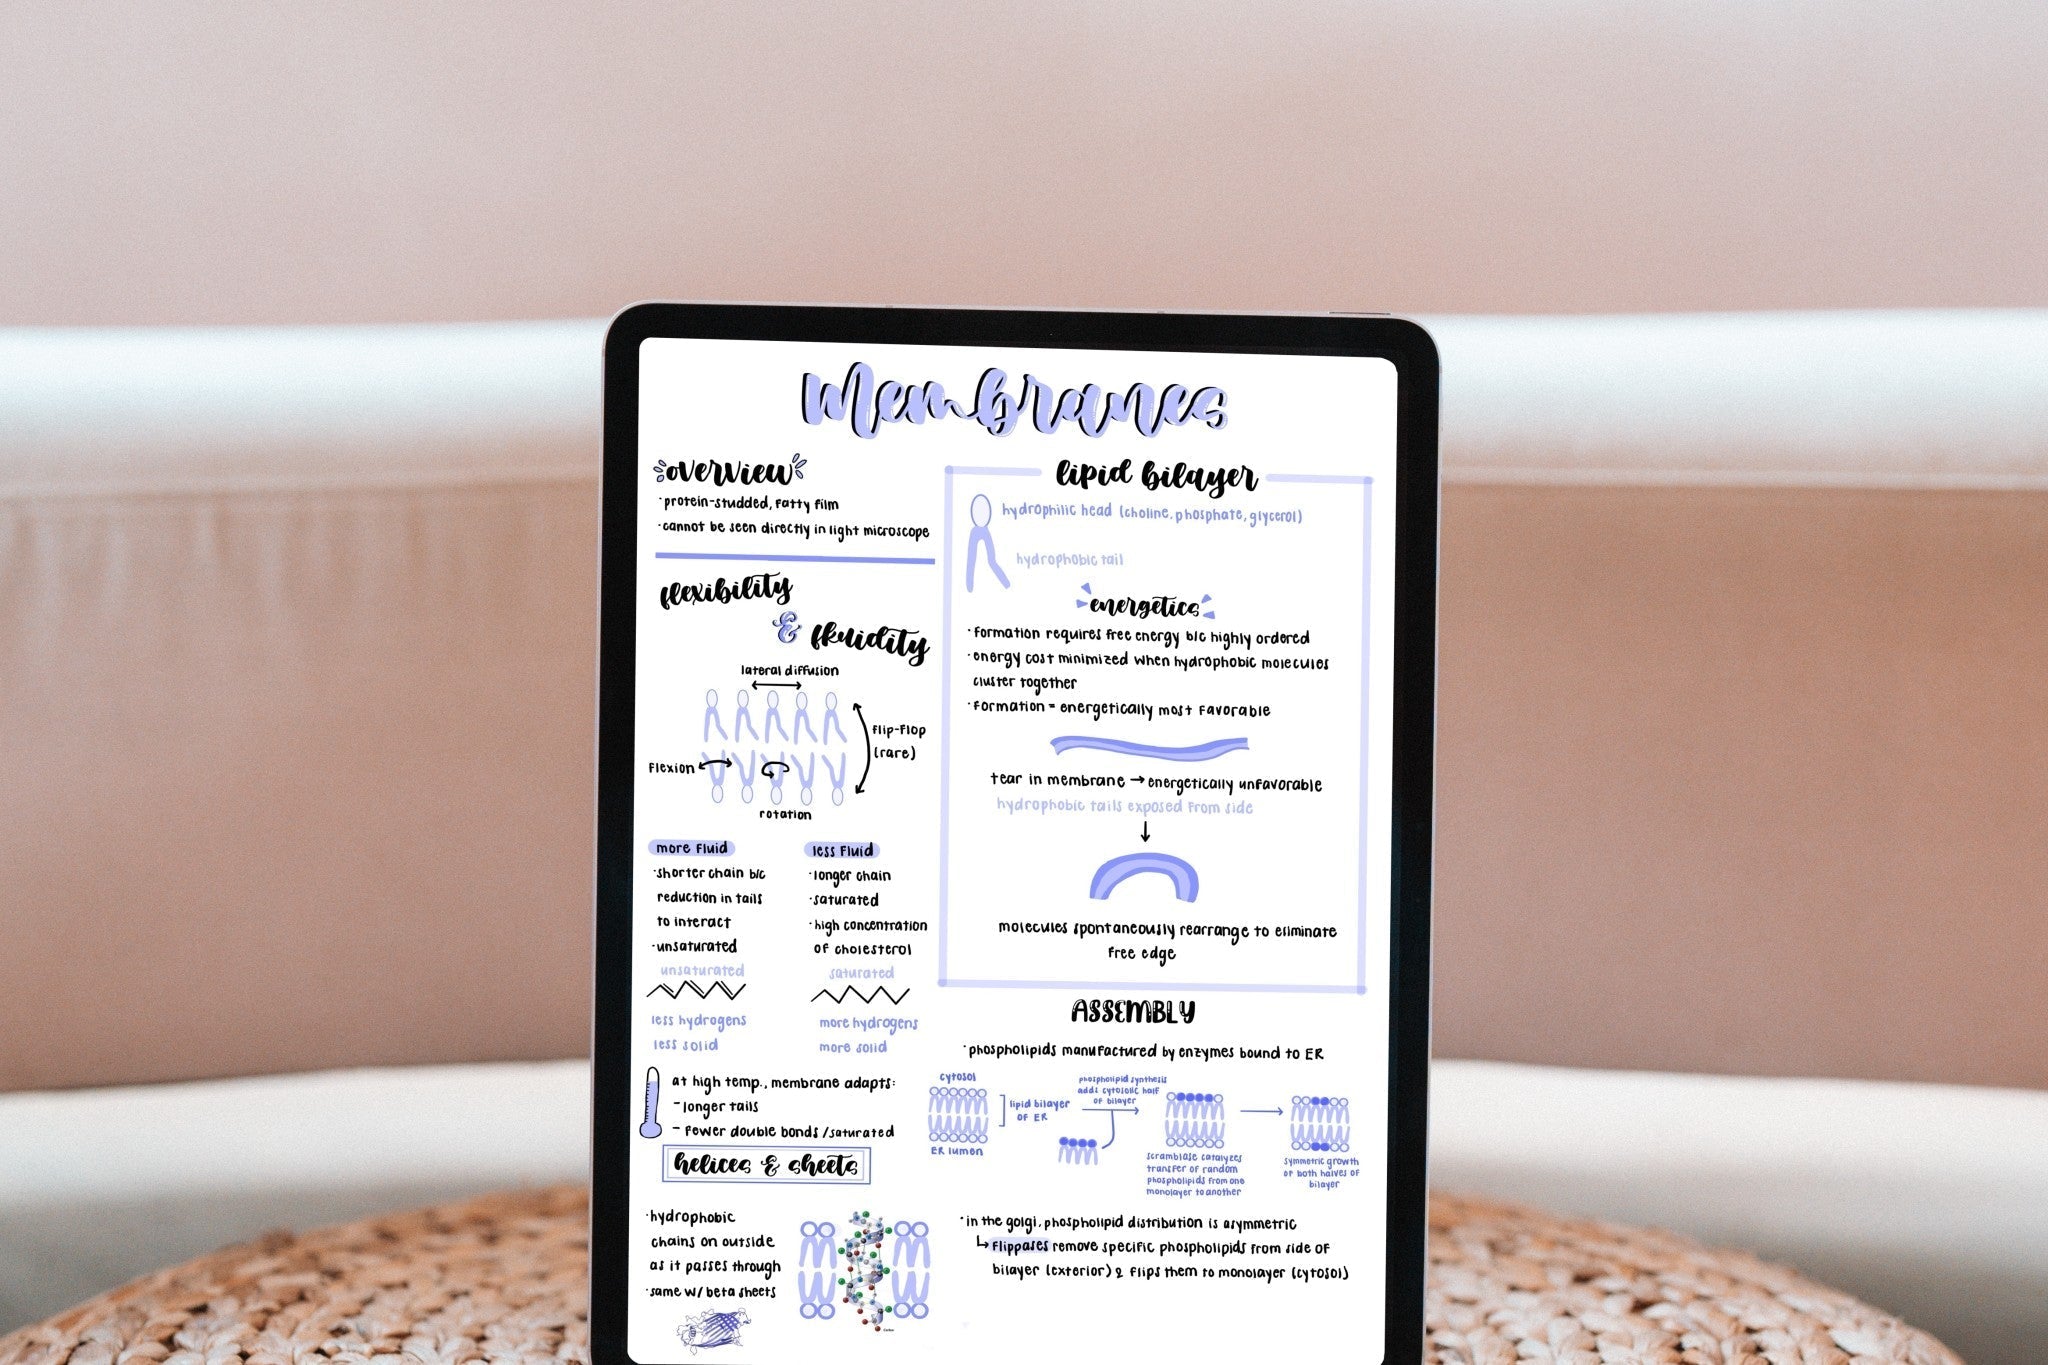
Got a new iPad (or dusting off an old one) for the school year? Setting it up for note-taking the right way from the start saves you a ton of frustration later. I switched to iPad notes during my chemistry degree and never looked back—here's the exact back-to-school setup I'd recommend to any beginner.
1. Pick your note-taking app
Your app is the foundation. The two most popular are Goodnotes and Notability, and both are beginner-friendly. Short version: Notability is unbeatable if you want to record lectures while you write; Goodnotes wins for notebook/folder organization and works across iPad, Mac, Windows, and Android. Not sure? I compare them in detail in Goodnotes vs Notability (2026), and I test every major app in Best iPad Note-Taking Apps. Both have free versions, so you can try before you commit.
2. Sort out your Apple Pencil (and settings)
Any Apple Pencil that's compatible with your iPad will do—you don't need the most expensive one to take great notes. Once it's paired, spend two minutes in your app's settings: turn on palm rejection, pick a pen thickness you like (many people go too thick—try something on the finer side), and set a default color. If your Pencil supports double-tap, map it to switch between pen and eraser.
3. Add a matte screen protector (optional but worth it)
A paper-feel or matte screen protector adds just enough friction to make writing feel natural and reduce that skating-on-glass sensation. It's the single accessory most people say made the biggest difference.
4. Set up a simple folder system before classes start
Don't wait until week three when you have 200 loose pages. Create a folder or notebook per class, name them clearly, and—if your app supports it—color-code them. Future-you will be so grateful during finals.
5. Start with a template, not a blank page
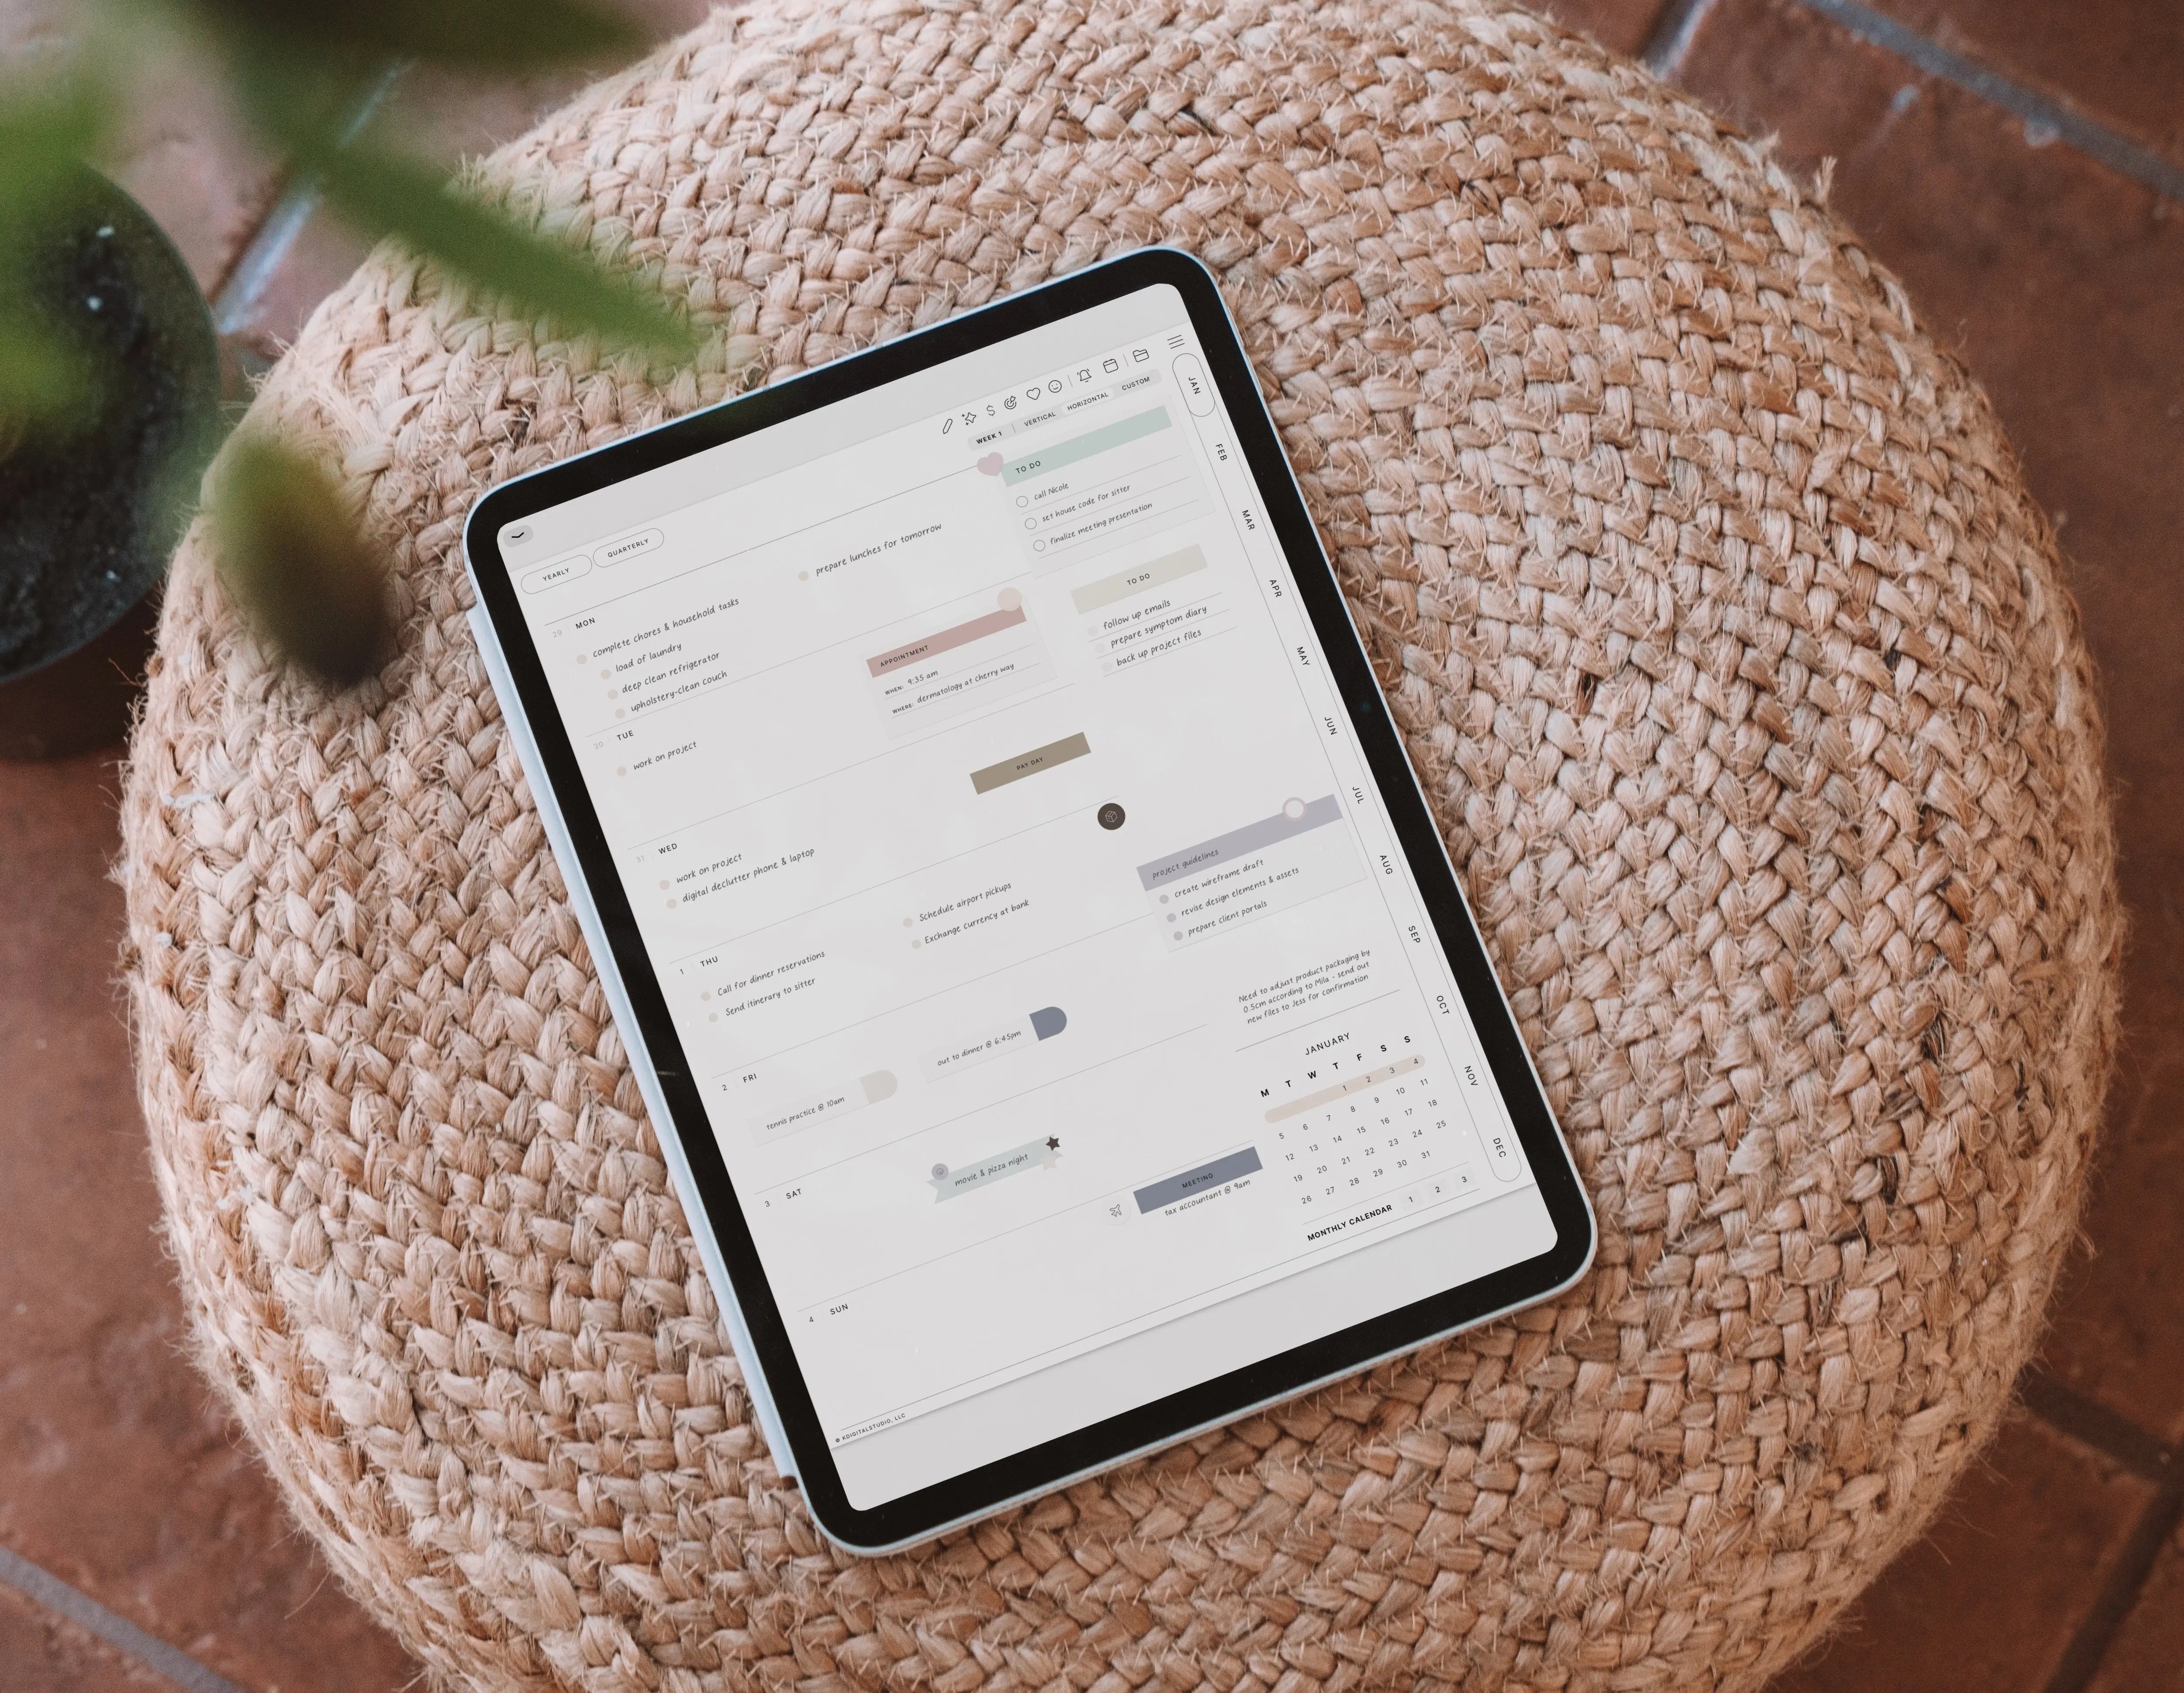
A blank white page is intimidating and disorganized. A hyperlinked PDF planner or note template gives you structure—dated pages, subject dividers, to-do sections—and works in Goodnotes, Notability, and most other apps. If you want to ease in for free first, read How to Start Digital Planning for Free, and grab a template from my Free Downloads. For a full student system, see my Student Digital Planner Setup Guide.
6. Make notes skimmable (and a little fun)
The notes you'll actually reread are the ones that are easy to scan. A few functional stickers do the heavy lifting here:
- Sticky Note Digital Stickers for callouts and reminders.
- Student Labels and Student Flags to mark topics, due dates, and priorities.
- Pastel Student Widgets or studentOS Stickers to build clean dashboards for each class.
Prefer to type some notes? A handwriting-style font like the Kirstin Font keeps typed notes readable and personal.
7. Learn the 3 shortcuts that save the most time
Lasso-select (to move/resize handwriting), copy-paste stickers, and search-your-handwriting. Master those three and everything gets faster. I walk through my full note-taking process on my YouTube channel—great to watch before your first lecture.
You're ready for day one
App installed, Pencil dialed in, folders made, template loaded, a few stickers on standby. That's genuinely all you need to walk into the semester organized. Want to go deeper on aesthetics next? Read How to Take Aesthetic & Organized Digital Notes.

Share:
Goodnotes vs Noteful: Premium Powerhouse or Budget Favorite in 2026?
Goodnotes vs Noteful: Premium Powerhouse or Budget Favorite in 2026?