


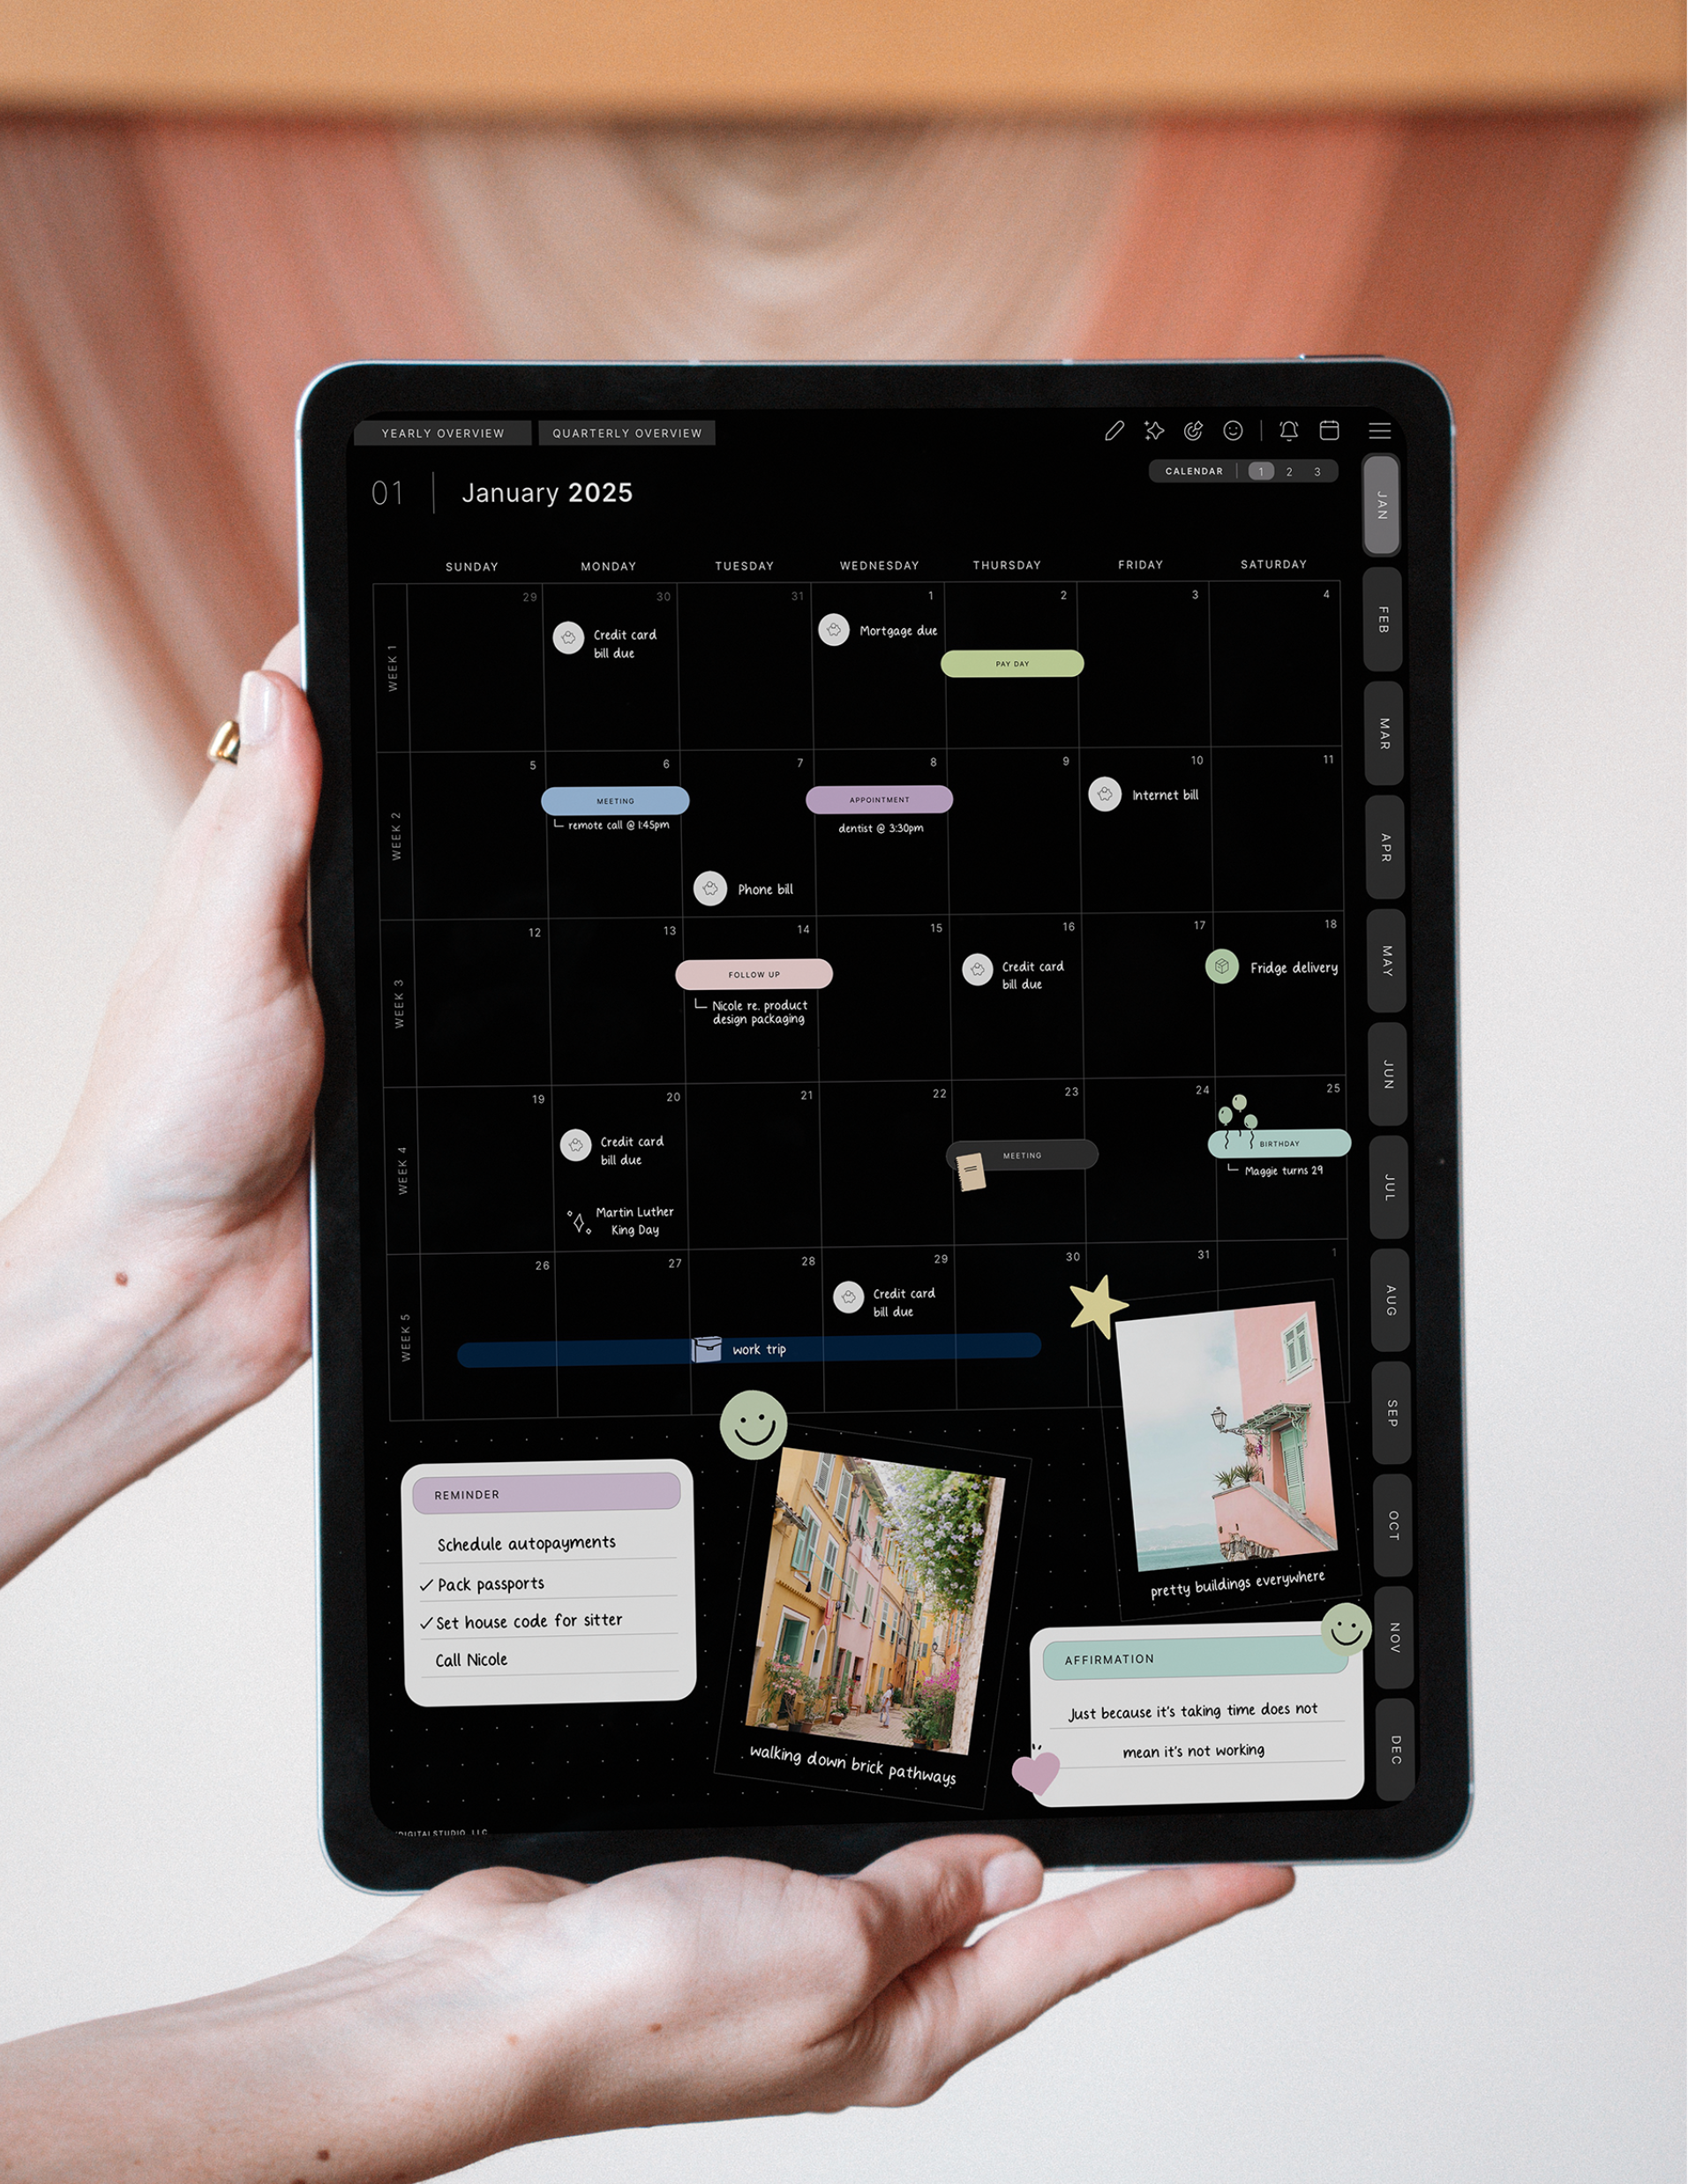
Digital stickers are where planning gets fun. A few cute icons, a "top priority" banner, a habit tracker sticker — and suddenly your planner feels like yours. The good news: adding stickers in GoodNotes and Noteful is easy once you know the steps. This tutorial walks you through the exact ways to import and use KDigitalStudio stickers in both apps, plus the pro tricks that make stickering fast.
What you'll need
- A digital planner open in GoodNotes or Noteful. (Need to import your planner first? See how to download and import your planner.)
- Your sticker files, downloaded and unzipped in your Files app. KDigitalStudio sticker sets include ready-to-use GoodNotes Elements collections (files ending in
.collection) and individual PNG stickers with transparent backgrounds.
Watch it in action: Our full video walkthrough covers every method below, step by step: Everything You Need to Know About Digital Stickers in GoodNotes (KDigitalStudio).
Part 1: Adding stickers in GoodNotes
Method A: Import a .collection file into Elements (easiest)
The fastest way to use KDigitalStudio stickers is with the ready-made Elements collection we include. You'll receive a file that ends in .collection.
- Before opening GoodNotes, find the
.collectionfile in your Files app and tap it. Tap Share and choose GoodNotes.

- It automatically opens into an Elements collection. Tap Create in the top-right corner of the pop-up window.
- Repeat for any other Elements collections you received.

- Open your planner, tap the Elements tool, and select your collection from the bottom of the window.
- Tap the sticker you want and move it to where you'd like it on the page.
- You can then use the Lasso or Images tools to modify the sticker.

Bonus: Because these are saved as Elements collections, you can use the stickers in any notebook within Goodnotes — not just your planner.
Method B: Use the Images tool (from your Photo Library)
Prefer to place stickers as images? Save your stickers to your Photo Library ahead of time, then:
- Tap the Images tool and select the sticker you want to add to your planner.
- Move it where you want it, and resize or rotate it using the icon in the bottom-left corner of the selection.

Part 2: Adding stickers in Noteful
Noteful has a built-in stickers panel that keeps all your imported stickers organized into collections (similar to Goodnotes elements too)! For best results, import PNG stickers (they have transparent backgrounds).
- Open Noteful and tap the Stickers option in the toolbar.
- Tap Add new (+), then choose Import File and select the PNG stickers saved on your iPad. (You can select multiple at once.)
- Choose to create a new collection for your imported set, or save them into Noteful's existing collection.
- To use a sticker, tap it in the panel, then tap your page to place it. Drag to move and pinch to resize.
Prefer drag and drop? Open Files beside Noteful in Split View, tap and hold a PNG (tap additional ones to grab several), and drag them into the Noteful stickers panel to import in bulk.
For a complete tour of Noteful — including the stickers panel and every other tool — watch our full tutorial:
Not a GoodNotes or Noteful user? Use the individual PNGs
If you're using another app, you can use the individual PNG stickers:
- Open the sticker file and tap Select in the top-right corner, then tap the stickers you want.
- Tap Share in the bottom-left corner and save to your camera roll (recommended) or another location.

Important: With this PNG method, do not choose the GoodNotes app as the save location — it will import as solid pages that you can't lasso and move around, which you don't want. Save to your camera roll instead, then add the stickers using the Images tool.
Pro tips for faster, better stickering
- Always use PNGs (or our .collection files). They have transparent backgrounds so stickers layer cleanly. A JPG will show a white box behind the image.
- Resize before you place. Pinch to scale a sticker down for daily boxes or up for monthly spreads.
- Save favorites as Elements (GoodNotes) or a Collection (Noteful). Import once, reuse forever.
- Keep a "sticker stash" folder in your Files app so all your sets live in one place.
Common questions
Why does my sticker have a white background?
That file is likely a JPG. Use the PNG version instead — PNGs are transparent. All KDigitalStudio stickers include PNG files for exactly this reason.
What's the difference between the .collection file and the PNGs?
The .collection file drops straight into GoodNotes' (or Noteful's) Elements tool so your whole set is ready to tap and place. The individual PNGs are for any other app, or for placing with the Images tool.
Do stickers work on both iPad and iPhone?
Yes. As long as your app syncs via iCloud, your imported sticker collections appear on all your devices.
Start stickering
Once your stickers are imported, decorating your planner takes seconds — and it's one of the most satisfying parts of digital planning. Ready to build your collection? Browse our digital sticker sets and mix them with matching covers for a planner that's fully you.

Share:
How to Use Digital Planner Covers in GoodNotes & Noteful
How to Add a Digital Planner App Icon to Your iPad Home Screen