

Step-by-Step Guide to Creating a Digital Planner Using Keynote on iPad Pro
Creating a digital planner can elevate your organization game while allowing for creativity and personalization. In this comprehensive tutorial, we will walk through each step to design a digital planner using Keynote on an iPad Pro, complete with tips and tricks to enhance your final product.
Table of Contents
- Step 1: Gather Your Tools
- Step 2: Open Keynote
- Step 3: Set Up Your Document
- Step 4: Create the Planner's Background
- Step 5: Add Pages to Your Planner
- Step 6: Insert Rings
- Step 7: Create Tabs for Your Planner
- Step 8: Add Stitching for Realism
- Step 9: Design a Cover
- Step 10: Utilize Master Slides
- Step 11: Implement Flipping Tabs
- Step 12: Export Your Planner
- Step 13: Test Links in GoodNotes
- Step 14: Explore Examples of Created Planners
Step 1: Gather Your Tools
To start your digital planner project, you need a few essential tools. First, you will require an iPad Pro, preferably the 2018 model with an 11-inch display. It’s also recommended to have the second-generation Apple Pencil for precise control while designing.
Keynote is the primary app you'll be using for this creation. If you do not have it installed on your iPad, download it from the Apple Store; it’s free. Alternatively, if you don’t own an Apple device, you can access Keynote through iCloud on any browser.
While Keynote is the focus here, remember that similar planner designs can be created on any tablet using apps like PowerPoint or Google Slides. The functionalities are comparable, so choose what works best for you.
Step 2: Open Keynote
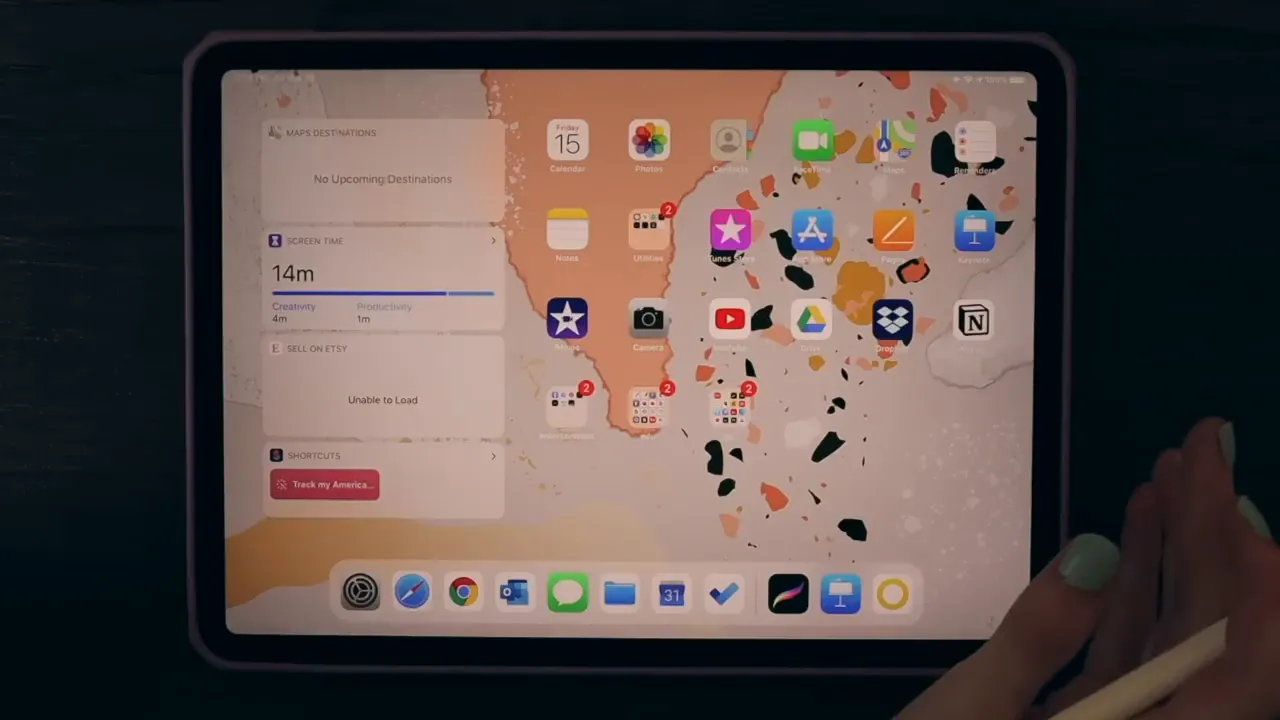
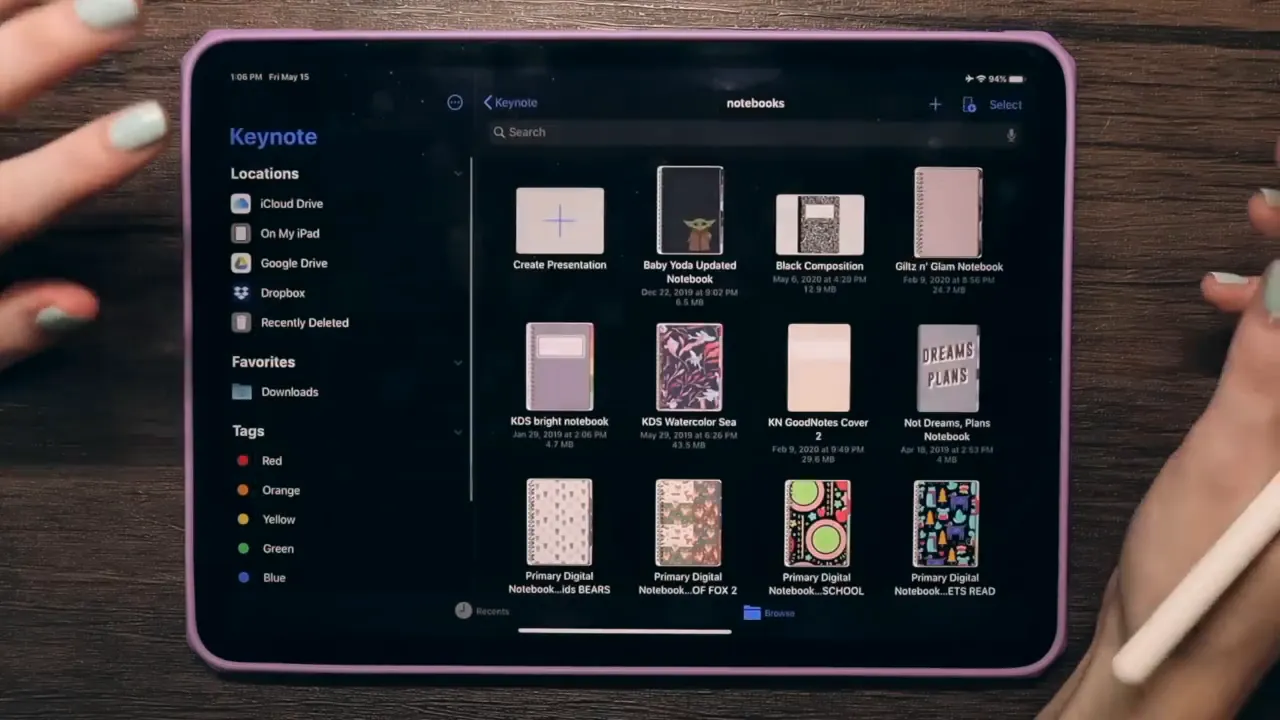
Once you have your tools ready, the next step is to open Keynote. When you launch the app, you'll be greeted with a clean interface showcasing your existing projects. If you’re new, this area will be empty.
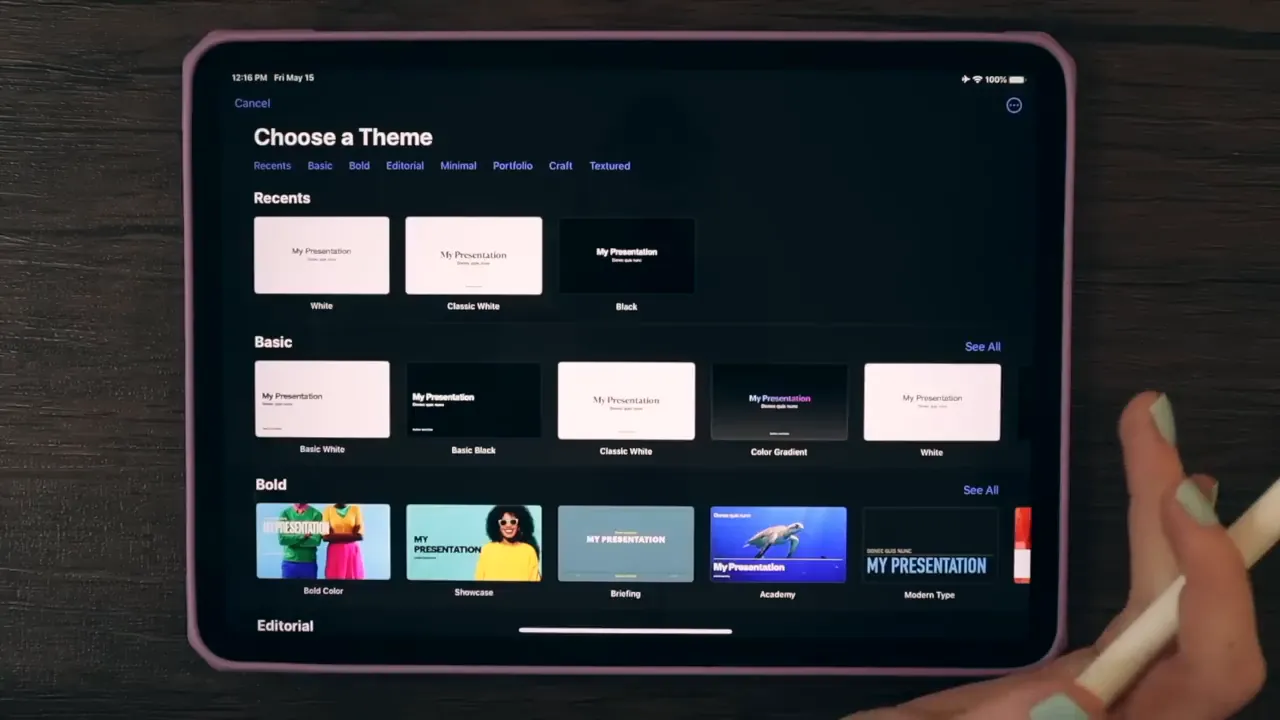
To start a new project, tap on the “Create Presentation” option. Keynote may have updated its design recently, but the process remains straightforward. Select a blank white background to begin.
Step 3: Set Up Your Document
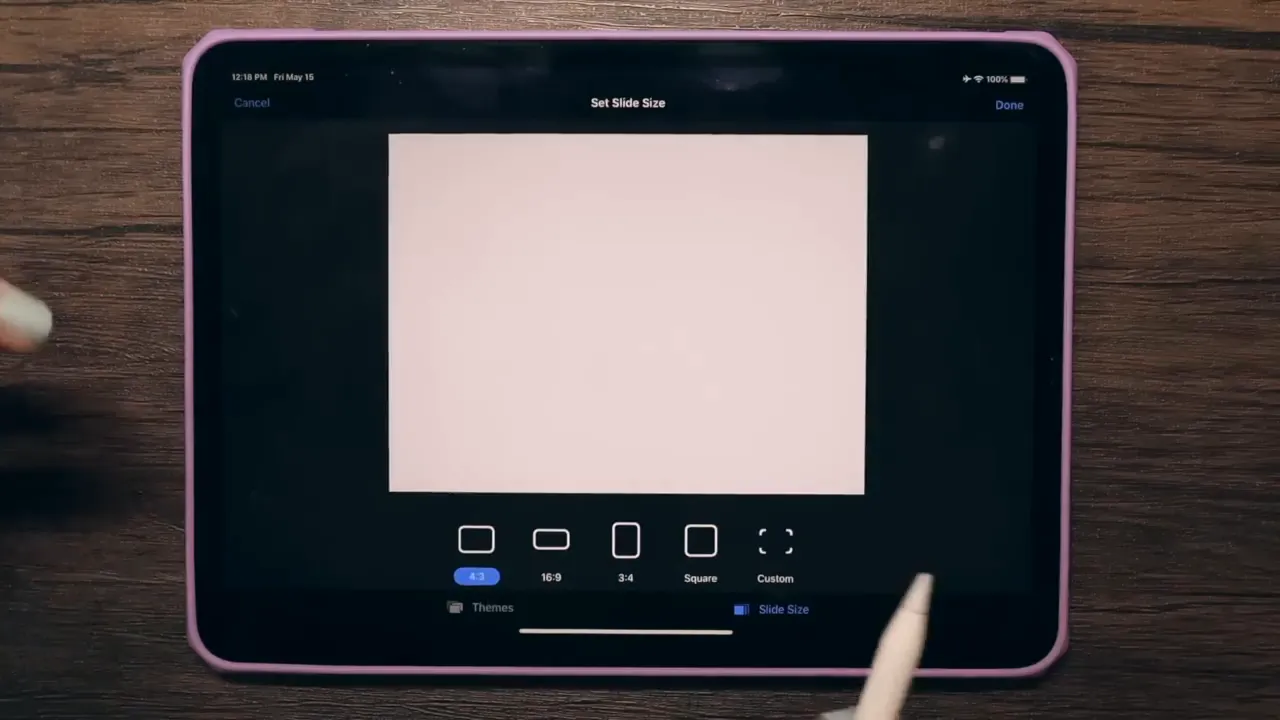
After creating a new presentation, you’ll need to set up your document correctly. By default, Keynote may set your slide size to a widescreen format of 16:9. However, for a planner, you might prefer a different aspect ratio.
To adjust the slide size, tap on the three dots in the top right corner and select “Document Setup.” Here, you can choose from various preset sizes or create a custom size. For this project, a custom size of 2388 by 1638 pixels is ideal.
Step 4: Create the Planner's Background
With your document set up, it's time to create the planner's background. You can choose to leave the background white or opt for a subtle gray tone. For a more personalized touch, consider adding a textured image.
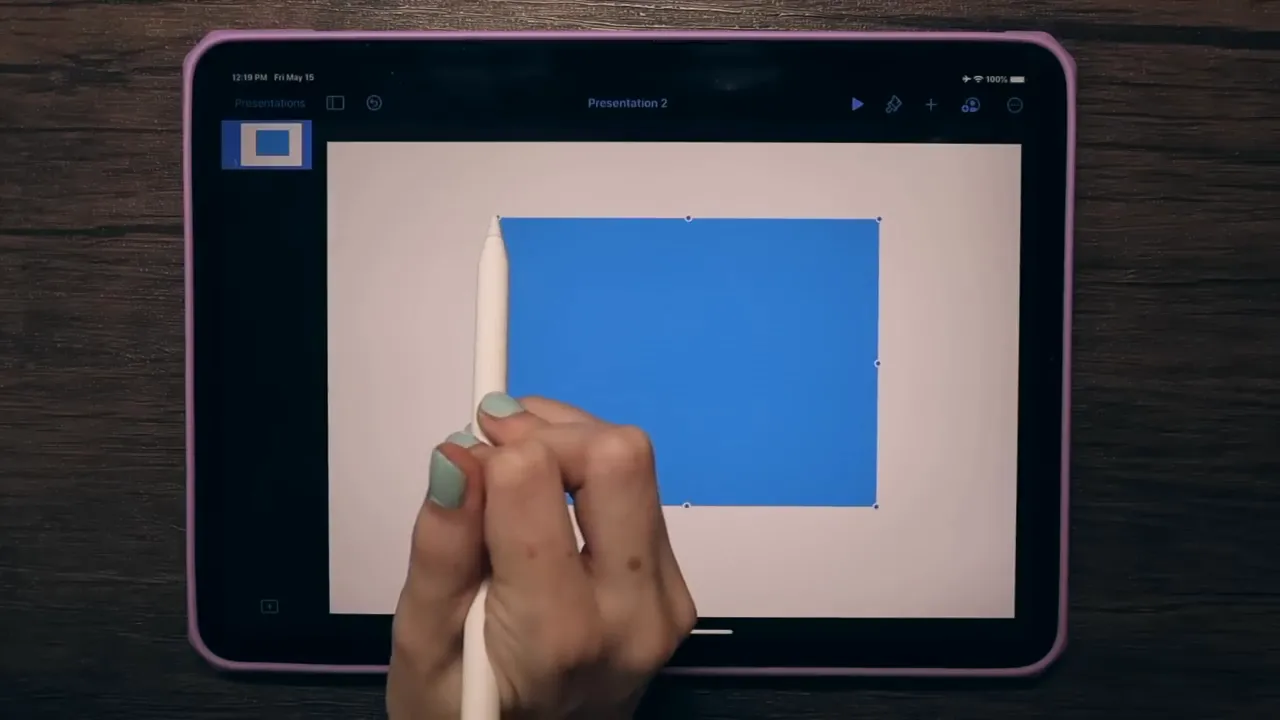
To select a background image, tap the plus button, navigate to the shapes icon, and choose the rounded square shape. Adjust the corners using the green dot to achieve a softer effect.
Once you have your shape, you can apply color or texture using the paintbrush tool. This step adds depth and character to your planner, making it visually appealing.
Step 5: Add Pages to Your Planner
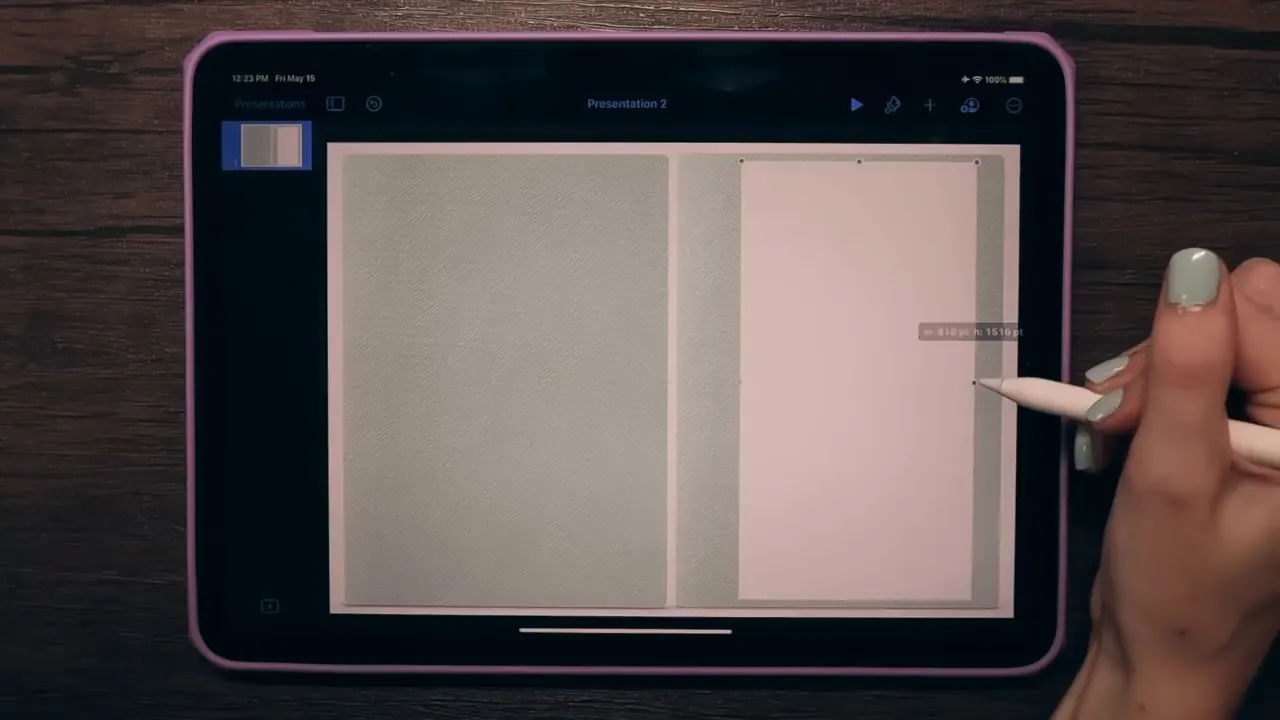
Now that the background is ready, you can start adding pages to your planner. Use the plus button again to select a rectangle shape for the planner pages. Set the fill color to white, ensuring that some of the background is still visible to create a layered look.
To give the pages a realistic appearance, apply a shadow effect. This makes it look as if the pages are slightly lifted off the background. You can copy and paste the page shape to create multiple pages, stacking them to simulate a real planner.
For precise alignment, use Keynote’s guide feature. This will help you position the pages accurately without any hassle.
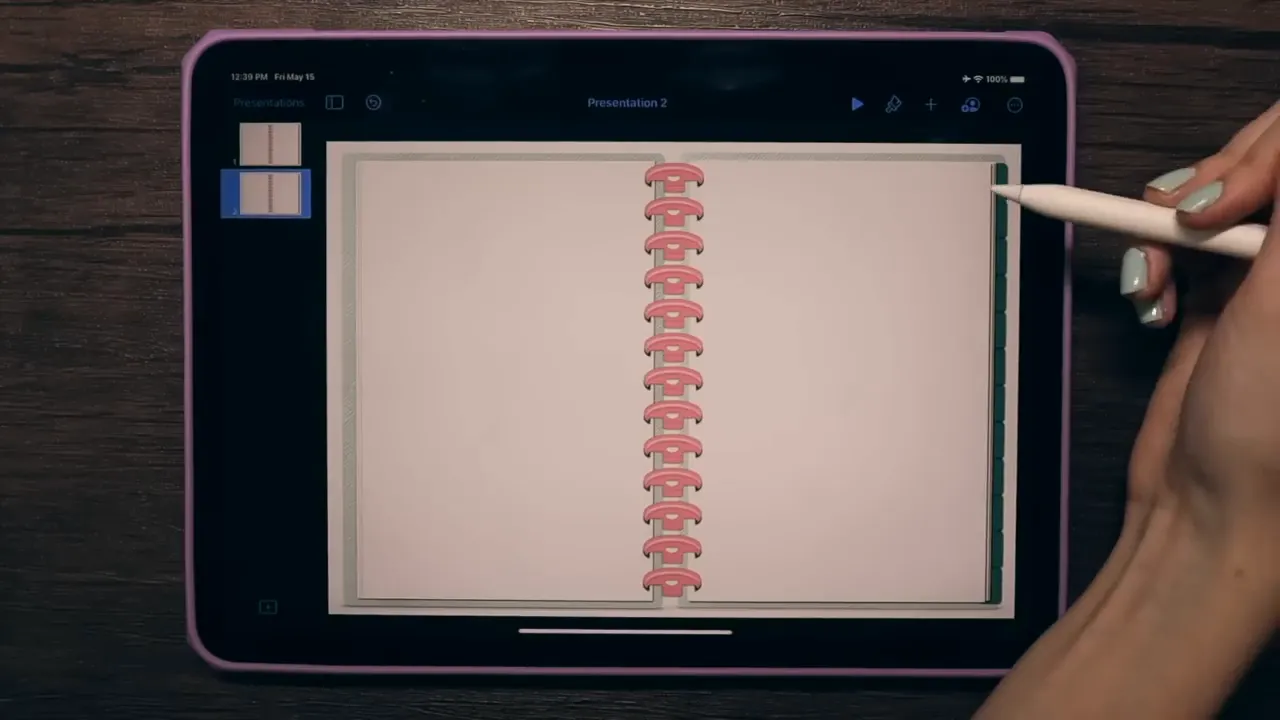
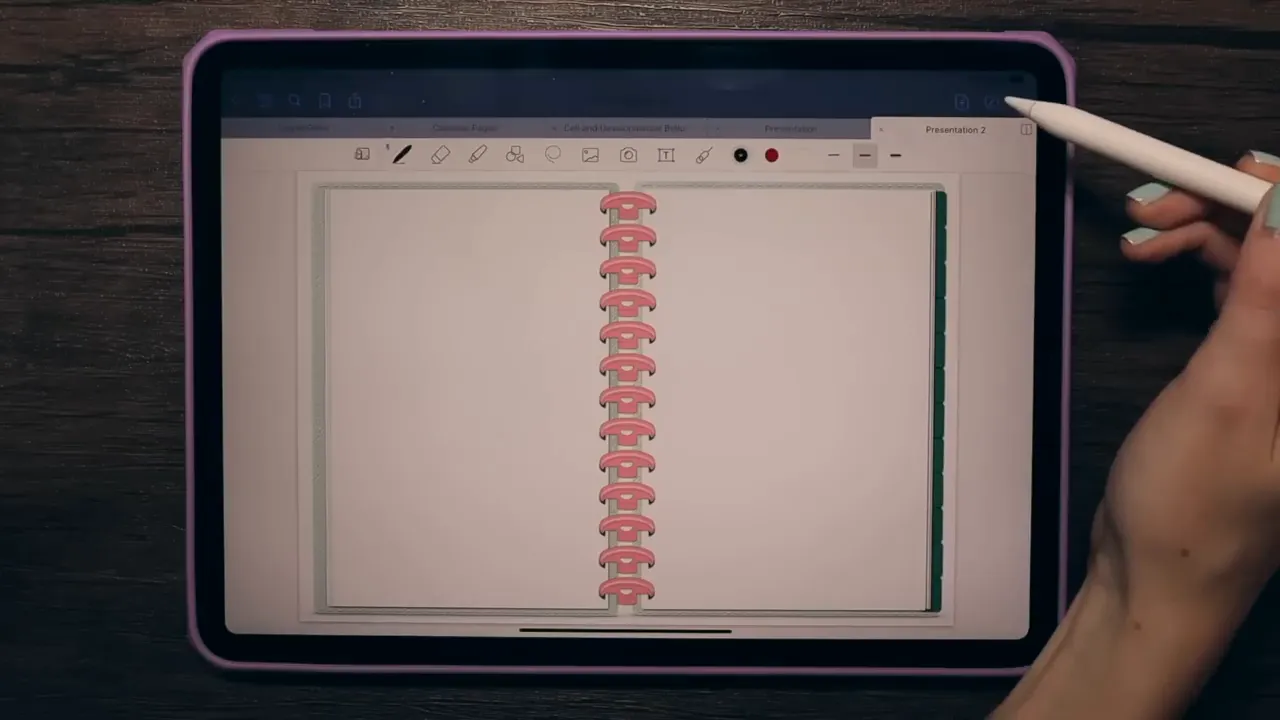
Step 6: Insert Rings
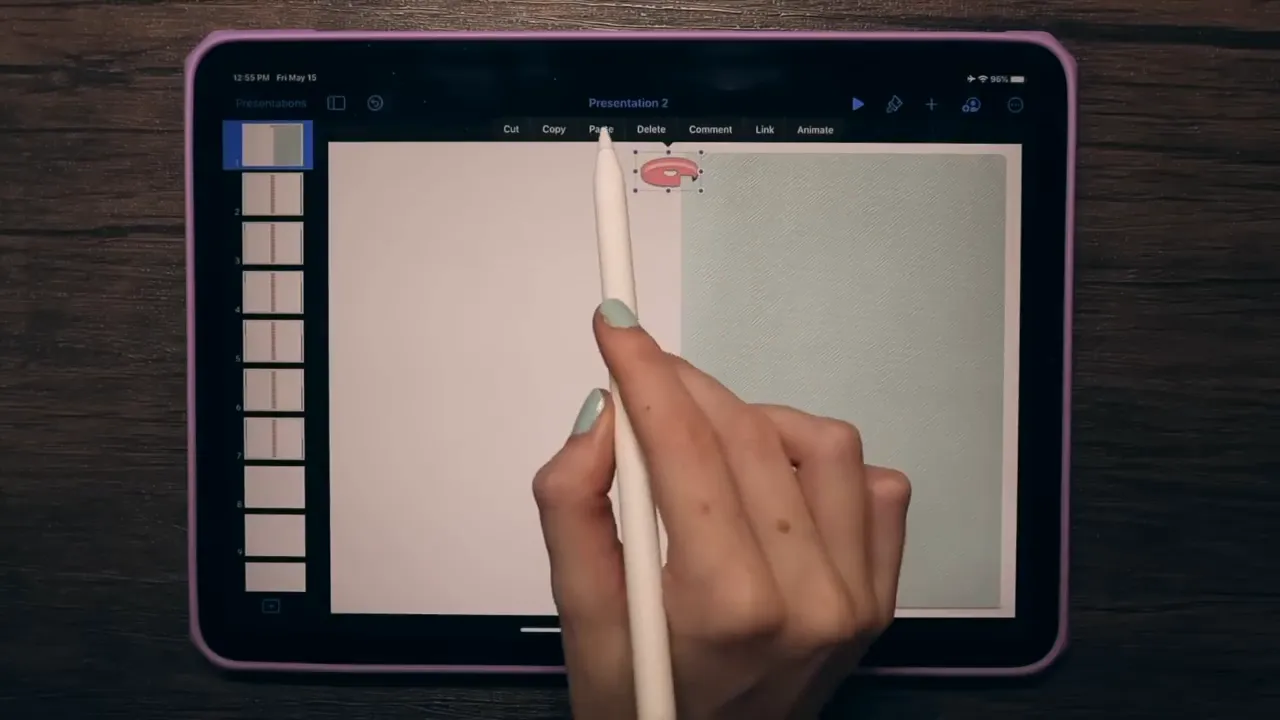
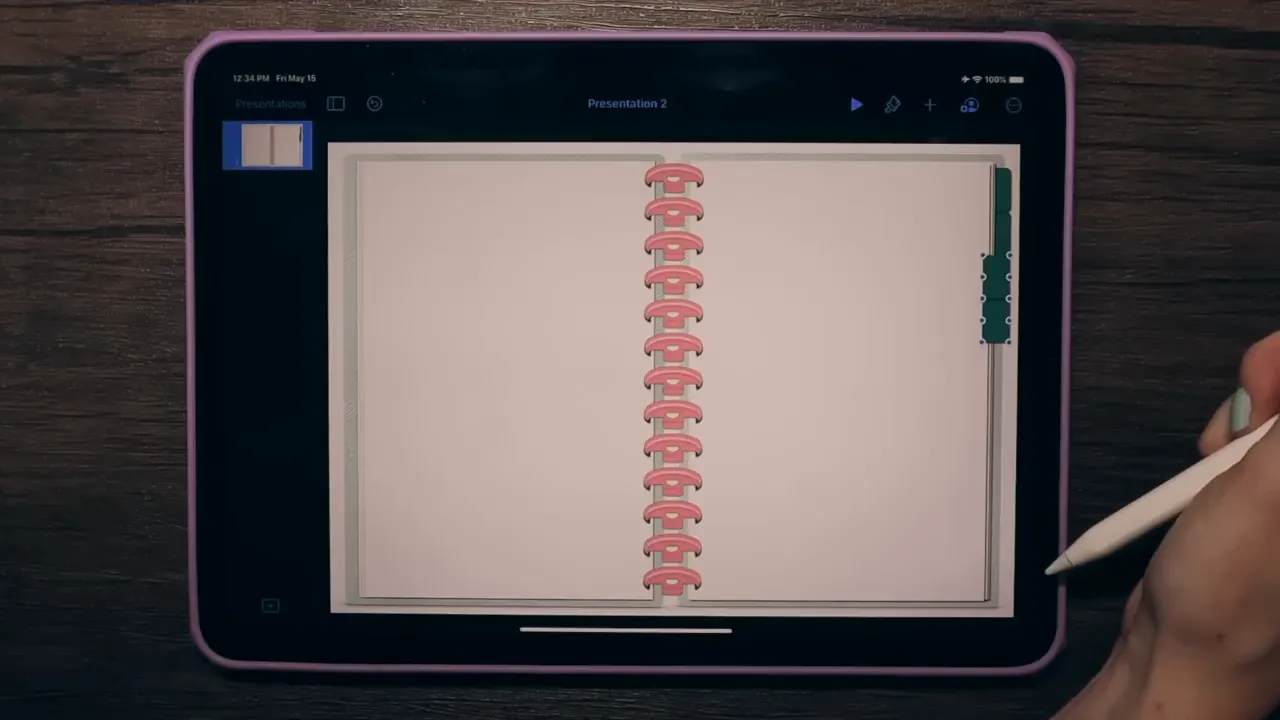
To give your planner a realistic look, you need to insert rings. Start by selecting the image of the rings you want to use. You can find various ring images online or create your own using shapes in Keynote.
Once you have your ring image, go to the plus button and select “Image” to add it to your planner. Position the rings at the top of your pages, ensuring they align with the tabs for a cohesive look.
Step 7: Create Tabs for Your Planner
Next, it's time to create tabs for your planner. Select the plus button and navigate to the shapes section. Choose the rounded rectangle shape, which works perfectly for tabs.
Adjust the color of your tabs to match your planner's theme. If your cover is teal, consider using a shade from the teal palette. Adding a shadow effect will also enhance the realism of your tabs.
Once you have your first tab created, copy and paste it to create additional tabs. Position them closely together, ensuring they appear layered for depth. For a monthly planner, you’ll want twelve tabs, one for each month.
Step 8: Add Stitching for Realism
To further enhance the look of your planner, consider adding stitching around the edges. This detail mimics the appearance of physical planners and adds a tactile element to your design.
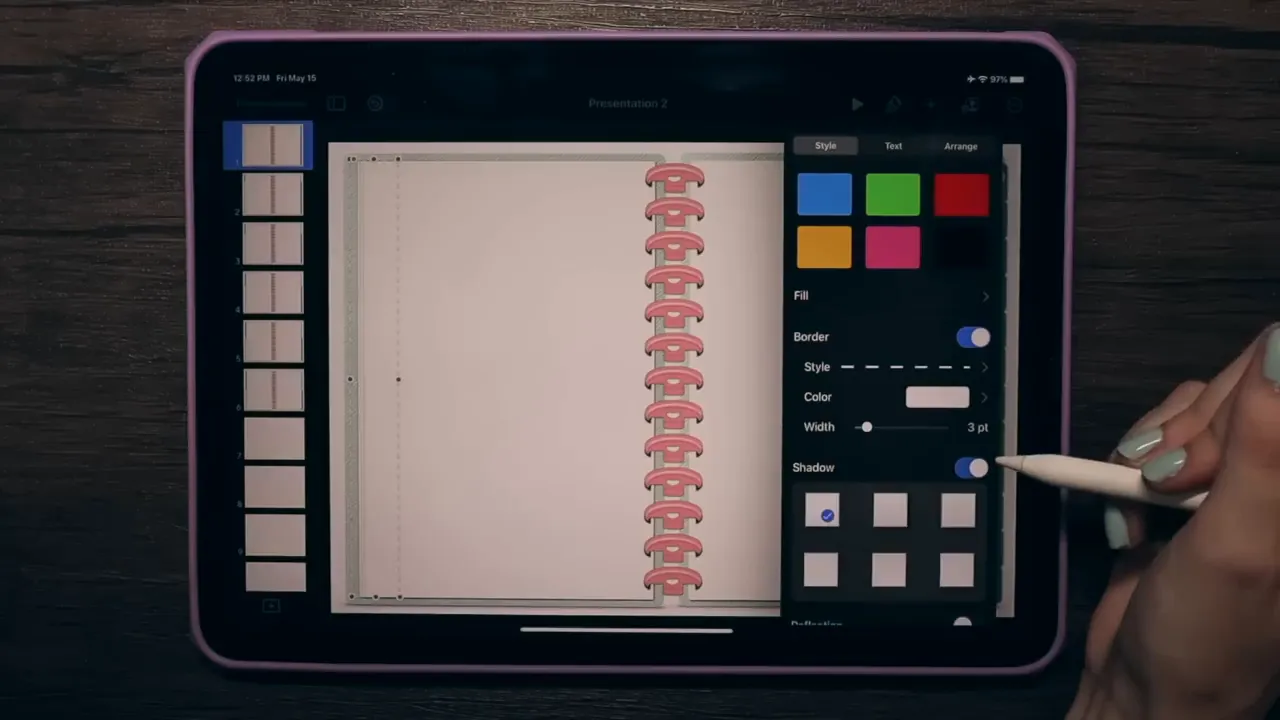
Select the rounded square shape again and set its fill to “No Fill.” Then, adjust the border settings to create a dashed stitch effect. Choose a color that contrasts nicely with your planner's cover.
Adjust the border width to ensure the stitching is visible but not overpowering. A width of around three points typically works well. You can also add a drop shadow to the stitching for added depth.
Step 9: Design a Cover
Creating a striking cover for your planner is essential. Start with a blank slide and copy the elements from your planner page to maintain consistency in design.
Position the elements to create a visually appealing cover, ensuring the rings and stitching align with the overall theme. You can also add a title or spot for the user's name to personalize the planner.
Step 10: Utilize Master Slides
Master slides are a powerful feature in Keynote that can streamline your workflow. They allow you to create a template that can be applied across multiple slides without needing to recreate elements each time.
To create a master slide, select your completed slide and copy all its elements. Then, navigate to the master slide settings and paste your design into a new master slide. This will help maintain a consistent layout across your planner's pages.
Keep in mind that changes made to a master slide will affect all slides linked to it. Therefore, it’s best used for pages that share similar layouts, such as monthly or weekly templates.
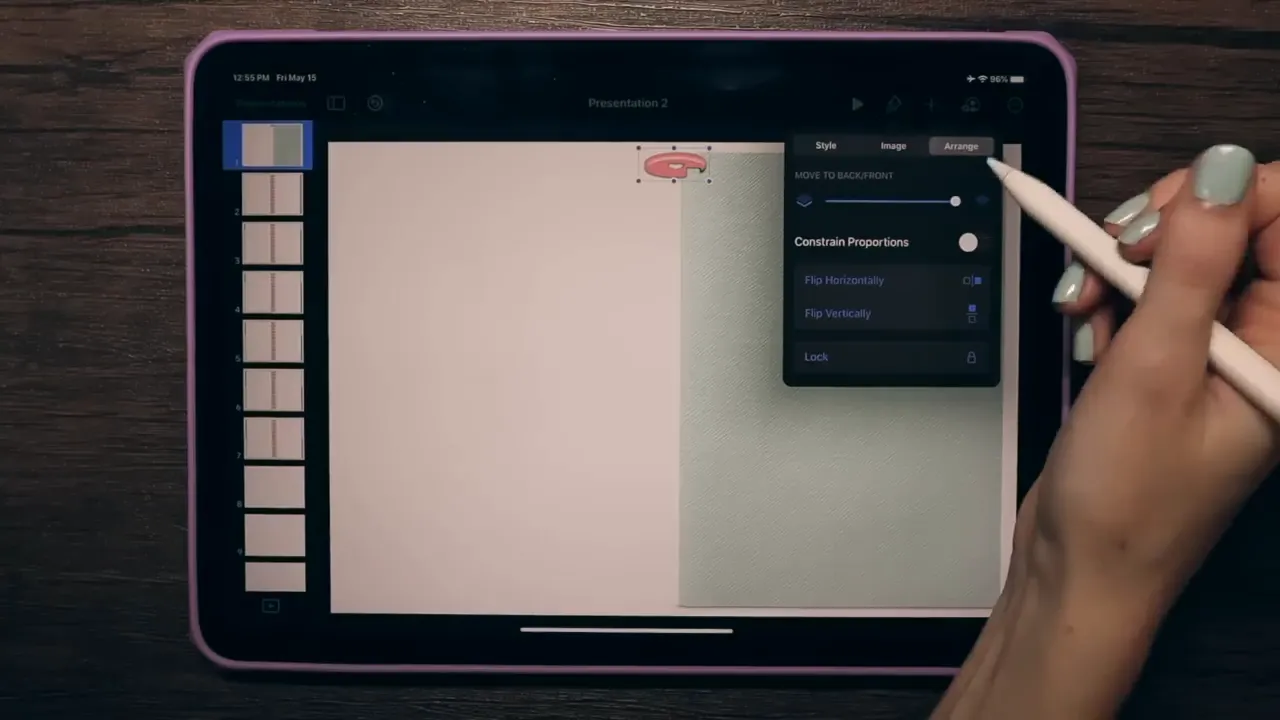
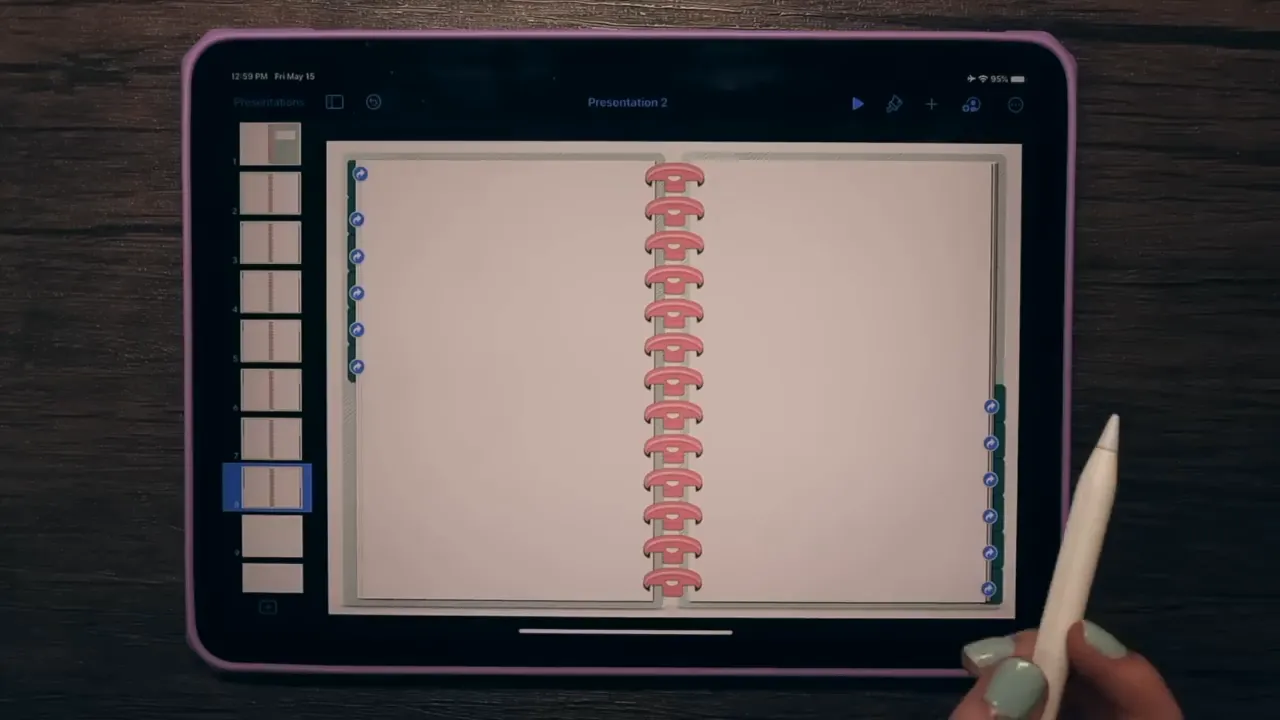
Step 11: Implement Flipping Tabs
Flipping tabs can add a dynamic touch to your digital planner. To create the illusion of tabs flipping, you’ll need to design them in such a way that they appear to move when selected.
Start by creating your tab shapes and positioning them on the side of your planner. Then, for each tab, create a corresponding page that will be displayed when the tab is clicked. Utilize the master slide to maintain uniformity across your tabs.
For the flipping effect, instead of using master slides for each tab, design them as individual slides. This allows you to animate the tabs to give the impression that they are flipping open. Adjust the positioning of the tabs slightly to enhance the effect.
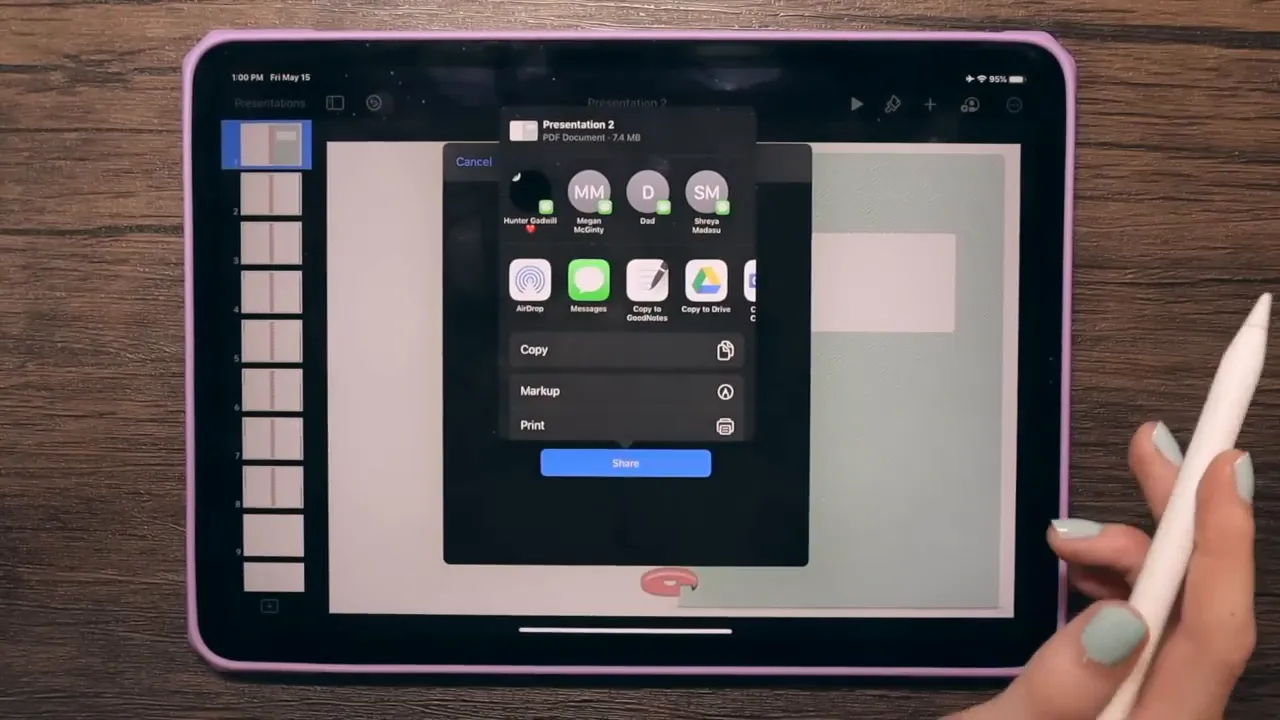
Step 12: Export Your Planner
Once your planner is complete, it’s time to export it for use in applications like GoodNotes. First, tap the three dots in the top right corner of Keynote and select the export option.
Choose to export your planner as a PDF. This format preserves all the links and interactive elements you’ve created, ensuring they function correctly in GoodNotes.
After selecting PDF, you’ll have a few options for exporting. You can airdrop it to your computer, save it to Google Drive, or directly copy it into GoodNotes. For this tutorial, we’ll copy it directly to GoodNotes.
Step 13: Test Links in GoodNotes
After importing your planner into GoodNotes, it’s crucial to check that all your links work properly. Open the planner file and ensure you have the pen tool selected; this is essential for clicking on the links.
If the pen tool is not selected, you won’t be able to activate any links. Once selected, click on each tab and link to verify that they navigate to the correct pages. This step is vital to ensure a seamless user experience.
Step 14: Explore Examples of Created Planners
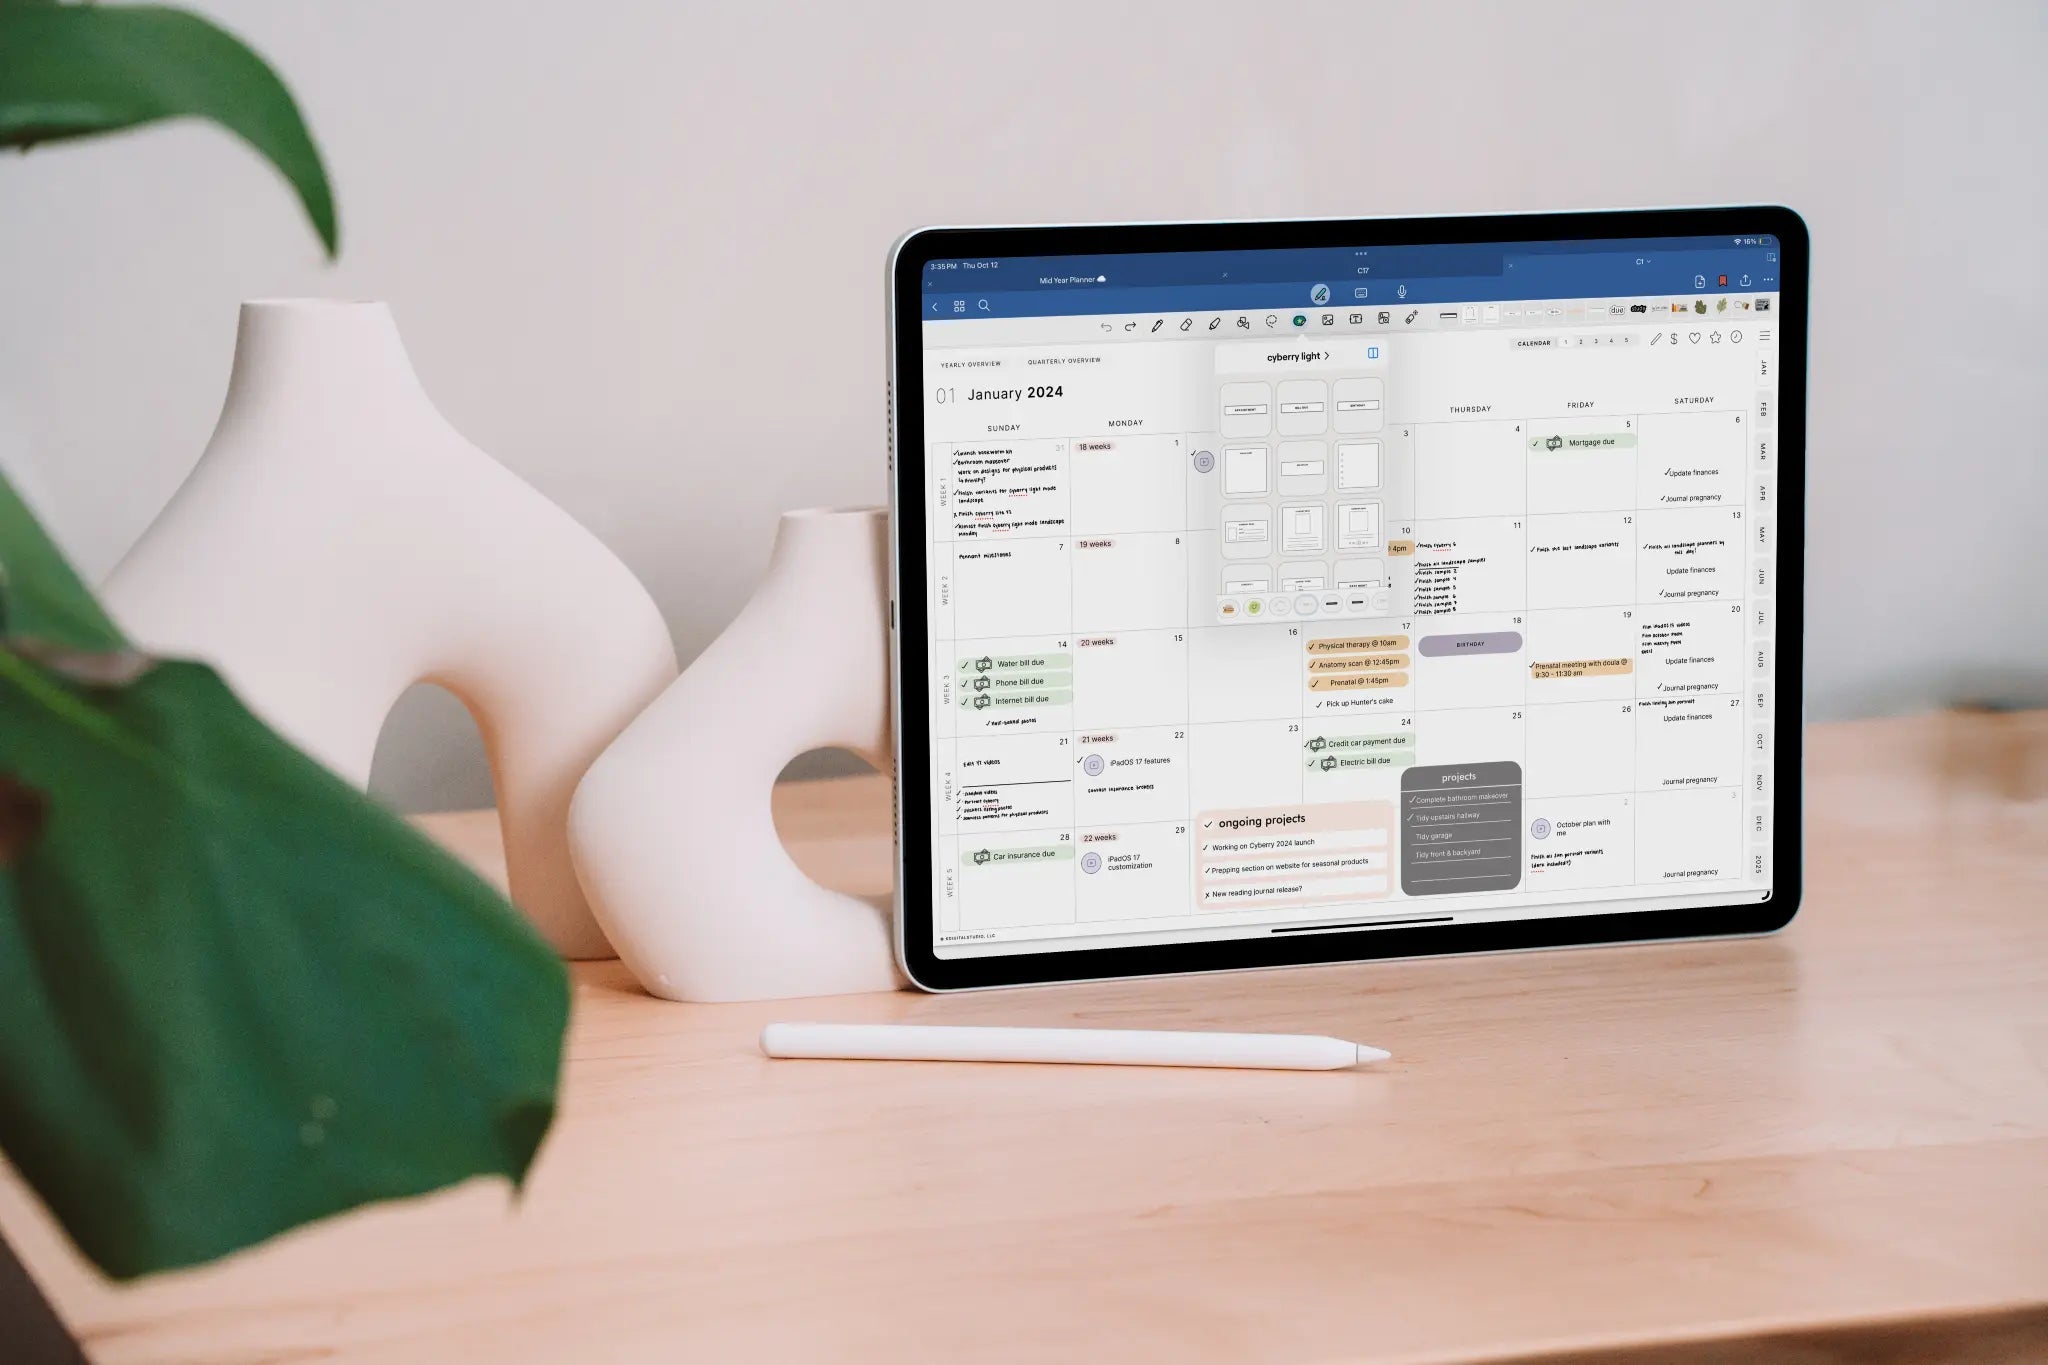
To get inspired, take a look at examples of planners that have been created using this method. For instance, one planner features tabs that appear to flip, enhancing the interactive experience for users.
Another example is a notebook-style planner, which effectively utilizes master slides to create a consistent layout across various pages. Each template is linked within the master slide, making navigation easy and intuitive.
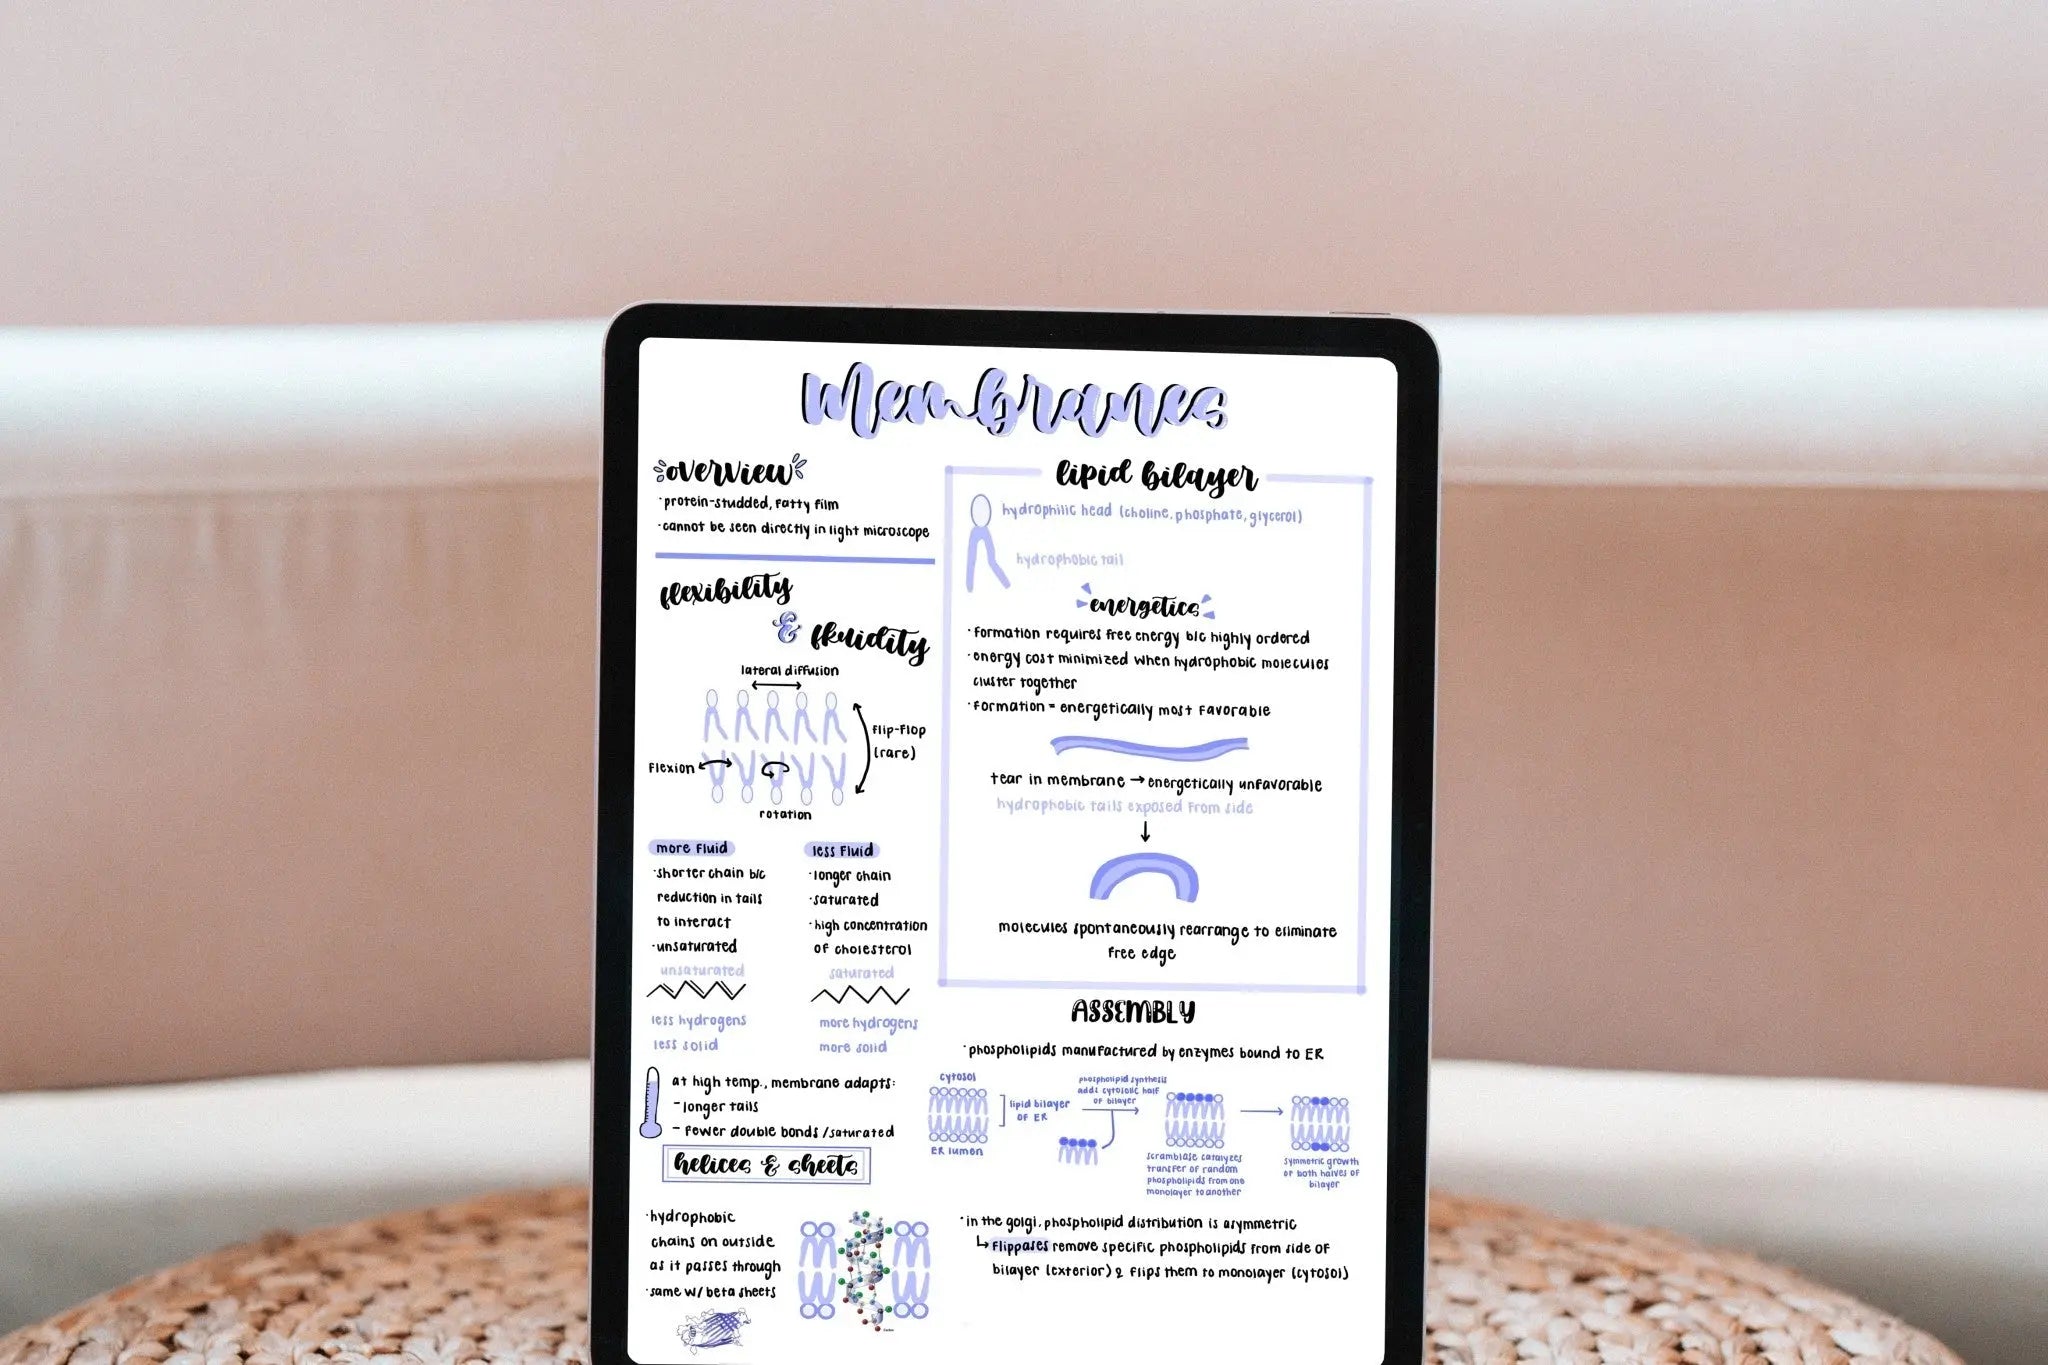
These examples showcase the versatility of digital planners; you can create anything from simple organizers to complex notebooks. Explore these designs to spark your creativity and consider how you can apply similar techniques in your own planner.

Share:
Why My iPad is My Computer: Embracing an iPad-First Workflow
Comprehensive Guide to GoodNotes 5: Features, Tools, and Tips