

How to Take Notes on Your iPad Pro with GoodNotes
Are you curious about how to effectively take notes on your iPad? Whether you're a student, a professional, or just someone who loves to jot down ideas, digital note-taking can be a game-changer. In this guide, I’ll walk you through my personal note-taking system using GoodNotes on my iPad Pro 12.9” (2021) and share some tips and tricks to make your notes not only effective but also aesthetically pleasing.
Step 1: Setting Up Your GoodNotes Environment
To kick things off, let’s talk about the tools I use. My note-taking setup consists of:
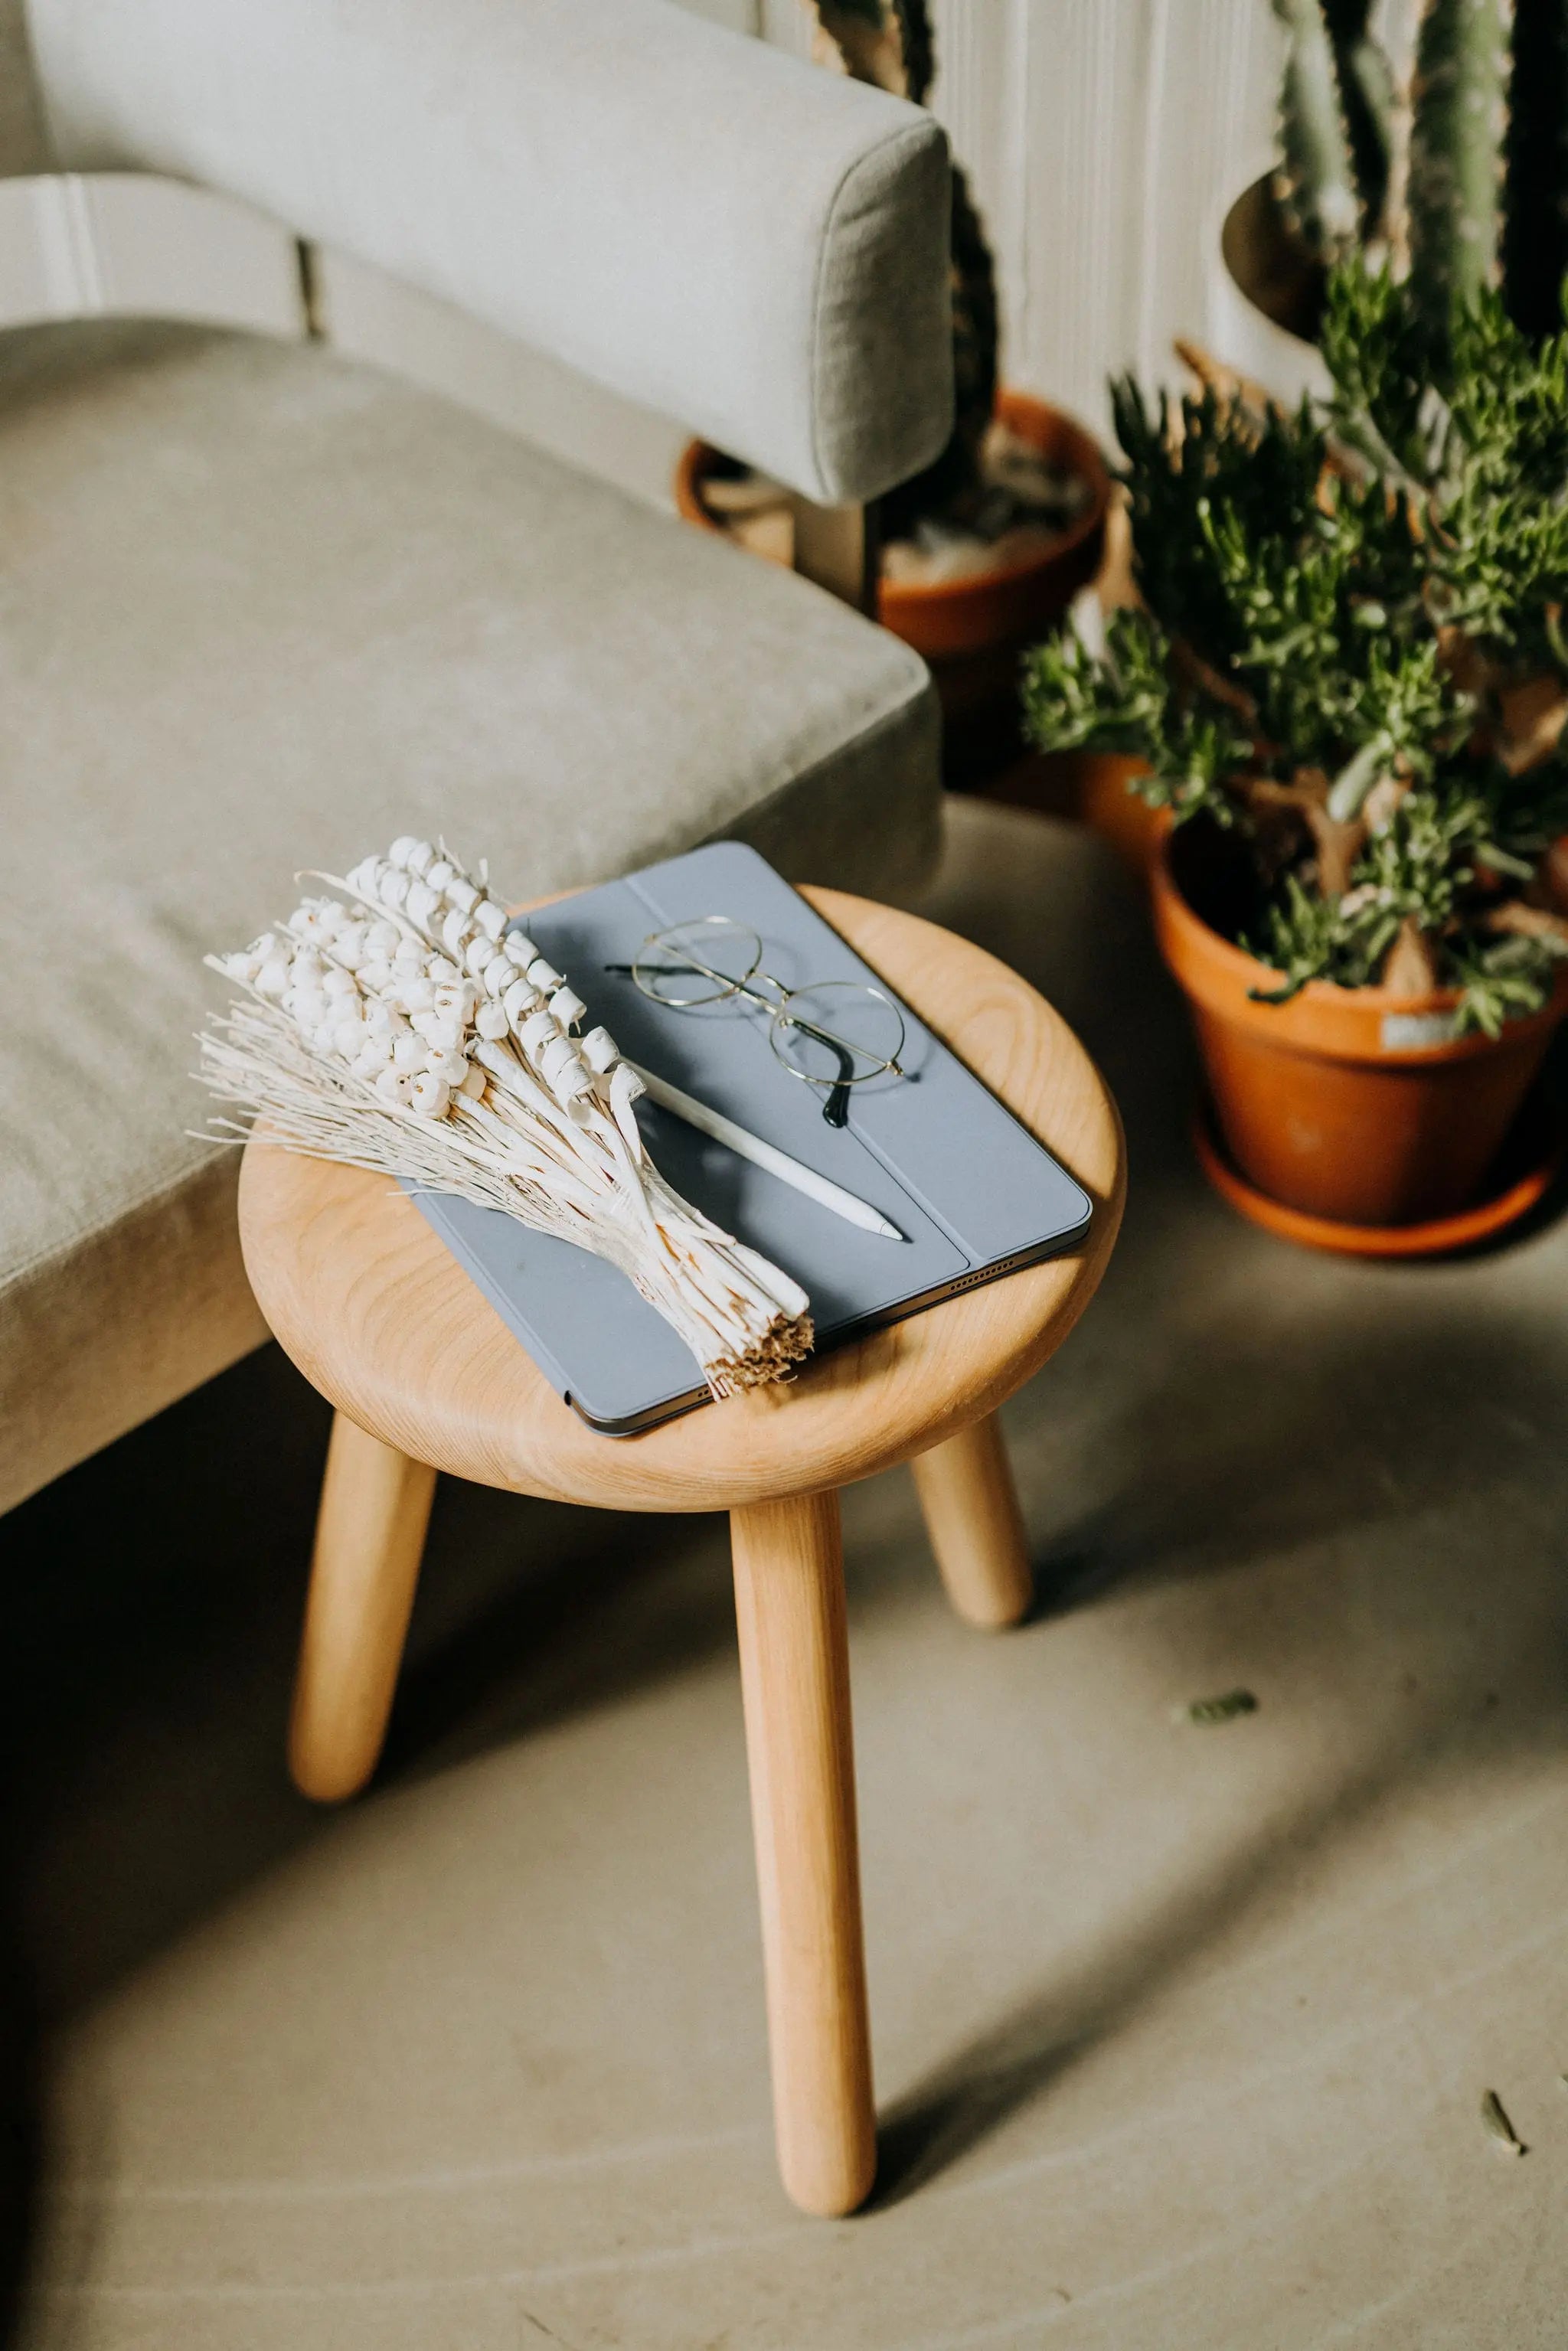
- iPad Pro 12.9” (5th generation): This model is perfect for note-taking due to its large screen.
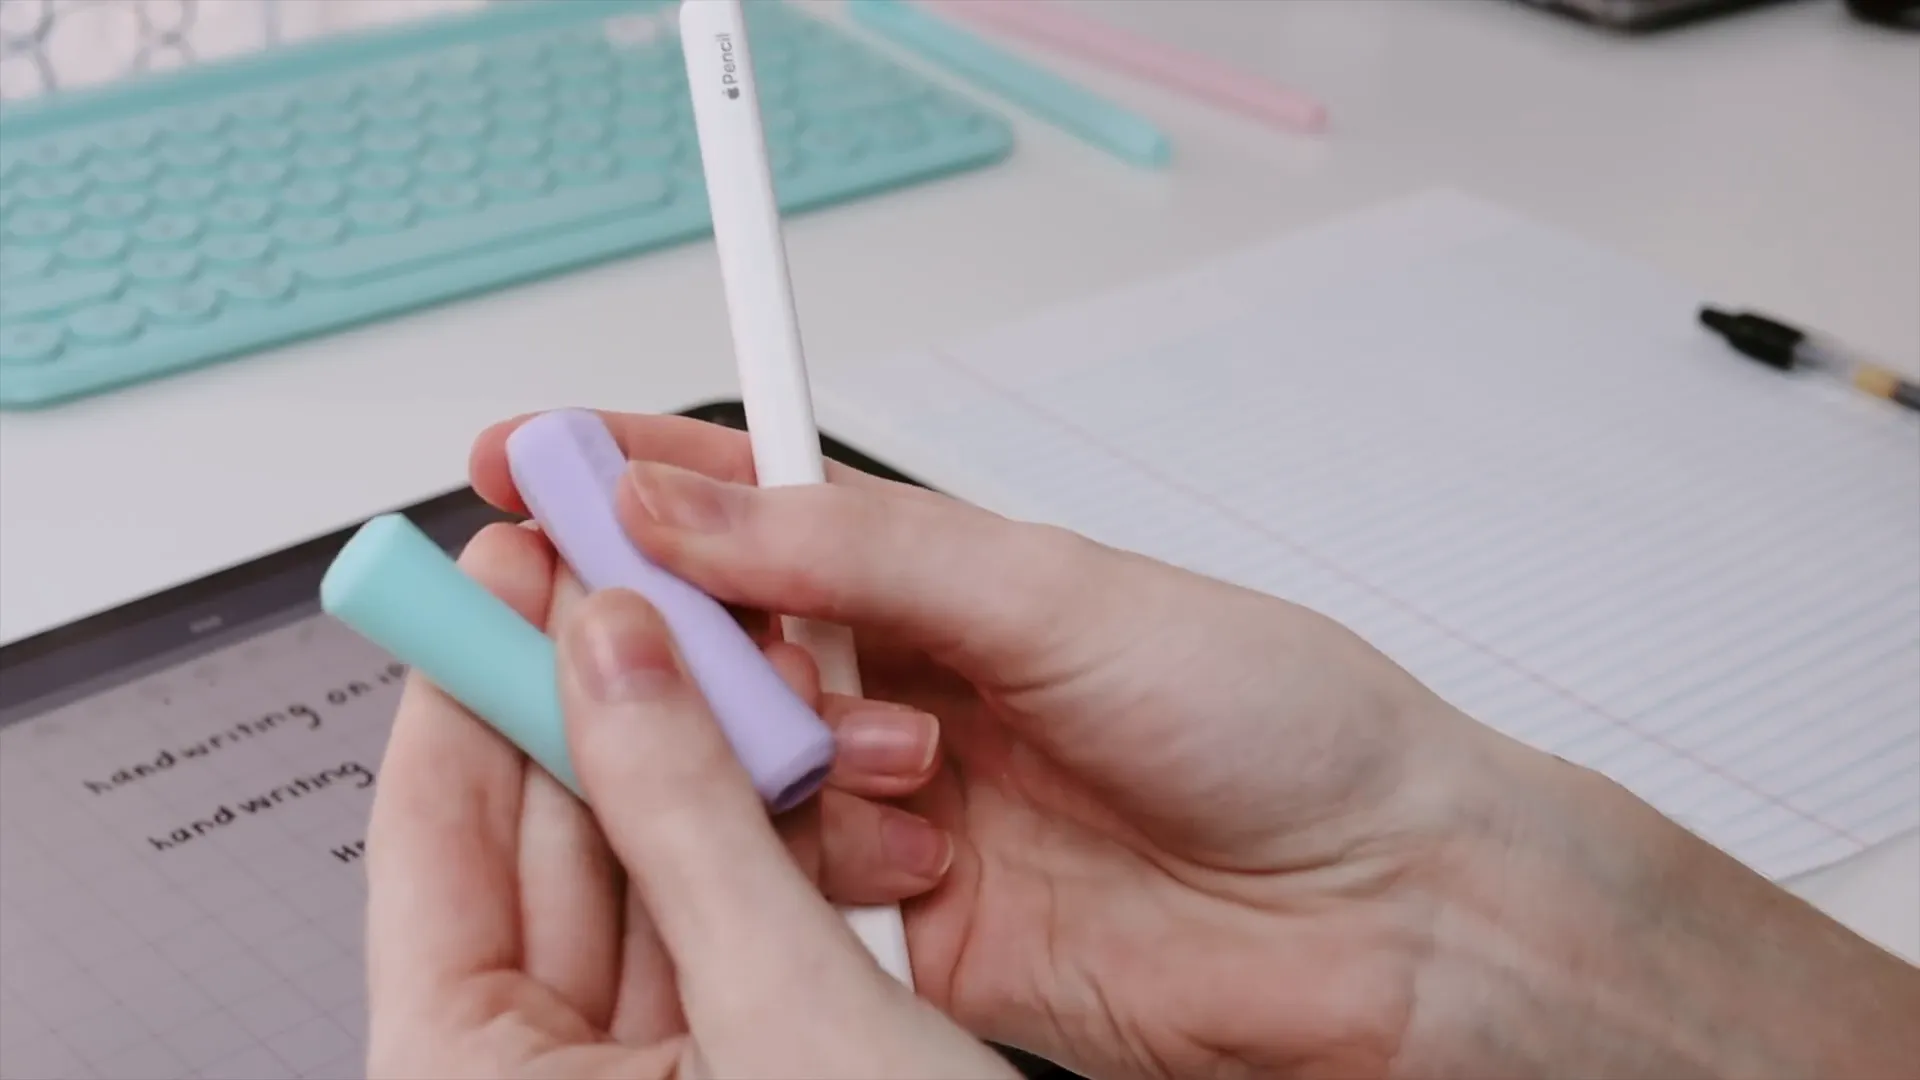
- 2nd Generation Apple Pencil: Essential for writing and drawing.
- Nimble Grip and Sleeve: These accessories enhance comfort during long writing sessions.
- GoodNotes App: The primary app I use for all my notes.
Using these tools, I create a structured environment in GoodNotes. I typically start by creating a folder for each class or subject I’m studying.
Step 2: Organizing Your Notes
Organization is key! For each class folder, I create subfolders for various categories like:
- Assignments
- Lecture Slides
- Practice Notes
This structure allows me to keep important documents, like the syllabus, easily accessible without cluttering my folders.
Step 3: Creating Your First Note
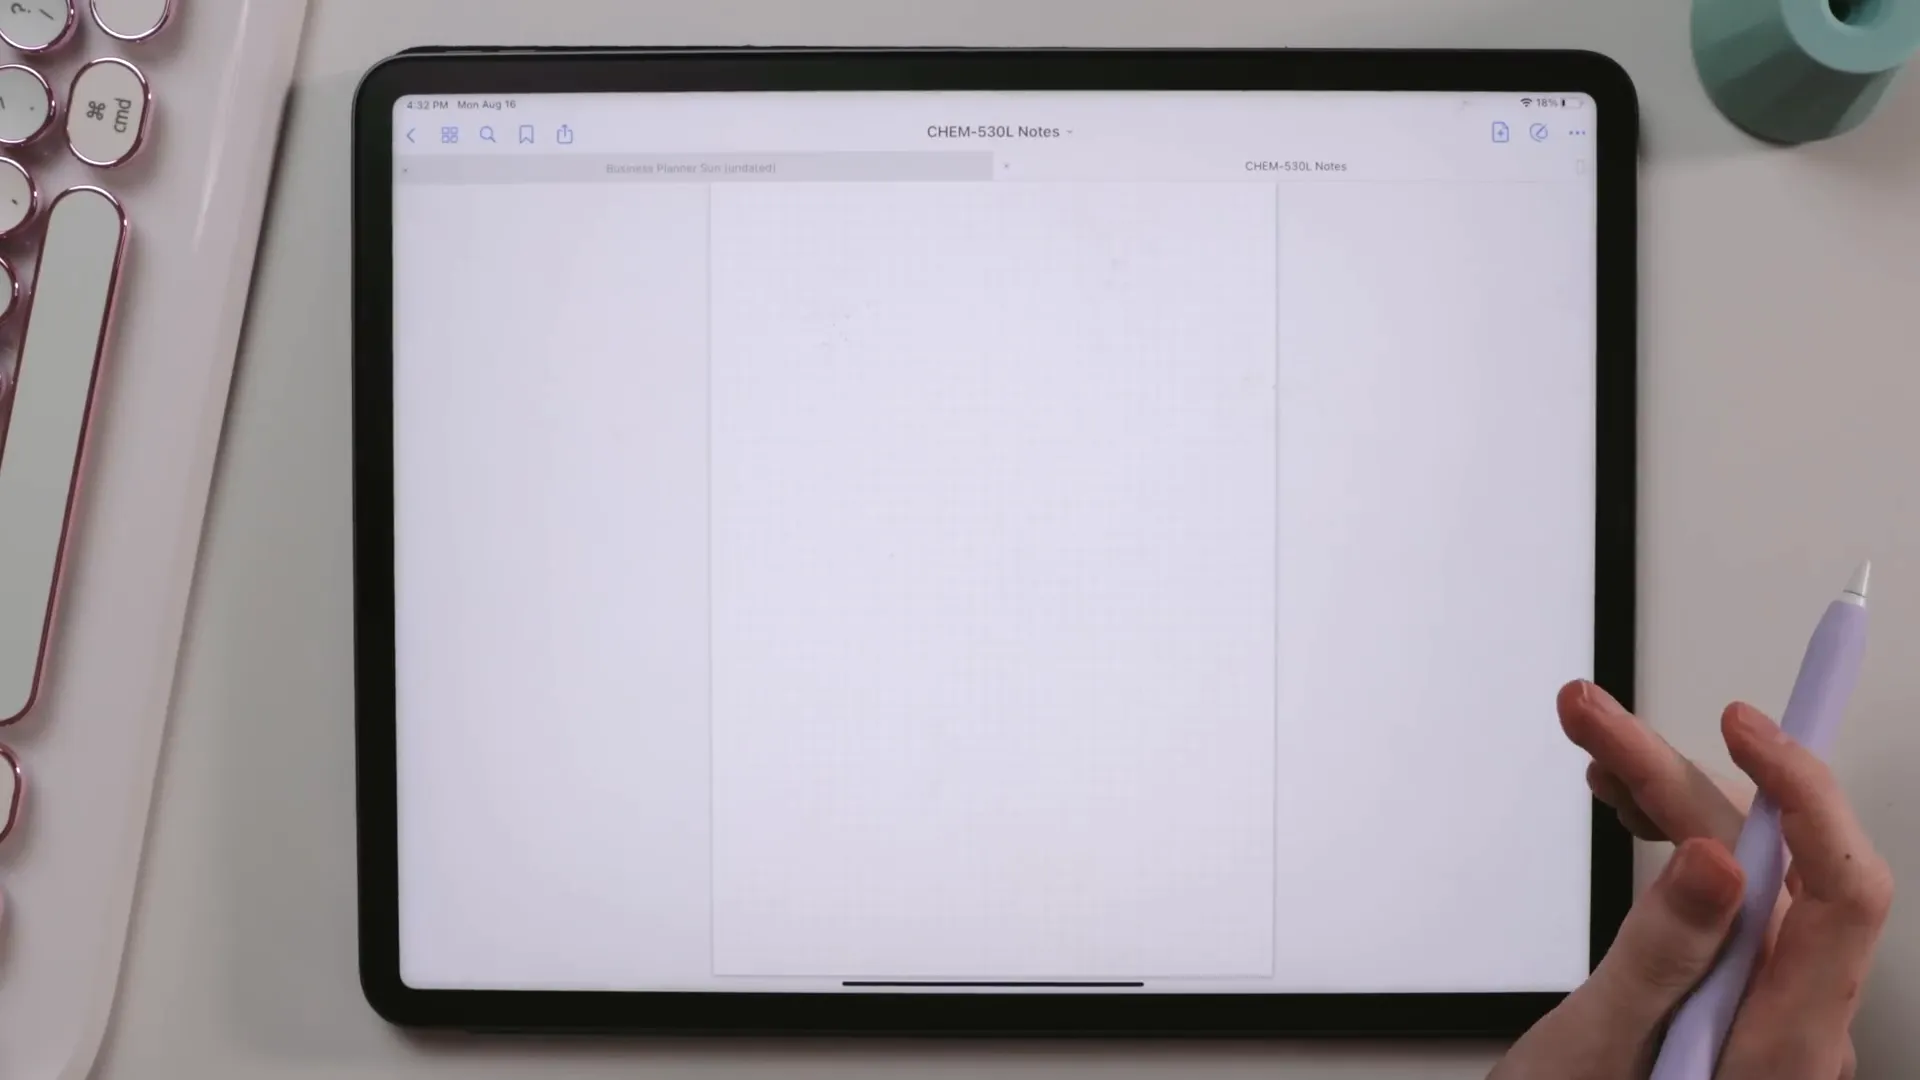
Now, let’s dive into the note-taking process. When I create a new note, I always title it with the chapter number and the main topic of the lecture. I typically opt for the grid paper template, specifically the one from GoodNotes 4, which I find more visually appealing than the default one in GoodNotes 5.
If you're interested, you can download the grid paper template here.
Step 4: Designing Your Notes
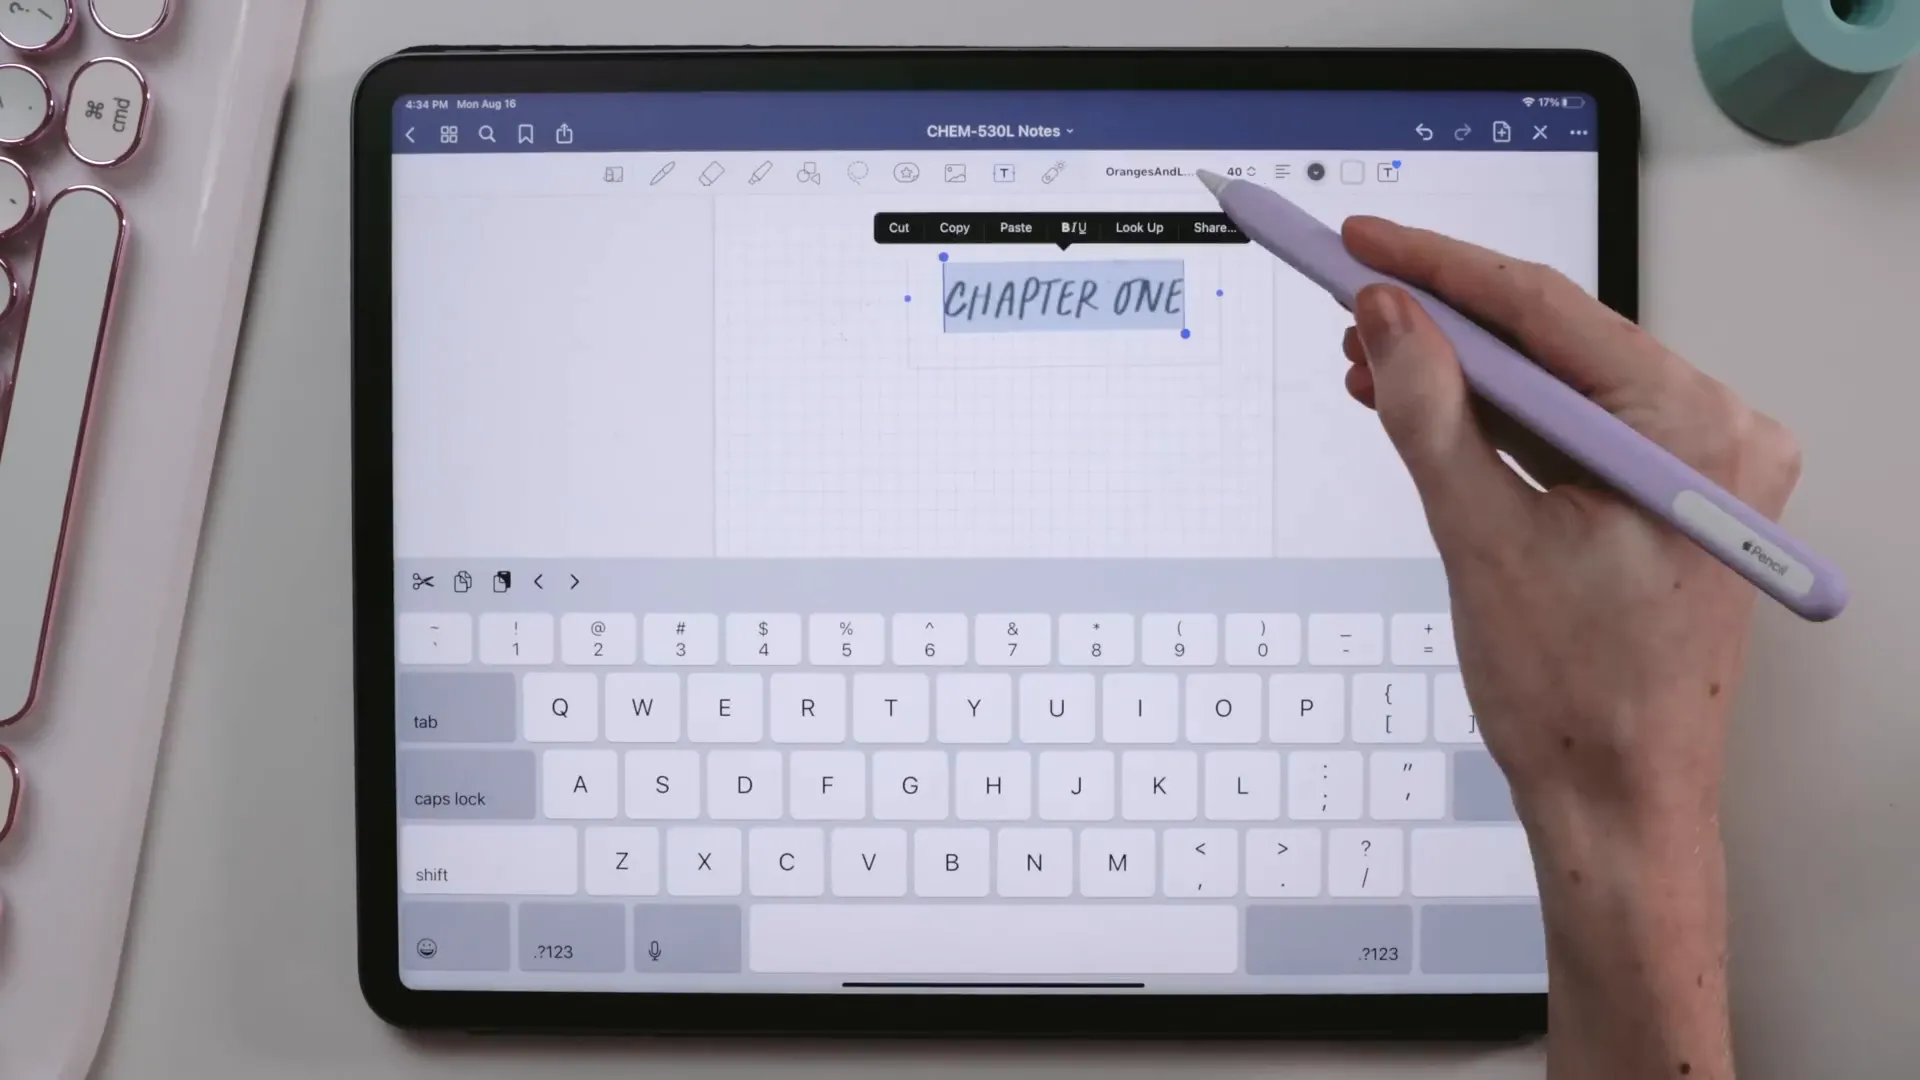
My notes start with a fancy heading, which I either hand-letter or type in a fun font. I use different fonts for each class to create a distinct look, and I choose an accent color for each chapter. For example, chapter one might be purple, while chapter two could be red. This color coding helps in quickly identifying topics later on.
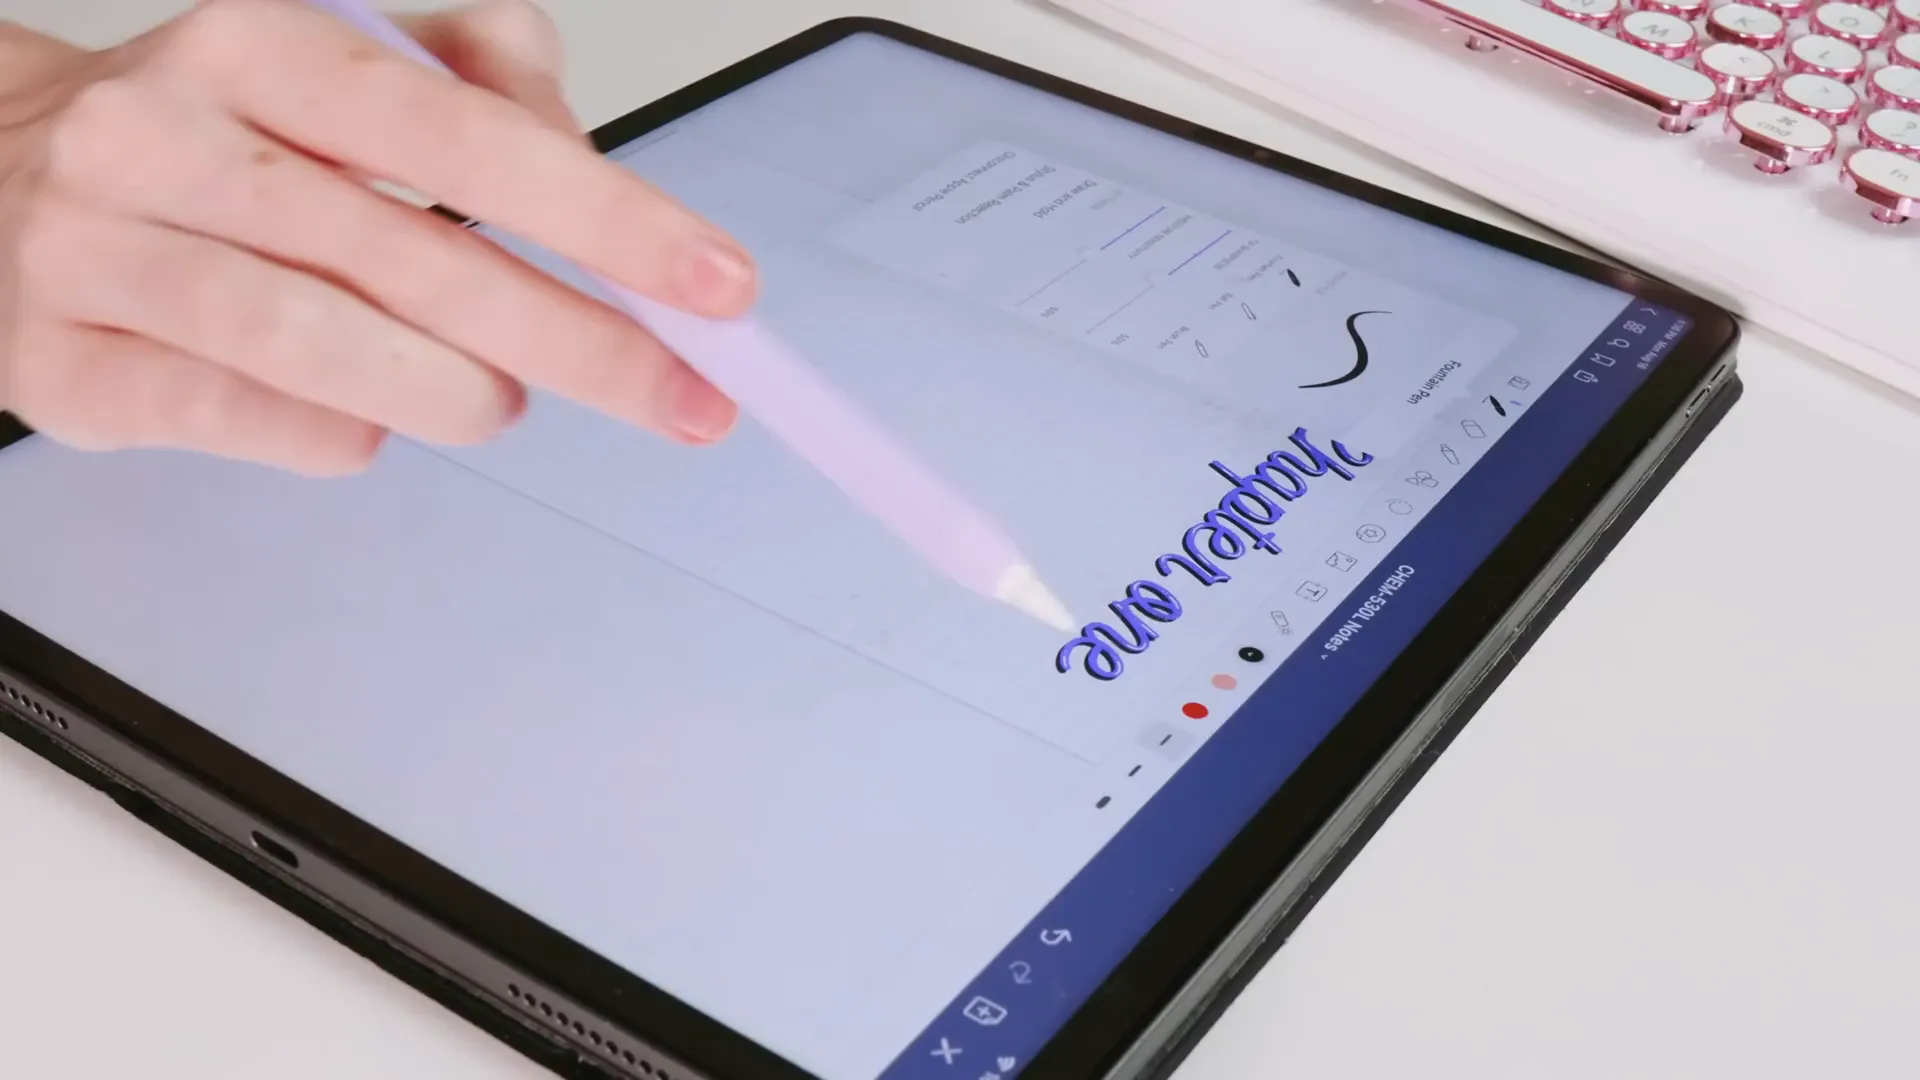
Sometimes, I’ll add drop shadows or light marks when I have time, making my notes visually appealing without wasting lecture time.
Step 5: Taking the Actual Notes
For the actual note-taking process, I use the fountain pen tool set to 50% tip sharpness and pressure sensitivity. I prefer two main stroke sizes: 0.5mm for regular notes and 0.7mm for headings. The 0.7mm size gives my headings a bolder look, which helps in breaking up the text for better readability.
I typically write in bullet points instead of full sentences, which helps me capture the essence of the lecture without getting bogged down. For subheadings, I use the same 0.7mm size, but highlight them in a lighter shade of my accent color.
Step 6: Highlighting Important Information
Equations and important concepts are boxed in with my accent color. I find that this visual cue makes it easier to locate essential information when reviewing.
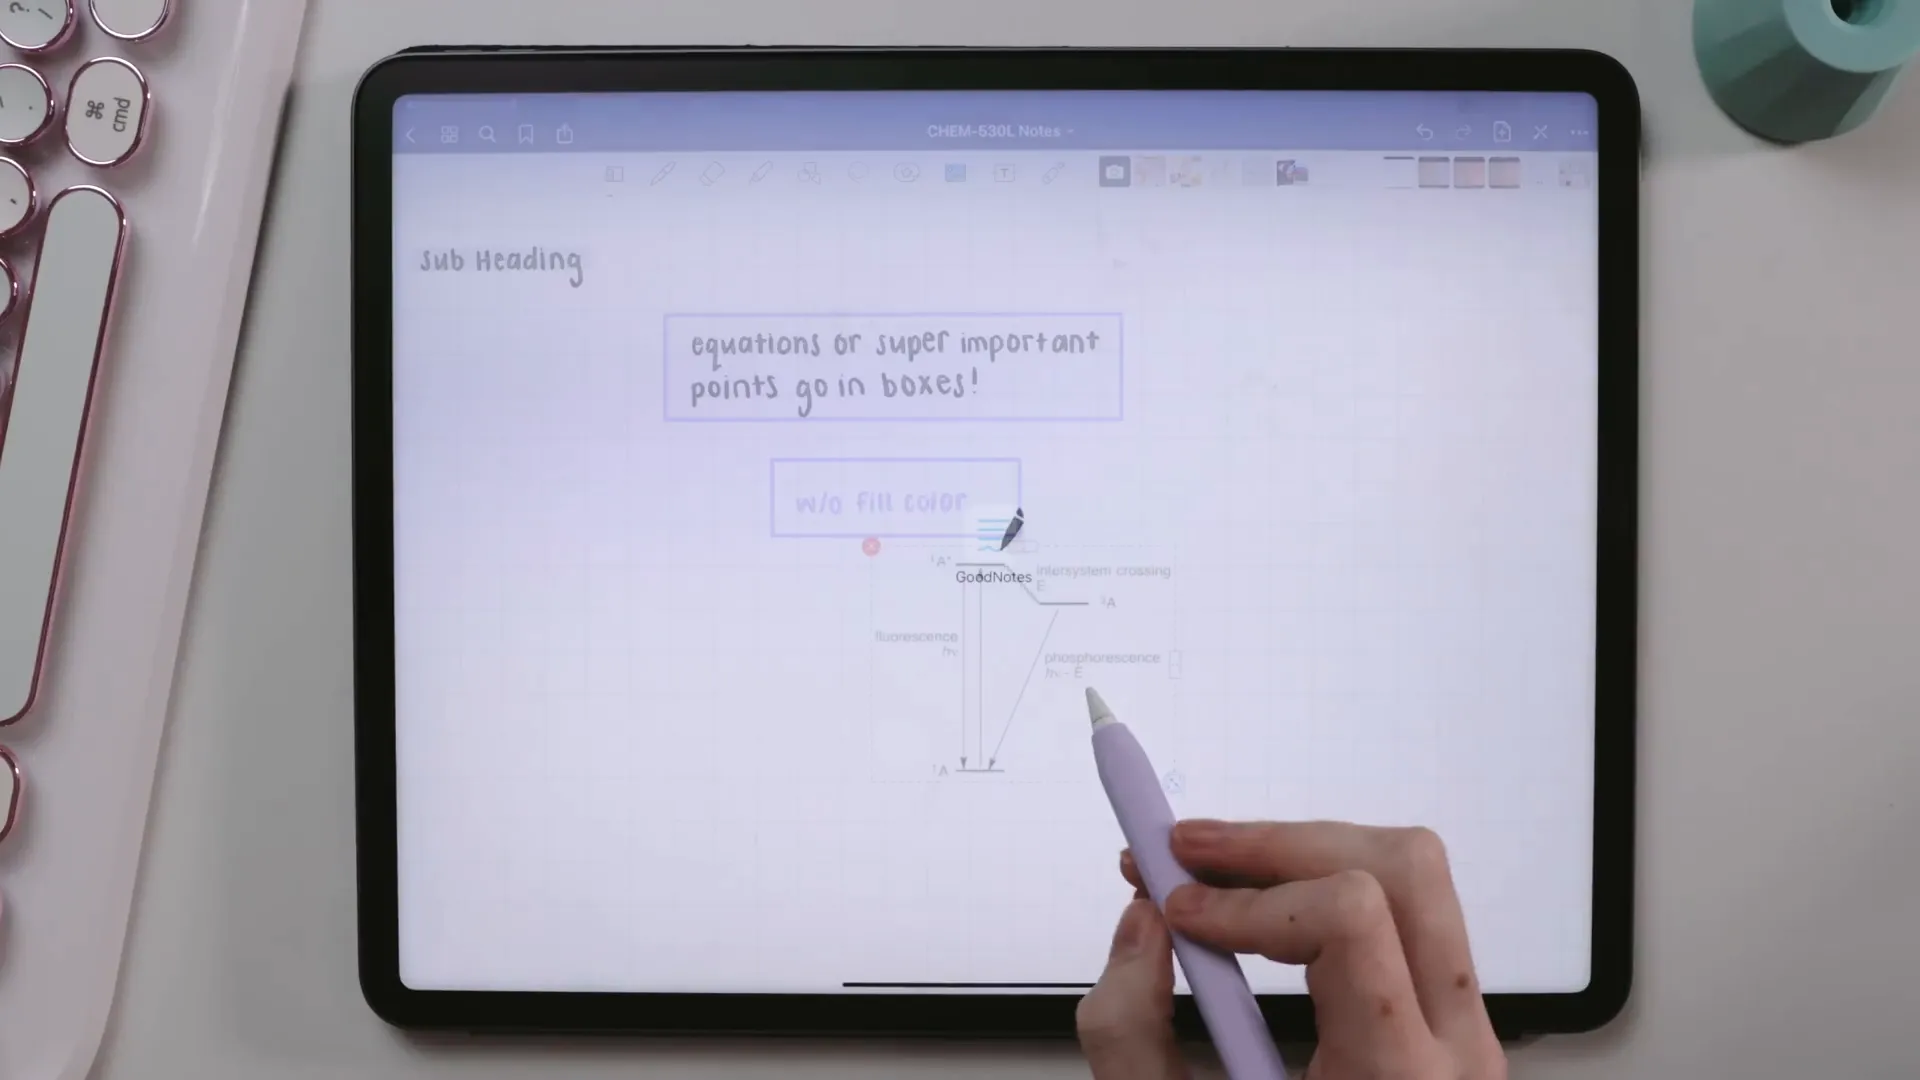
Additionally, I include diagrams and pictures, which I outline using the same accent color but without fill. This gives my notes a clean look while still being informative.
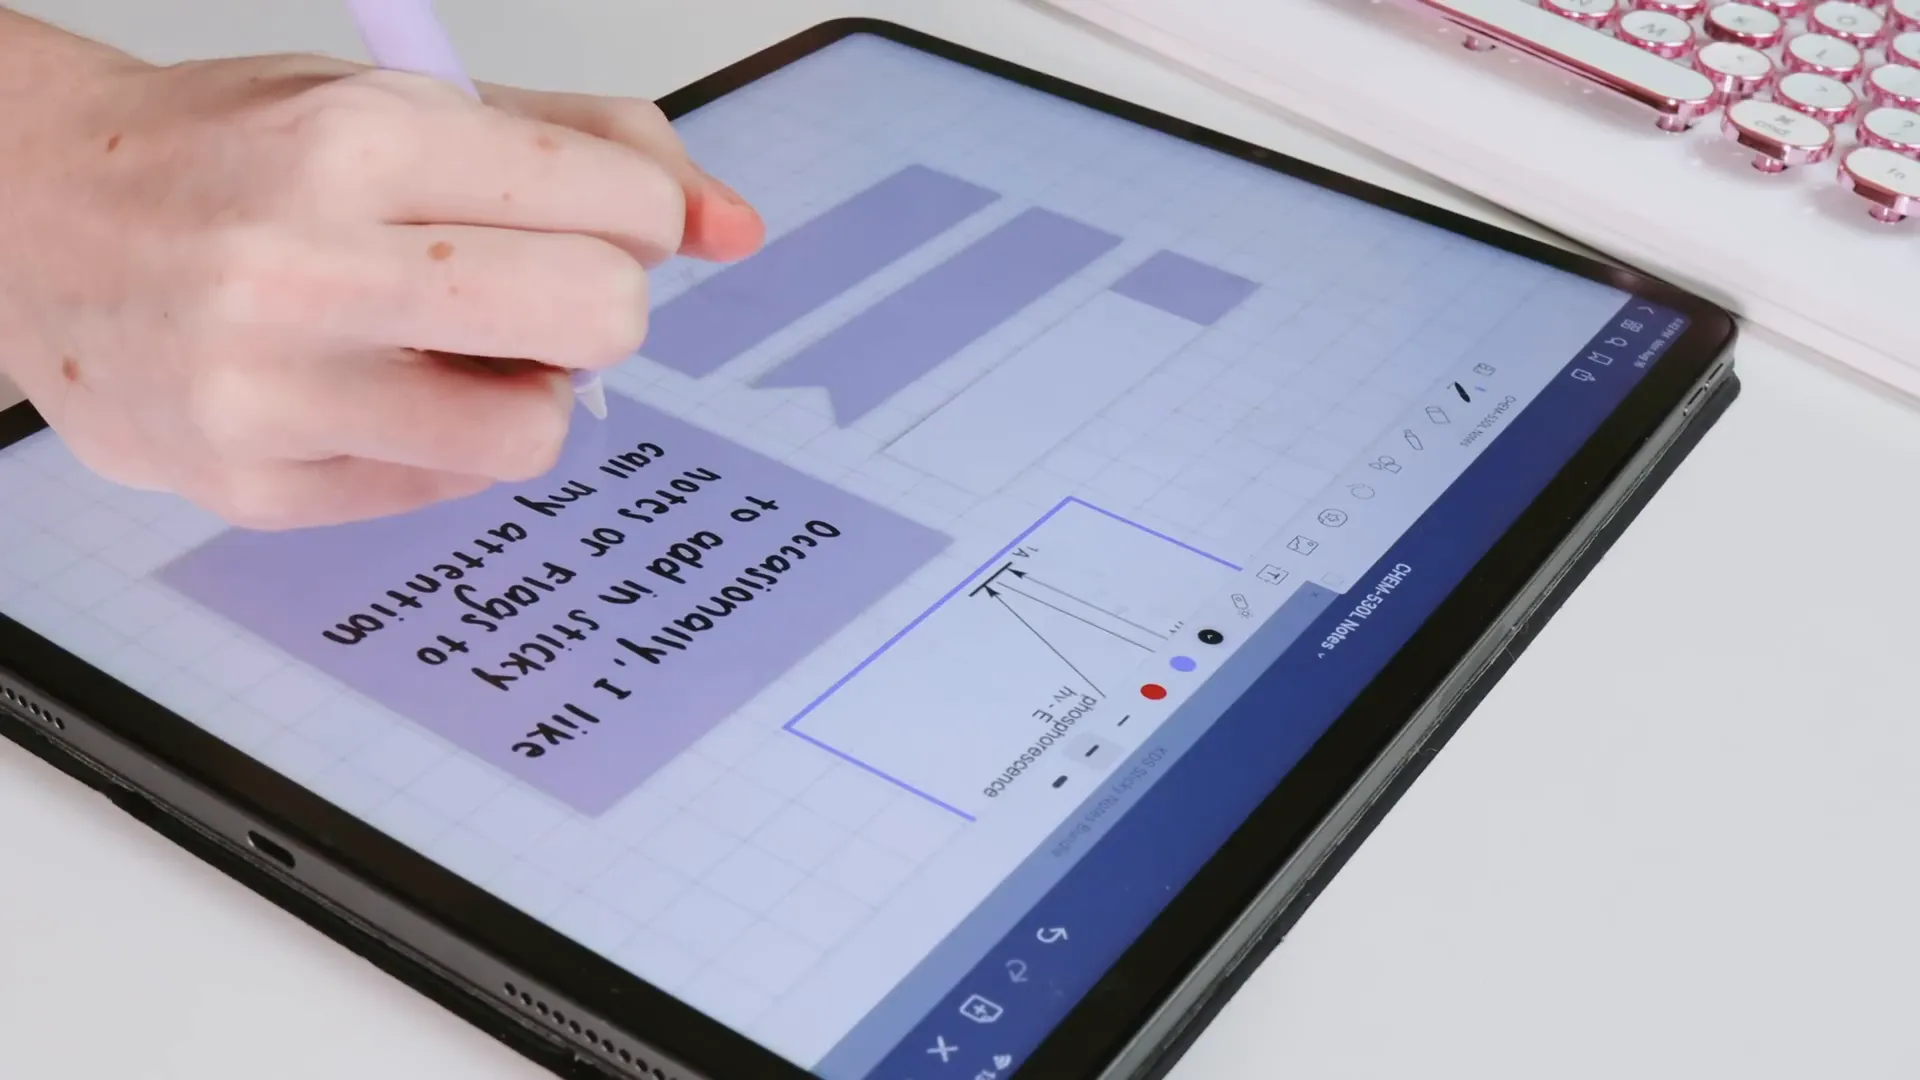
Step 7: Using Sticky Notes and Flags
To emphasize key points or reminders, I incorporate sticky notes and flags. These digital stickers are available in various colors and add a fun touch to my notes. You can check out my collection of sticky notes and flags in my shop!
Step 8: Preparing for Print
Occasionally, I print my notes. To ensure they look neat, I change the page template from grid paper to blank white before printing. This saves ink and gives a clean look to the printed notes.

Step 9: Comparing GoodNotes with Other Apps
If you're contemplating between GoodNotes and other note-taking apps like Notability, I have a comparison video linked below. Each app has its strengths, and choosing the right one depends on your personal preferences.
If you're looking for free note-taking apps, I’ve shared some options in the description below as well!
GoodNotes 5 vs. NotabilityFinal Thoughts
That wraps up my guide on how I take notes using GoodNotes on my iPad Pro! I hope you find these tips helpful in your own note-taking journey. If you want to see more videos like this, hit the thumbs up and subscribe to my channel!
What class are you currently taking that excites you? Let me know in the comments below!
See you next week, friends!
Share:
Comprehensive Guide to GoodNotes 5: Features, Tools, and Tips
Fonts You Didn't Know You Needed (But Totally Do!)