


Every year I get some version of the same message: "I want to make my own digital planner for next year, but I have zero design experience and I have no idea where to start." So let's actually walk through it — start to finish, no fluff — because designing your own 2027 digital planner is genuinely more doable than people think, even if the only "design" you've ever done is picking a font in Canva.
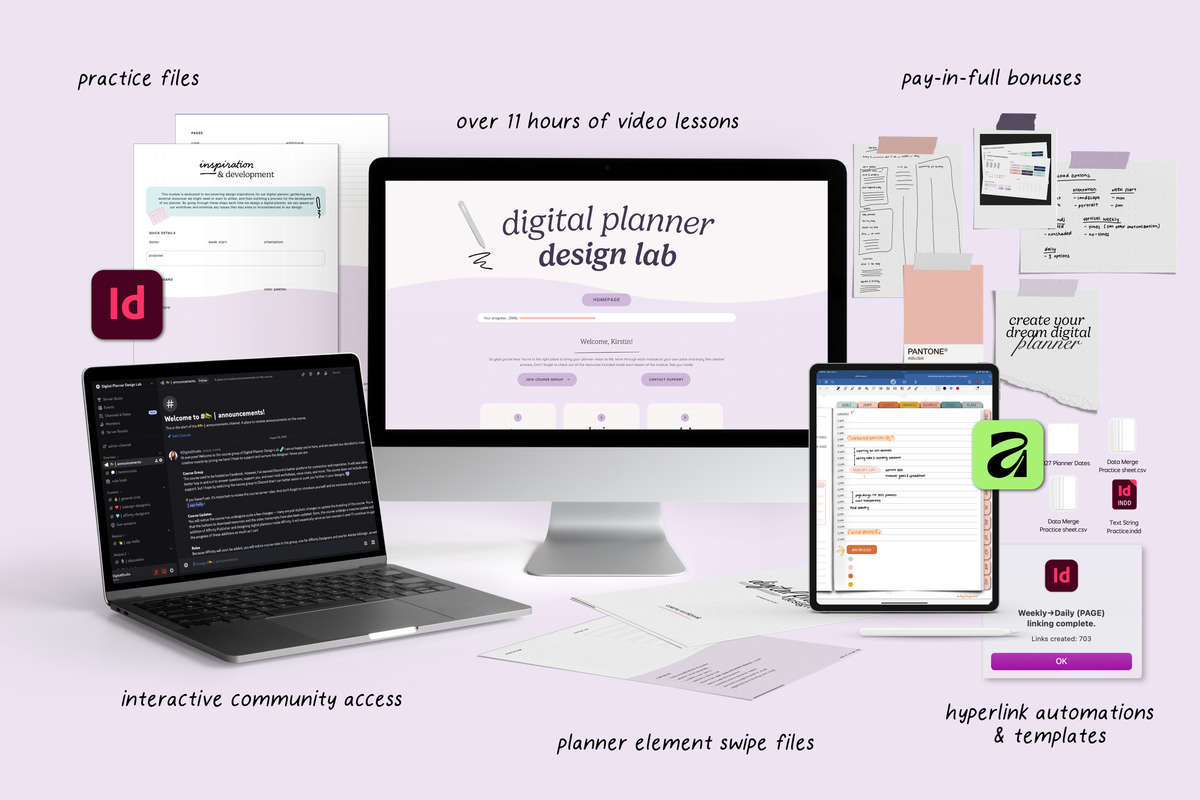
I've been designing and selling digital planners since 2018 (the Cyberry planner is mine), and I built Digital Planner Design Lab specifically because I kept getting asked to teach the actual process — not a watered-down version, the real workflow I use every year to design, hyperlink, and launch a brand-new planner. Here's what that process looks like applied to a 2027 planner, and exactly where each step is covered inside the course.
Step 1: Decide what your 2027 planner needs to do
Before you open any design software, answer a few questions on paper: Who is this planner for — just you, or are you eventually hoping to sell it? Does it need to be a full year, a school year, or a mid-year planner? Weekly, daily, or both? Sunday or Monday start? This sounds basic, but skipping it is the #1 reason half-finished planner files sit abandoned in people's Google Drive. Module 2 of the course is built entirely around this — conceptualizing your planner and sourcing the right assets before you design a single page.
Step 2: Pick your software — InDesign or Affinity
This is where most beginners get stuck before they even start, so here's the honest answer: it doesn't matter which one you pick, because Digital Planner Design Lab teaches both. Adobe InDesign is the industry standard with the most flexibility for advanced hyperlinking and scripting. Affinity Publisher is a one-time purchase with no subscription, and it's genuinely capable of producing a fully professional planner. If you're not sure yet, that's fine — modules 3 and 4 cover full planner builds in Affinity and InDesign respectively, so you can learn the one that fits your budget and workflow instead of guessing.

Step 3: Design the actual pages — covers, monthly, weekly, daily
This is the part everyone pictures when they think "planner design," and it's where the course spends the most time. You'll build:
- A cover design that sets the tone for the whole planner (and yes, this includes learning basic layout and color principles even if you've never designed anything before)
- Monthly and weekly spreads with your chosen layout style
- Daily pages, if your 2027 planner includes them
- Tab-based navigation so users can jump between months and sections instantly
The hyperlink and tab navigation piece is honestly the thing most beginners assume is impossibly technical, and it's the part I get the most "I can't believe I actually did this" messages about. There's even a custom hyperlink automation tool included in the course bonuses that cuts what used to take days down to a fraction of the time.
Step 4: Build in planner variants (because 2027 needs options)
If you've shopped for a Cyberry planner before, you know I never launch just one version — light mode, dark mode, landscape, portrait, Monday start, Sunday start. Module 5 walks through exactly how to take one finished planner file and efficiently create these variants without redesigning from scratch every single time. This is genuinely one of the most valuable skills in the whole course if you ever plan on selling what you make, because customers expect options.
Step 5: Add the finishing touches that make it feel professional
A planner that looks handmade versus one that looks professionally designed usually comes down to the small stuff: consistent spacing, a cohesive color palette, clean typography, and a cover + interior that actually match. Module 6 covers these advanced, professional-level techniques — the kind of detail work that separates a planner you're proud to use (or sell) from one that just... exists.
What you get alongside the lessons
Beyond the 6 modules and 41 videos, the course comes with the bonuses I wish I'd had when I started: a keyboard shortcuts library, a planner dates reference sheet with auto-generation, an Affinity planner elements swipe file, practice files, and — for pay-in-full students — the Procreate Ring Builder Kit, Sticker Stamps Kit, Calendar Builder Kit, and a full starter template pack so you're never staring at a blank page.
Here's what a few students have said after going through it:
"Kirstin's class is VERY easy to follow... After watching her class I was able to make a digital planner that had everything exactly the way I wanted." — Debbie
"She doesn't hold anything back... I appreciate all the time and knowledge that she put into this course." — Ashley
"The way everything is explained so well, the resources provided... is amazing. I can tell how much thought and care went into this course." — Danielle
Ready to build your 2027 planner from scratch?
You genuinely do not need a design background to do this — you need a process, and that's exactly what Digital Planner Design Lab hands you, step by step, so your 2027 planner is finished and ready to use well before January 1st. Whether you want a planner just for yourself or you're hoping to eventually sell your designs the way I sell Cyberry, the workflow is the same one I use every year.
Take a look inside Digital Planner Design Lab →
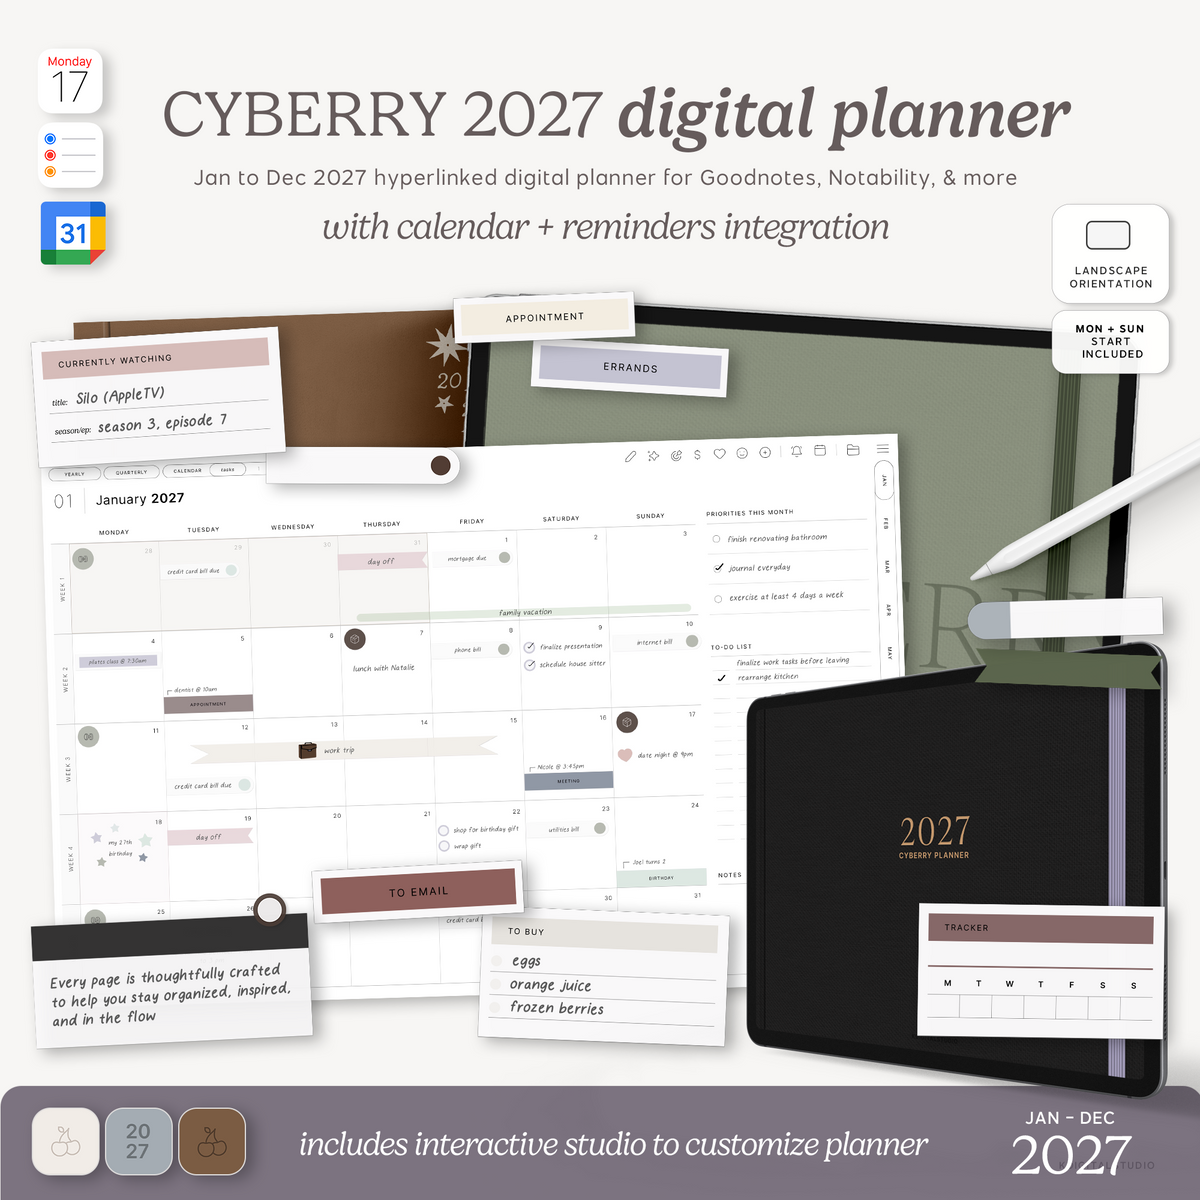
Not looking to build one yourself? If you'd rather skip straight to planning, my ready-made Cyberry 2027 digital planner already has all of this done for you — covers, all four layouts, hyperlinked tabs, and light/dark landscape/portrait variants. Shop the 2027 collection here →
Teilen:
Meet the Cyberry 2027 Digital Planner: Light & Dark Mode, Landscape & Portrait