
Not sure why it is so cathartic to watch other people take notes, but this is something I did to kill time as a college student… instead of what I could have been doing: taking notes. Seeing how other people take and organize their notes though, is extremely helpful. And I’ve no doubt picked up tips & tricks along the way, either from watching iPad note-taking videos on YouTube or connecting with the students sitting next to me in lecture.
This is how I take notes on my iPad Pro 2021 12.9.” I go over tips and tricks I've learned on GoodNotes 5 to make your notes pretty, aesthetic, neat, efficient, AND effective. I also show how to prepare your notes for print if you wanted to print the notes you took on your iPad, as well as how I organize all my notes and files from all my college classes in the GoodNotes app.
What I use
- iPad Pro 2021 (12.9 in) BUT any iPad will work
- 2nd generation Apple Pencil: I highly recommend getting an Apple Pencil. It’s worth the price tag a hundred times over compared to cheap, off-brand styluses.
- Apple Pencil grip or sleeve: It makes writing for long lectures and note-taking sessions easier because bye-bye hand fatigue! P.S. You can purchase my favorite grips & sleeves here and apply coupon code KDS15 for 15% off your order.
- Paperlike screen protector: I’ve tried others and always turn back to Paperlike. It actually comes with two screen protectors for that price. And it doesn’t wear down my pencil tips since it’s not the off-brand version.
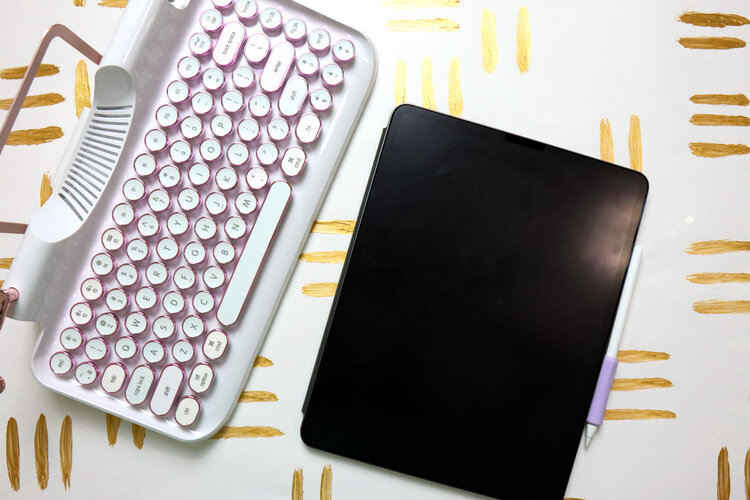
- And here’s my typewriter bluetooth keyboard if you like it! Using the code KDIGITALSTUDIO saves you $10 USD!
Setting up GoodNotes 5
- Download the GoodNotes 5 app if you haven’t already (iOS only). It costs a one-time purchase of $7.99 USD (and it’s worth it — I promise)!
- I begin my creating folders for each of my classes. So for example, if I am taking a synthetic chemistry lab (I graduated with a B.S. Chemistry, biochemistry concentration btw), then I would name the main folder: CHEM-530L, with the class code.
- Then I would create subfolders based on files, slides, assignments, etc. expected of the class. To continue with my example, I would create a “Notes” subfolder, “Lab Reports,” “Assignments,” etc. You can create folders within folders in GoodNotes 5.
How I take notes in GoodNotes
- I would start by creating a blank note, likely in my “Notes” subfolder. I typically did not add a GoodNotes cover, which I have a tutorial on here, but that’s a fun option.
- I would title the note with the chapter number and topic, so “Chapter 1: Laboratory Safety.”
- I used a grid paper template to take notes. Here’s the template I use (it’s free)!
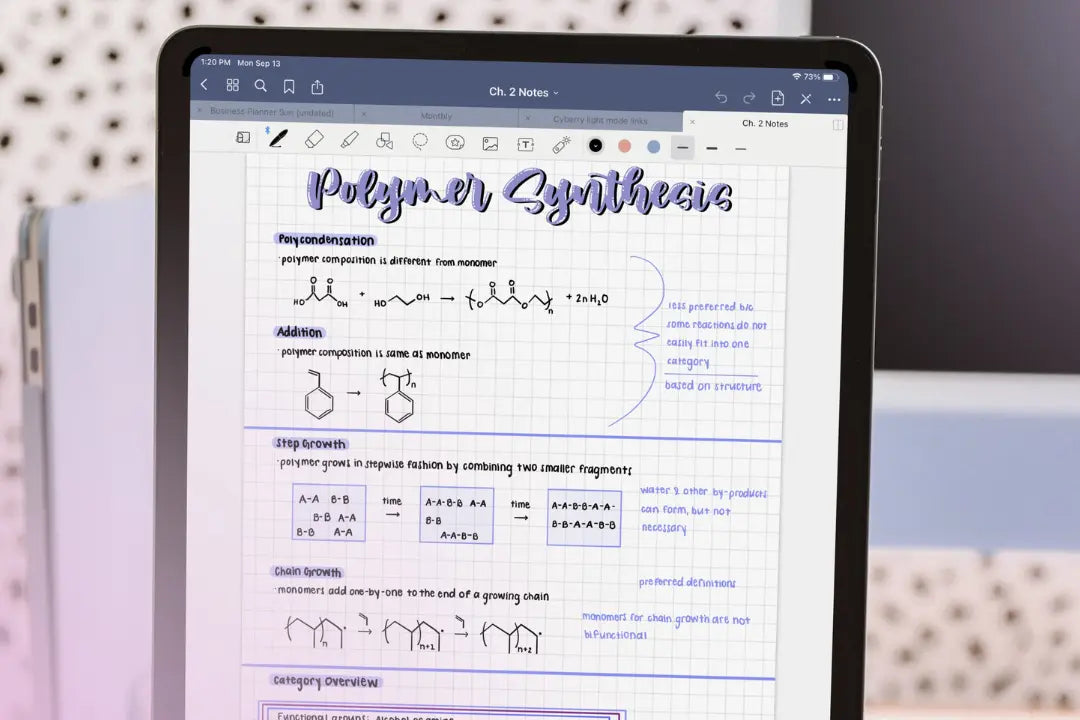
- The header of the note would be the main topic written in fun lettering or typed out in a cool font. Sometimes I would embellish the header with a drop-shadow or light marks.
- My main headings were written in 0.7 mm fountain pen (50% tip sharpness and 50% pressure sensitivity). I always wrote my notes with the fountain pen. Then I’d highlight my main headings with a fun highlighter.
- I took notes using bullet points — not full sentences. It is important to write things in your own words when you take notes since this feeds into our active recall memory. I used dashes for subpoints. I used the 0.5 mm fountain pen for note-taking.
- Subheadings were written in 0.7 mm fountain pen and highlighted in lighter shade than what I used for the main heading.
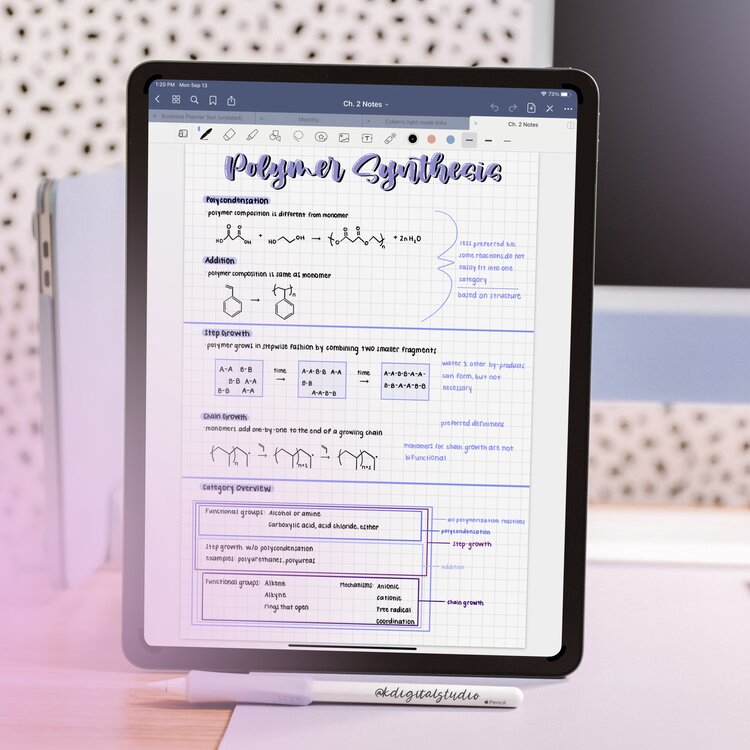
- I always boxed in equations with the fill color option in GoodNotes. It helped make them stand out!
- The great thing about digital note-taking is the ability to split-screen and drag & drop diagrams or pictures. I did this often during college. To make it look neater in my notes, I would outline the picture or diagram without fill color in GoodNotes.
- Lastly, I would add sticky notes or sticky flags to my notes to call greater attention to anything important. It was a fun way to bring a bit more realism to my digital notes! You can get the sticky notes and flags I used in my notes here.

Printing your digital notes from GoodNotes
Occasionally, I would print the notes I took in GoodNotes. This made it easier to share my notes with others or store away from later if needed. Plus, it was super cool to see them printed anyway. So here’s how I did it:
- Remember how I took notes on the grid paper? It doesn’t look as great printed, and it wastes ink. In GoodNotes, you can change the paper template. Before printing, I would change the paper template to the blank white paper option in the app. My notes still looked neat since I wrote them using the grid paper, but now they looked even better for printing!
- You can print them directly from the app if you have AirPrint set-up on your printer. For me, it was easiest to AirDrop (or email myself) the notes to my computer and print from there.
- Typically, my notes were ready for print without having to make any changes but you might need to use the “fit” option before print to make sure everything fits on your page and won’t get cut off by the printer.
See it in action on YouTube
That’s how I took notes using the GoodNotes 5 app on my iPad. Taking notes digitally was so convenient as a college student, especially with the number of paper and ink I saved. Another great thing about GoodNotes is the ability to import PowerPoint slides and other files to annotate.
If you want to see this entire process in action, check out my YouTube video on it below!


Share:
How to Start Digital Planning for Free
How to Quickly Capture Anything in Notion using Your Phone
1 comment
How can i download GoodNotes on Windows