
There are different ways of making digital stickers in the Procreate app, and I’ll share the two ways I use. I recommend reading through the rest of this tutorial before picking a method and then choosing the one you’d prefer to create with… or try BOTH and see what works best for you!
You can also check out my older process for creating digital stickers in this video.
We can create digital stickers in one of two ways:
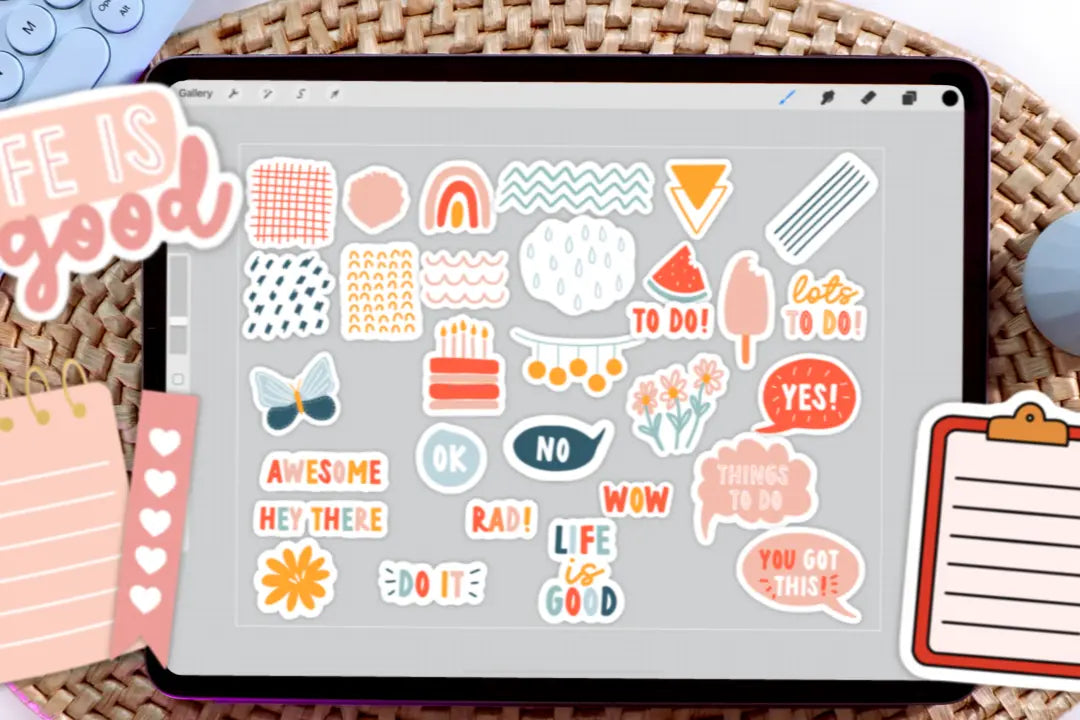
- Create all the stickers together, side-by-side, on a large canvas (it will look like a sticker sheet when we’re done)!
- Create a small canvas and fill the entire canvas with one sticker at a time
I prefer creating all the stickers together side-by-side on one large canvas. It will mean a tad bit more work later to crop them (and this is only the case if you’re creating multiple stickers at once), but I am able to see all of the stickers at once and make sure they coordinate & work well together.
- Creating all the stickers side-by-side on a large canvas
2. Creating a small canvas and filling the entire canvas with one sticker at a time

Procreate Planner Stamp Set
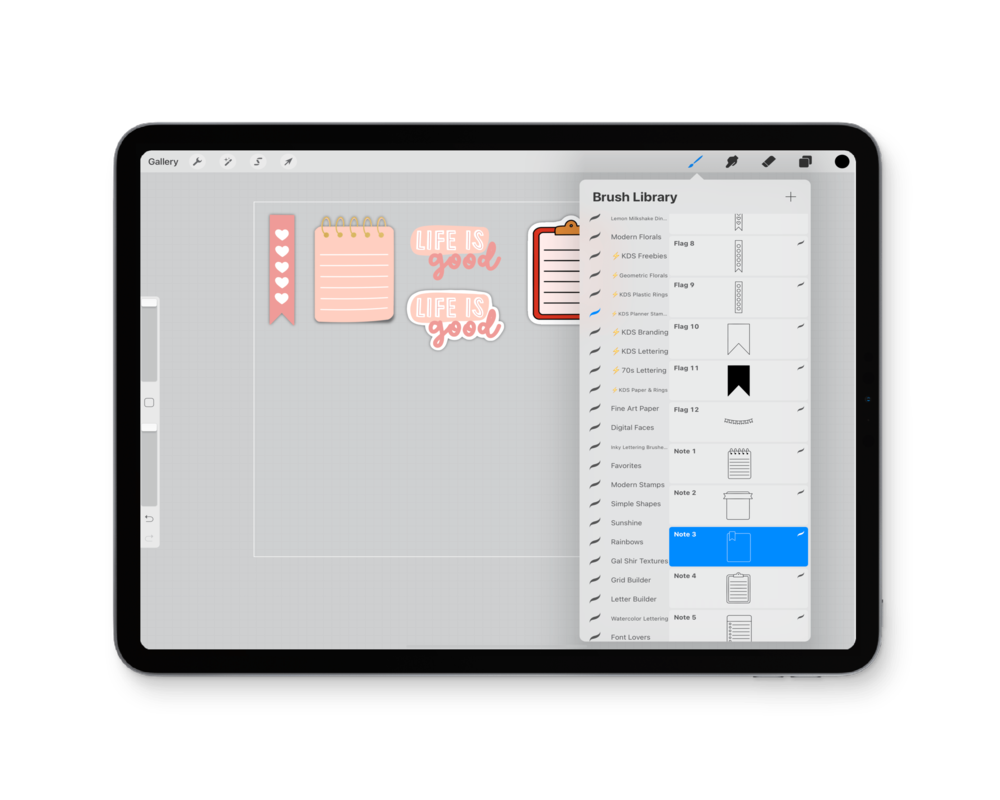
If I find myself always drawing the same shapes, using the same textures or illustration style, I like to create Procreate brush sets to speed up my workflow. If you’re interested in learning how to create your own Procreate brushes, you can learn more here. You can also sign up for the newsletter to get free Procreate brushes.
To start this tutorial, I am going to the Procreate Planner Stamp Set. It’s so easy to stamp out the shapes, drag & drop color, or use the variety of alpha masks or clipping masks to add fun patterns or textures to the stamps.
Create Your Digital Sticker!
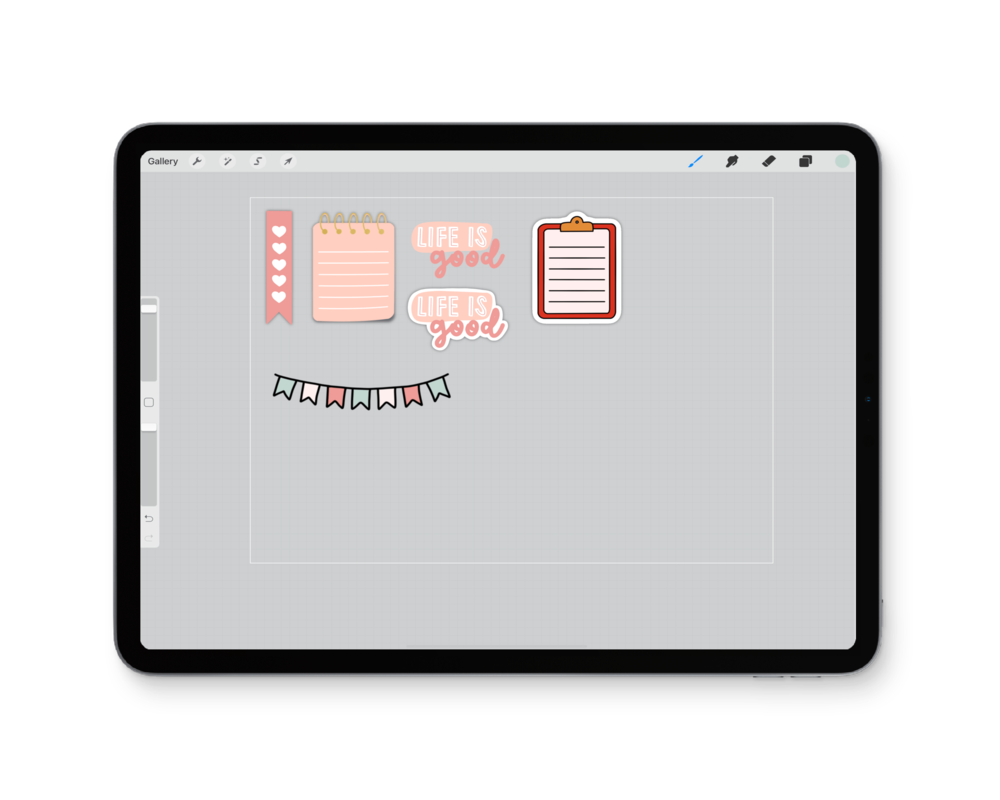
I stamped a cute banner flag and drag & dropped colors to create this cute sticker, really easy!
Add more detail to your sticker
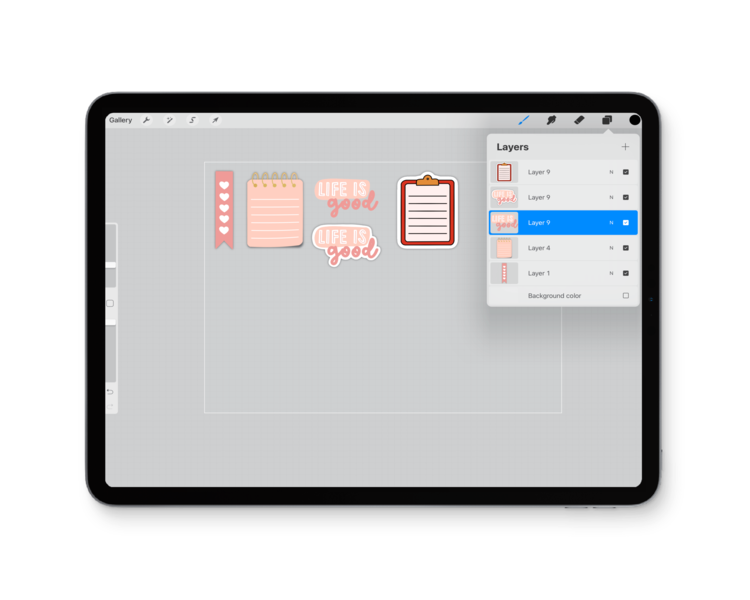
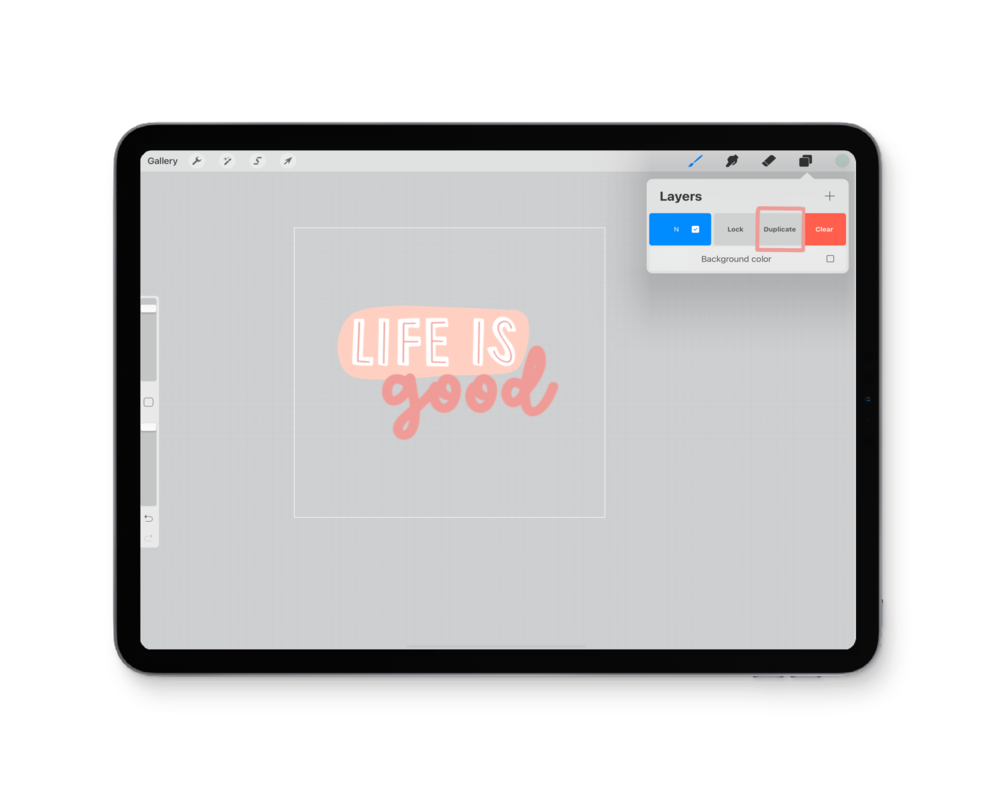
If you want to make your sticker look more like a physical, die-cut sticker, it is only a few more steps in the Procreate app to achieve this look. With your sticker open in the Layers panel, swipe to the left. You’ll options to lock, duplicate, or delete the layer. Select duplicate.
Select & Fill the Bottom Sticker Layer
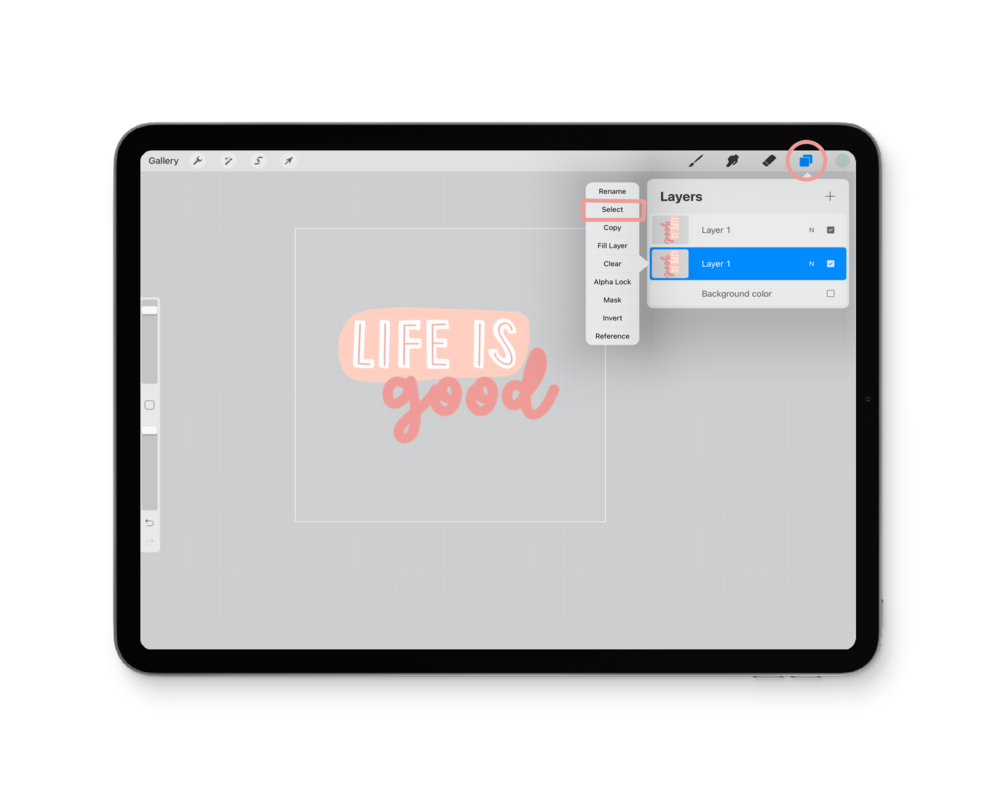
After duplicated your sticker, click the bottom layer that has your digital sticker. Tap the layer. A little menu will pop-up and click “Select.”
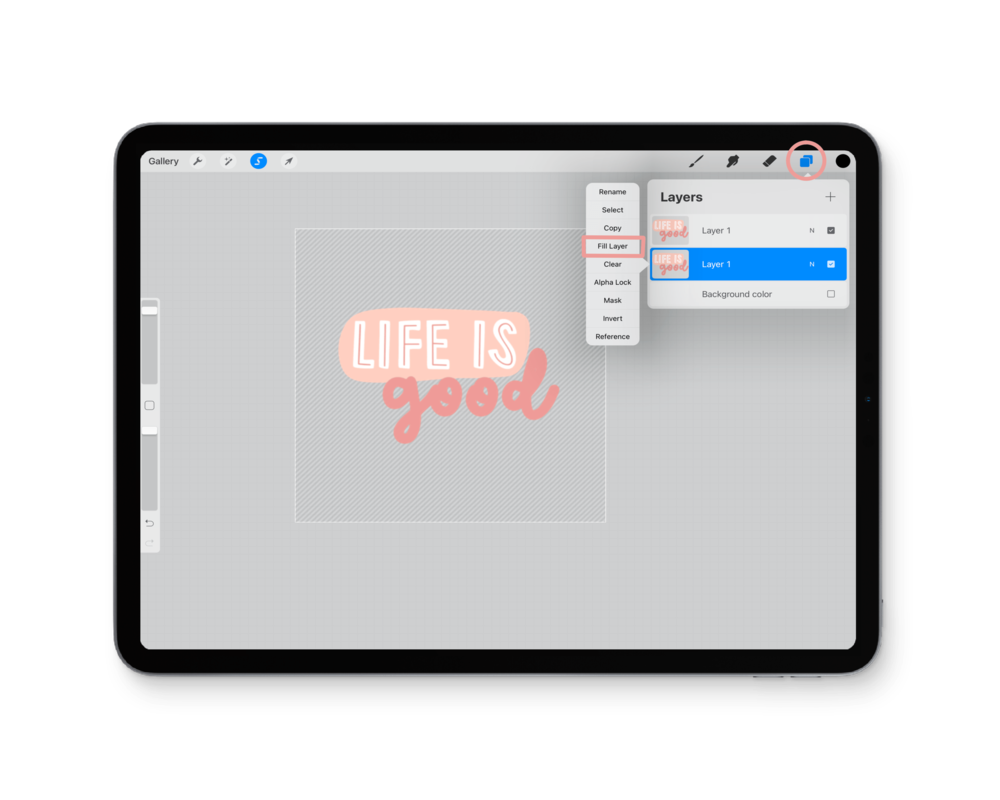
After clicking “Select,” click your desired color from the top-right color. To make your sticker look most like a physical peel n’ stick sticker, choose white! Then go back to the Layers panel, tap the bottom sticker layer again to get the pop-up menu. Click “Fill Layer.”
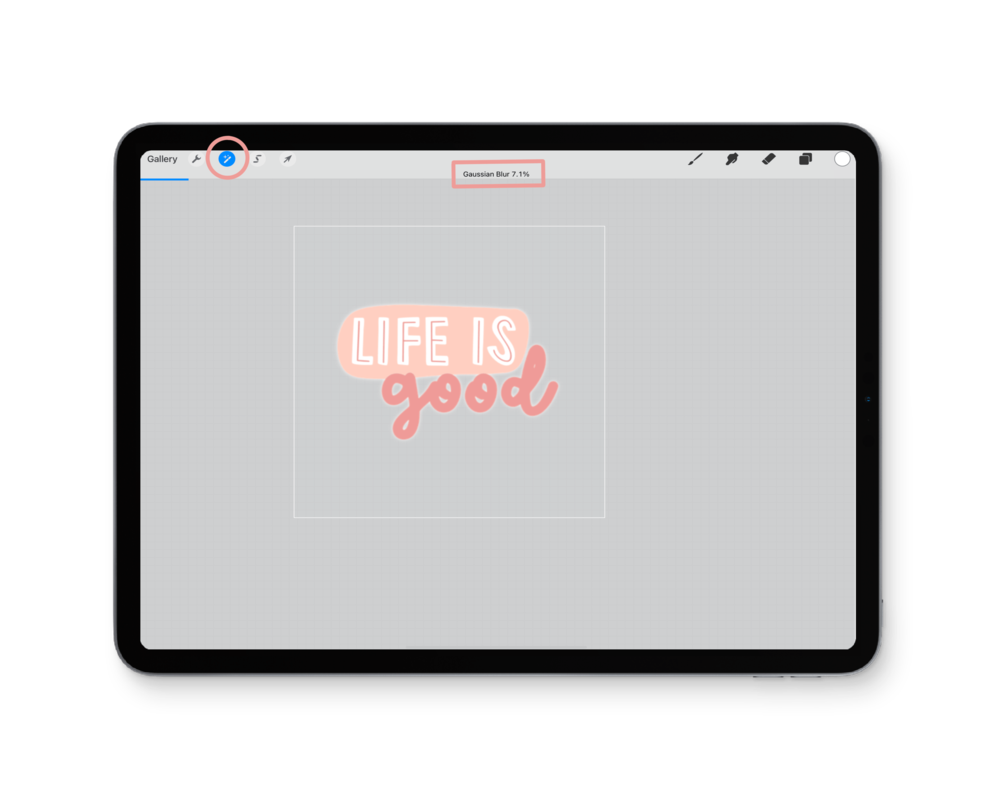
Increase Gaussian Blur
Once your click Fill Layer, it will fill the entire bottom sticker layer with the white color. After that, head to the Adjustments settings in Procreate (it’s the magic wand icon), and then Gaussian Blur and Layer underneath.
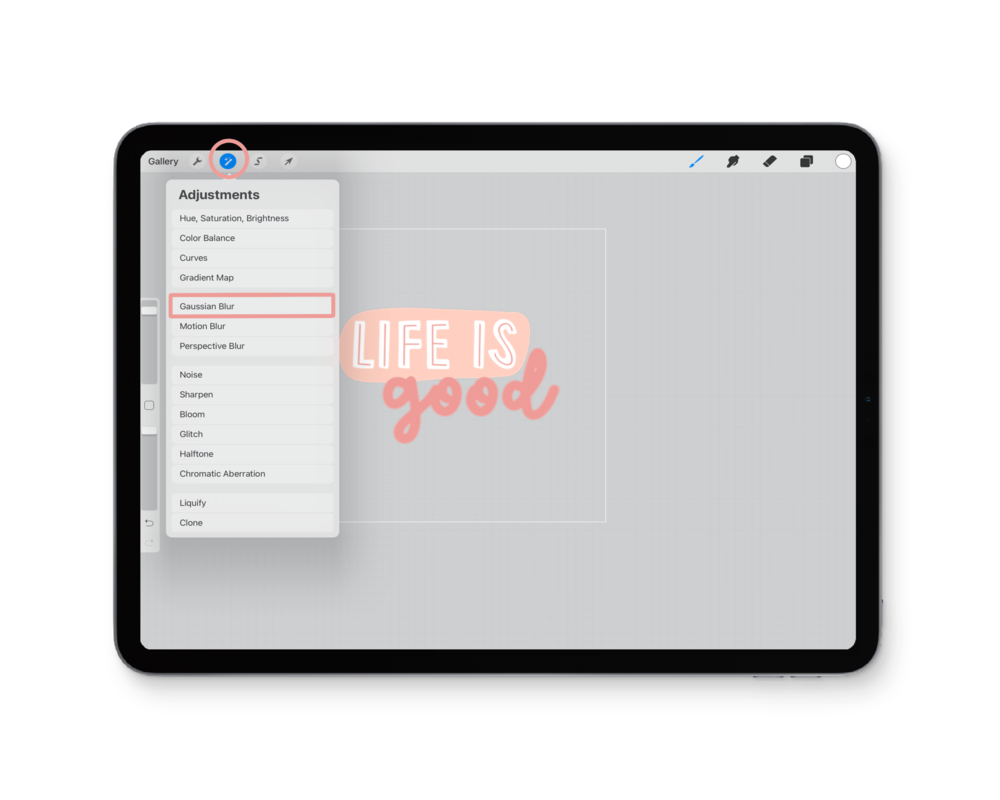
Hold your Apple Pencil on the screen and then drag your pencil left or right to increase or decrease the Gaussian Blur. You’ll be able to see its percentage in the center of your Procreate app. For digital stickers, I typically use anywhere from 5-10%. For this tutorial, I used 5% Gaussian Blur.
Use Automatic Selection to Create Offset Path
After applying a Gaussian Blur to the bottom sticker layer, click the Selection tool in Procreate. Make sure Automatic is selected in the bottom toolbar. Still on the bottom sticker layer, tap the center of your sticker. You’ll get a selection that looks something similar to this:
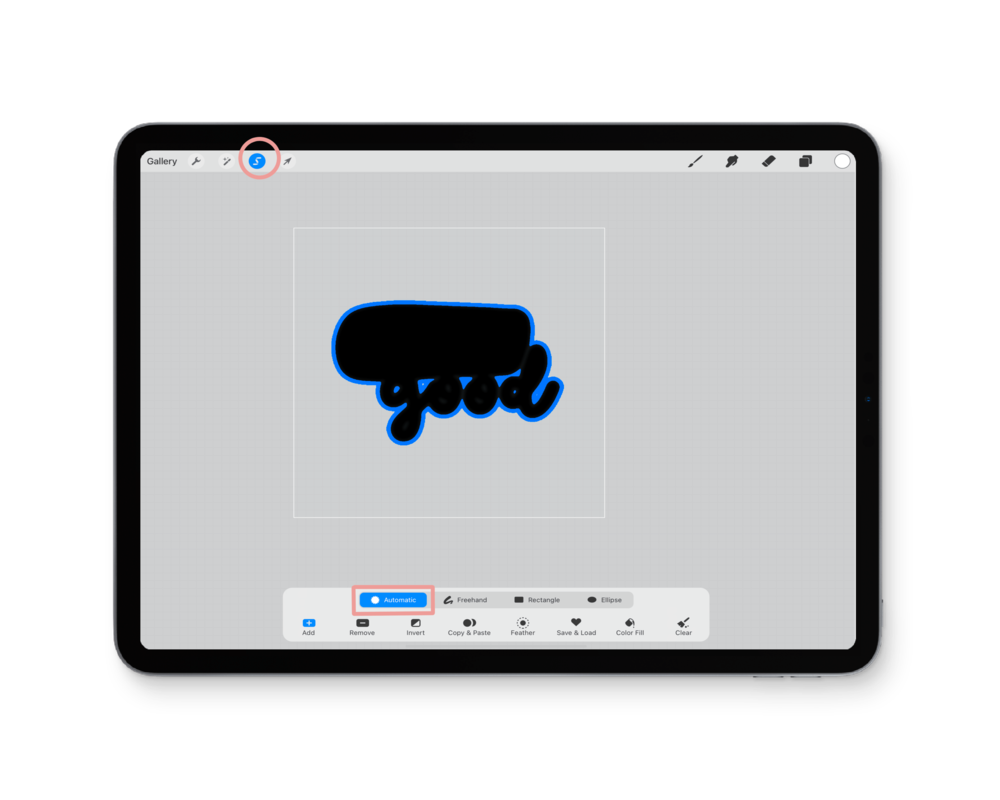
Similarly to Gaussian Blur, you can hold your Apple Pencil on the screen and drag it either left or right to change the Selection Threshold. It’s your goal to have the main part of your sticker black and the outer part of the sticker (this will be the offset path) as blue.
Color in Your Offset Path
Select the Selection tool once more in the toolbar and click a monoline or monoweight brush (or any brush)! You’ll then color in the offset path of your sticker! You’ll know if you properly selected the Selection tool if the rest of your canvas has diagonal lines.
You then have a die-cut digital sticker!
Bonus: You can repeat this entire process but with the color black (instead of white), to create a shadow behind your sticker! It is another way that you can achieve a bit more realism with your digital sticker.

Wrap Up
Once you are done with your sticker, make sure to turn off the Background Layer. You can do this by selecting the Layers panel, and then clicking the checkmark square next to “Background Layer.” Doing this, will turn off the background layer.
Then click the gear icon and save as PNG. Saving as a PNG is important because it maintains the transparent background — important for digital stickers! If you save it as another file type, it will add a white background behind the sticker.
Have you created digital stickers before? Tag us on Instagram (@kdigitalstudio) if you created a sticker following this tutorial! I’d love to share it on my Story!

Share:
The Best Mockups for Your Business
Amazon Favorites for Digital Planning